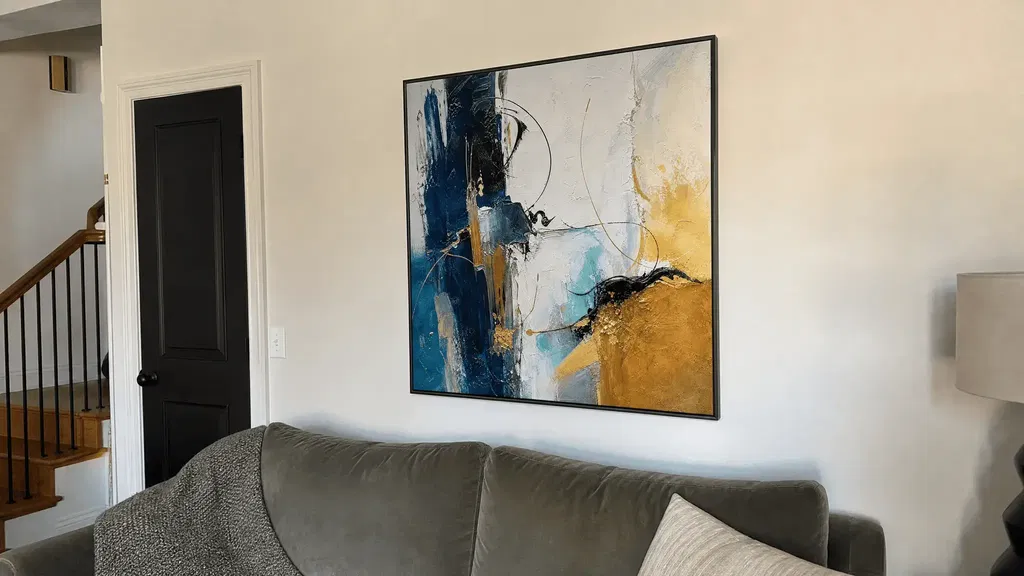
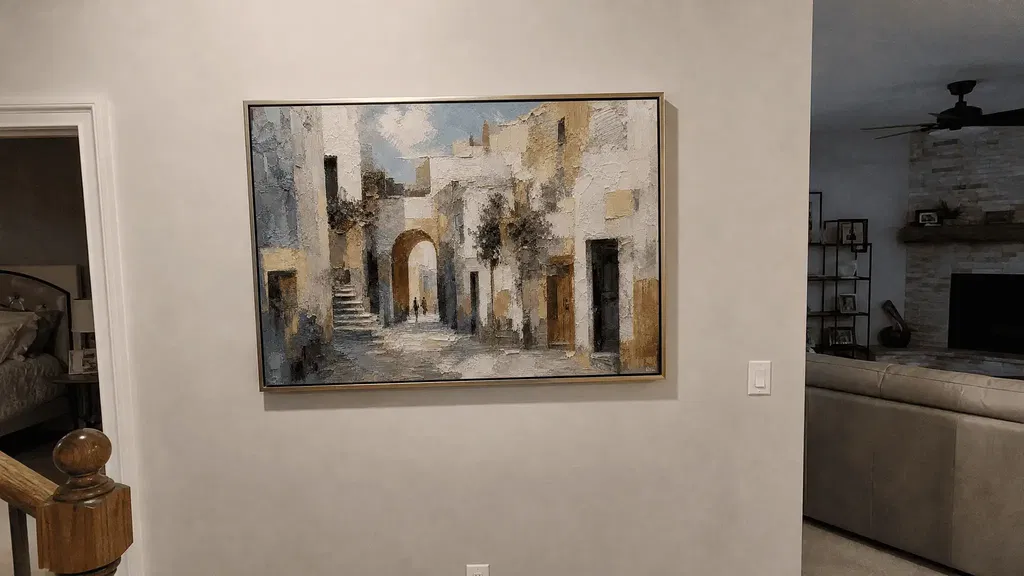
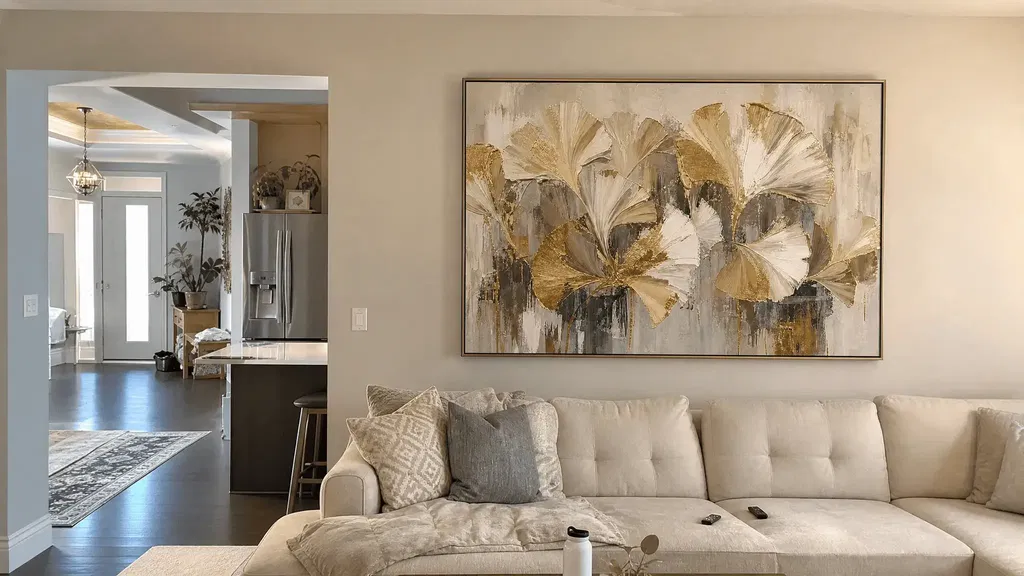
Measure the narrowest uninterrupted wall zone first, then choose an orientation and layout that fit that footprint—not the hallway's total length. In practice, vertical art usually works best on a taller, shorter wall segment, while panoramic art can suit a genuinely long, continuous wall if its width does not overwhelm the passage. Before buying or drilling, use painter's tape to mark the full footprint of the artwork or series, then walk the hallway from both ends.
That makes wall art wall painting decisions more practical: you’re matching scale, projection, height, and visual rhythm to the passage instead of forcing a favorite format into the space.
Measure the Hallway Before Choosing Art
The key measurement is the narrowest usable wall zone, not the corridor's full length. Account for interruptions in the area you plan to decorate, as well as the frame or hardware projection, and test the proposed footprint in place before shopping. A tape mock-up can reveal proportion and visual crowding, but it does not confirm structural safety or replace appropriate installation hardware.
Mark the Usable Wall Width
Start with the clear wall segment between interruptions. A long hallway may contain several separate display zones rather than one continuous canvas for art. Measure each zone's usable width and height, then record the expected frame depth or hardware projection for the pieces you’re considering.
- Measure the clear width of the wall segment between doors, corners, trim changes, switches, vents, and other fixed features.
- Record the available height, including the relationship to baseboards, crown molding, door trim, and nearby furniture.
- Mark the narrowest part of the walking path and note anything that could make a frame feel more intrusive once it’s mounted.
- Use painter's tape to outline the proposed artwork, or the outside edges of a complete group, on the wall.
- Walk the passage normally from both ends and from nearby doorways. Look for points where the footprint competes with the path or makes the corridor feel visually compressed.
Do this before filtering by color or subject. A piece that fits a catalog search but exceeds the clear wall zone won’t become a better choice just because the hallway is long.

Once you have the measurements, you can browse hallway wall art as a category rather than assuming every piece in it will fit. Check each candidate's dimensions and frame depth against your taped outline.
Account for Doors, Turns, and Both-Sided Walls
Treat a door, turn, corner, or change in wall depth as a boundary between usable zones. End a single piece or series before the interruption instead of letting the artwork visually bridge a doorway or turn that breaks the sightline.
Check each wall separately for door movement, furniture, light switches, thermostat controls, and frame projection. If both walls are technically available but close together, compare a one-sided display first. Concentrating art on the more continuous wall may feel calmer when frames, open doors, or competing sightlines make the passage seem crowded. Use both sides only if the taped layout still feels open from the direction people actually travel.
Choose Vertical or Panoramic Wall Art for the Proportion
Orientation should follow the usable wall segment's height, width, continuity, and sightline—not a rule that every narrow hallway needs vertical art. Use a taller format as the starting point for a taller, shorter wall zone; consider panoramic or long landscape wall art for a long, uninterrupted zone only when its total width keeps the passage visually open.
Use this two-branch test:

- Start with vertical art when the usable wall zone is noticeably taller than it is wide, the segment is short, or interruptions limit horizontal reach. Keep the full frame width inside the clear wall area and tape the total height before deciding.
- Start with panoramic art when the wall is genuinely long and continuous, with enough uninterrupted width for the format to read as one composition. Reject it if the horizontal footprint stretches the sightline, crowds a doorway, or makes the corridor feel even more tunnel-like.
A narrow hallway can contain several different proportions. A short entry passage with one tall blank section may favor a vertical piece, while a long interior corridor with one uninterrupted side may support a horizontal composition. If you’re comparing formats, the artwork orientation and visual flow guide is a useful next step, but the wall measurement remains the deciding check.
For a vertical candidate, compare tall vertical wall art only after confirming the height, width, and frame depth. For a long candidate, browse horizontal wall art as a format category, not as proof that a particular piece will fit. In either case, keep a short series in one dominant orientation unless the measured layout gives you a clear reason to vary it.
Decide Between One Statement Piece and a Short Series
Choose one statement work when the hallway has one clear focal zone or several interruptions; choose a short series only when the entire aligned group fits one continuous wall zone. The group's outer edges matter as much as the individual frames, so plan the series as one composition before selecting its pieces or gaps.
Use One Statement Work for a Clean Focal Point
A single work is usually the calmer option when one measured footprint fills the visual gap without approaching the walking path, nearby trim, or a door swing. It also works well when the hallway is short or when lighting, switches, and doorways already make the corridor visually busy.
Choose one piece when:
- The wall has one clear, uninterrupted focal zone.
- A series would be split by a door, corner, switch, or change in wall depth.
- The hallway already has enough visual activity from trim, lighting, flooring, or adjacent rooms.
- One taped footprint looks intentional without making the wall or path feel crowded.
One statement piece does not have to fill every inch of the wall. In a tight passage, leaving controlled breathing room can keep the artwork from becoming another obstruction in the sightline.
Use a Short Series for Guided Rhythm
A short series can guide movement along a long corridor when repeated pieces share one continuous wall zone and a consistent alignment. It becomes risky when the group is extended simply because more wall length is available; that can create repetition, visual noise, or a tunnel effect.
Plan the series by its complete footprint:
- Decide the total left and right boundaries of the group.
- Tape those outer edges before choosing individual frame sizes.
- Divide the footprint into artwork zones and gap zones without using a fixed spacing number for every arrangement.
- Check that no piece crosses a doorway, corner, switch, trim break, or walking line.
- Remove a piece or shorten the series if the outer edges dominate the sightline.
Consistent alignment usually matters more than forcing identical gaps into an irregular hallway. A series that ends cleanly before an interruption will look more deliberate than one that technically fits the wall but spills across several competing features. For more layout context, compare oversized versus smaller paintings, then return to the taped total footprint before shopping.
Set Height and Spacing Without Creating a Tunnel Effect
Set the artwork at a comfortable viewing height for the people who use the home, then adjust for ceiling height, children, furniture, and nearby trim. Judge spacing as part of the complete group footprint rather than applying one mandatory gap, and approve the layout only after a two-way walkthrough checks projections, doors, sightlines, and the narrowest part of the path.
- Tape the outlines. Mark the single artwork or every frame in the complete series, including the outer edges and intended gaps.
- Check the viewing height. Stand in the hallway's normal walking positions and adjust the center of the piece or group so it feels natural for the household. Low ceilings, children's sightlines, furniture, and door-frame alignment may all shift the starting position.
- Inspect the group as one unit. Look at the top, bottom, left, and right edges together. A series can feel too large even when each individual frame appears modest.
- Walk from both ends. Check the view while approaching the art and while moving away from it. Also inspect it from nearby doorways, where an edge or projection may be more noticeable.
- Confirm physical conditions. Recheck frame depth, hardware, door movement, switches, corners, trim, and the narrowest part of the clear path before installing.
If the hallway feels tight during the tape test, don’t solve the problem by shifting the art slightly toward the walking line. Reduce the footprint, move the display to the more continuous wall, choose one statement work, or select a shallower frame. A layout that looks balanced from one end can still feel crowded from the other.
Before purchasing, verify the exact artwork dimensions and frame depth for the piece you choose. Our hanging panoramic art resource can provide additional placement context, but no collection or product page can establish fit without the specific measurements.
Use this final placement check before installation:
- The artwork or group stays within one measured, usable wall zone.
- The tape footprint does not cross a door, corner, switch, trim break, or turn.
- The frame depth has been considered at the narrowest point.
- The display works from both ends of the hallway and from nearby doorways.
- The total width, height, and gaps feel controlled as one composition.
- One-sided placement is used when two-sided art makes the passage feel crowded.
Once that check passes, browse our Hallway, Tall Vertical Wall Art, or Horizontal collections for the format that matches your plan. Verify each item's dimensions and frame depth before adding it to your cart.
Frequently Asked Questions
How High Should Hallway Art Be Hung When the Ceiling Is Low or Children Use the Space?
Use a comfortable household viewing height as a starting point, then lower or reposition the piece when a low ceiling, children's eye level, furniture, or nearby door trim makes the first placement feel awkward. Tape the center and outer edges before drilling, and view the mock-up while standing in the main walking path rather than judging it only from across the room.
Can I Hang Art on Both Sides of a Narrow Hallway?
You can if both taped layouts leave the passage visually open and do not compete with door swings or frame projection. Test the narrowest section first; if the two sides feel crowded, place the display on the more continuous wall and reserve the opposite side for open space or a much shallower treatment.
What Should I Do If Doors or Corners Interrupt a Long Hallway?
Treat every uninterrupted wall segment as a separate display zone. End the artwork or series before the doorway or corner, then tape the next zone independently; do not size one panoramic piece or gallery group against the corridor's full length when the sightline is broken.
How Can I Use Several Pieces Without Making a Narrow Hallway Feel Like a Tunnel?
Use a short, consistently aligned series on the most continuous wall and tape its complete outer footprint before choosing the final pieces. Walk it from both ends, remove any frame that overwhelms the sightline, and shorten the group if its repeated edges make the hallway feel longer, busier, or narrower.