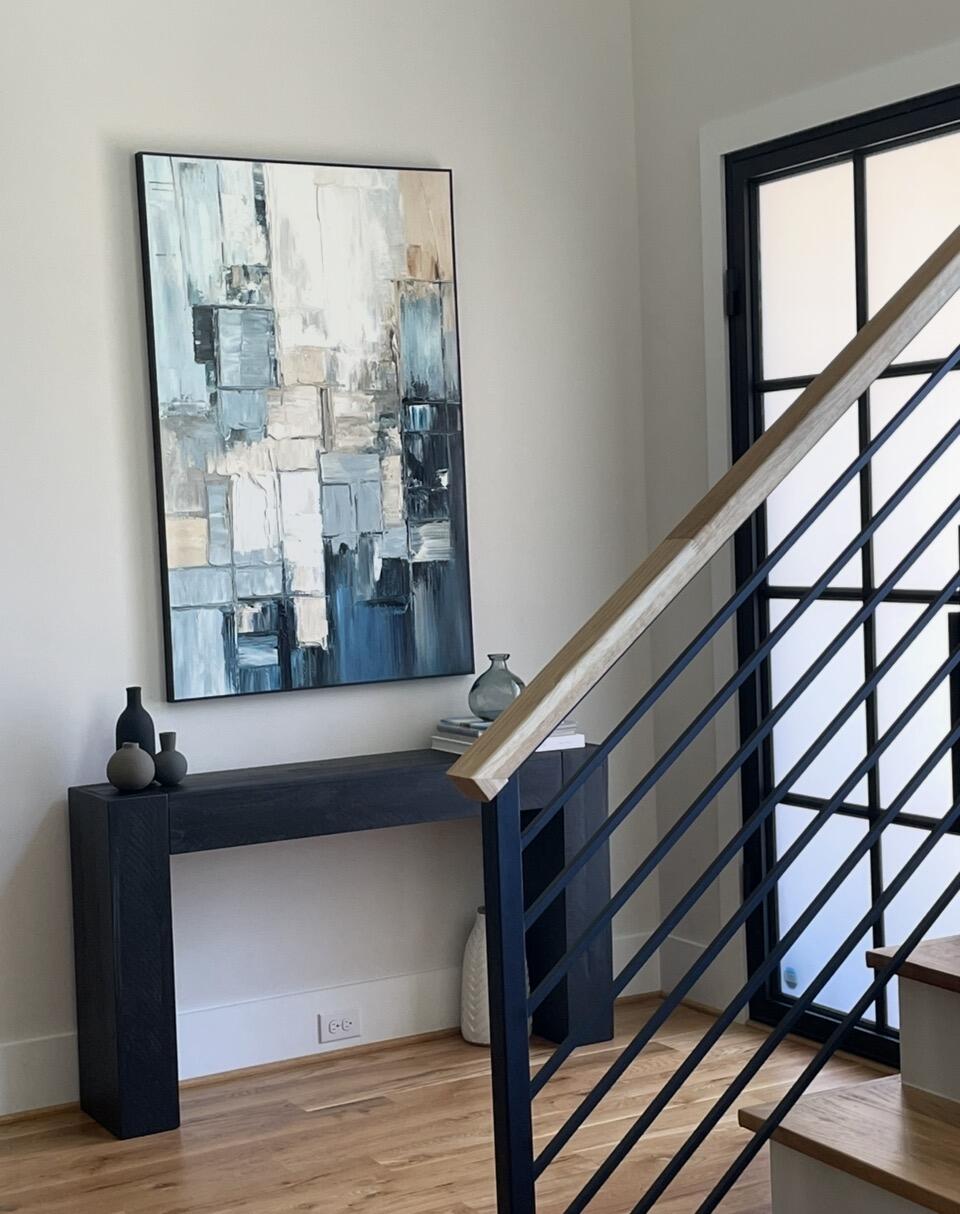
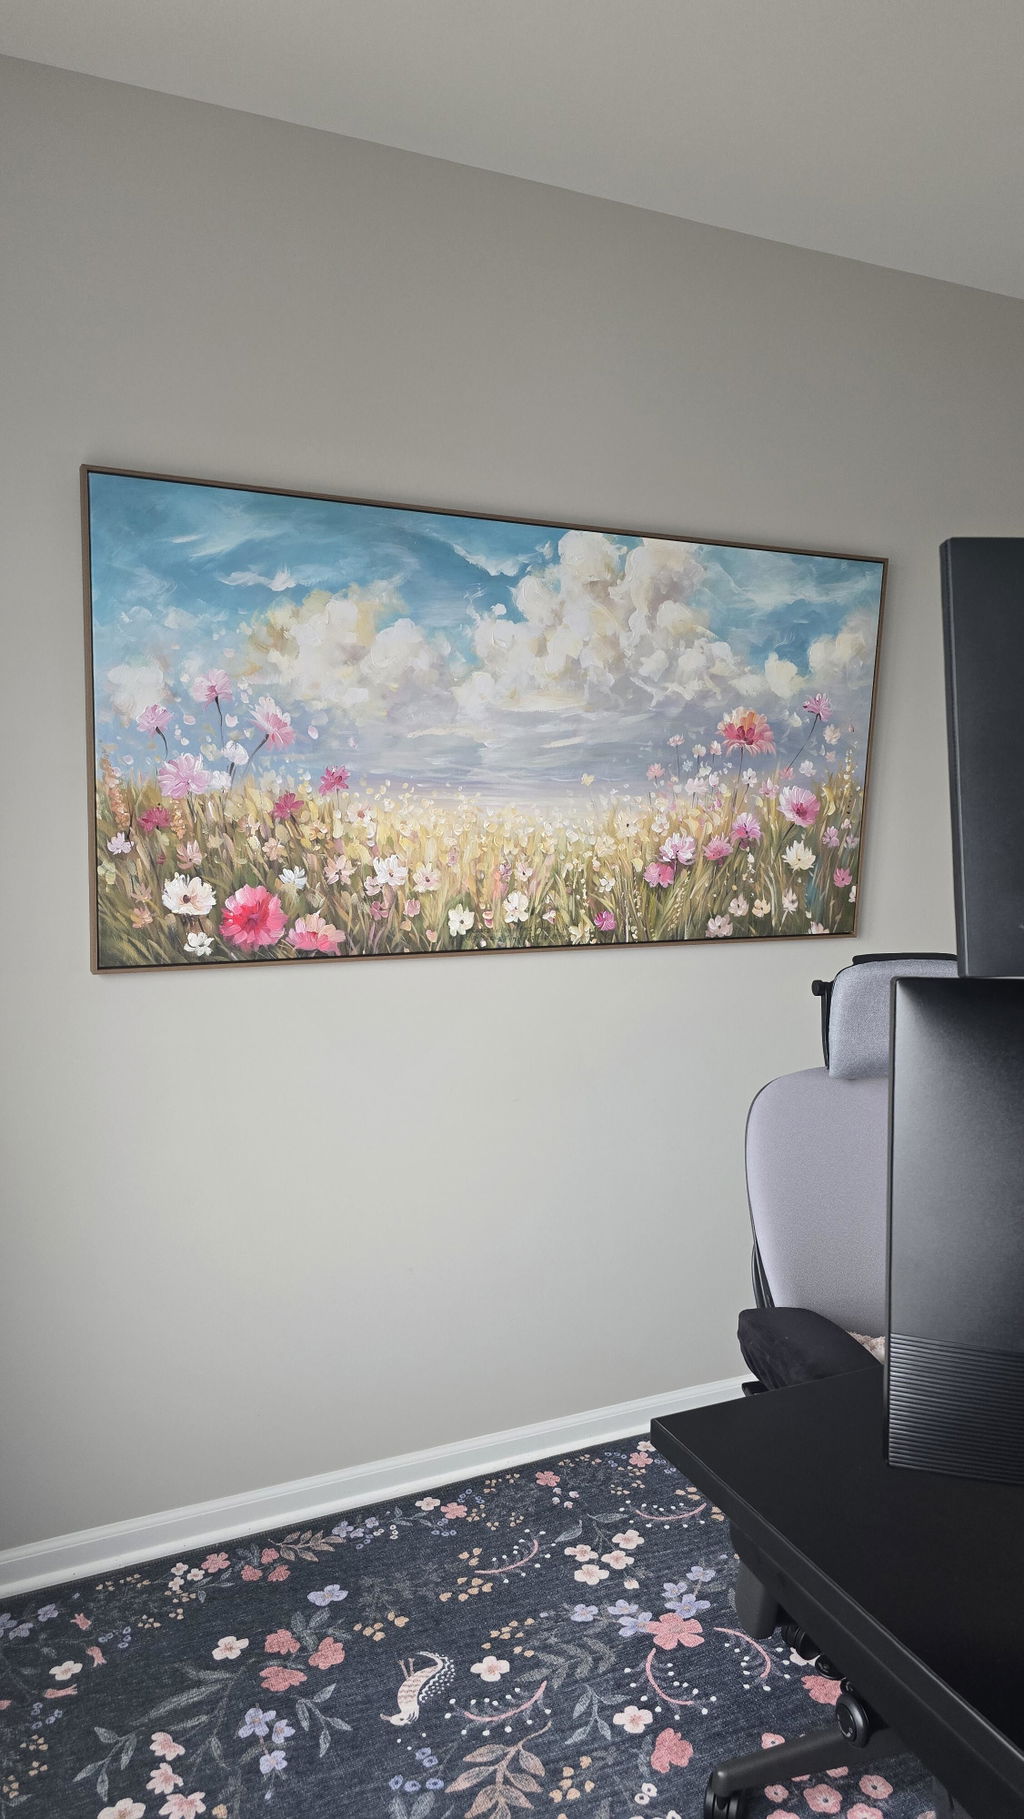
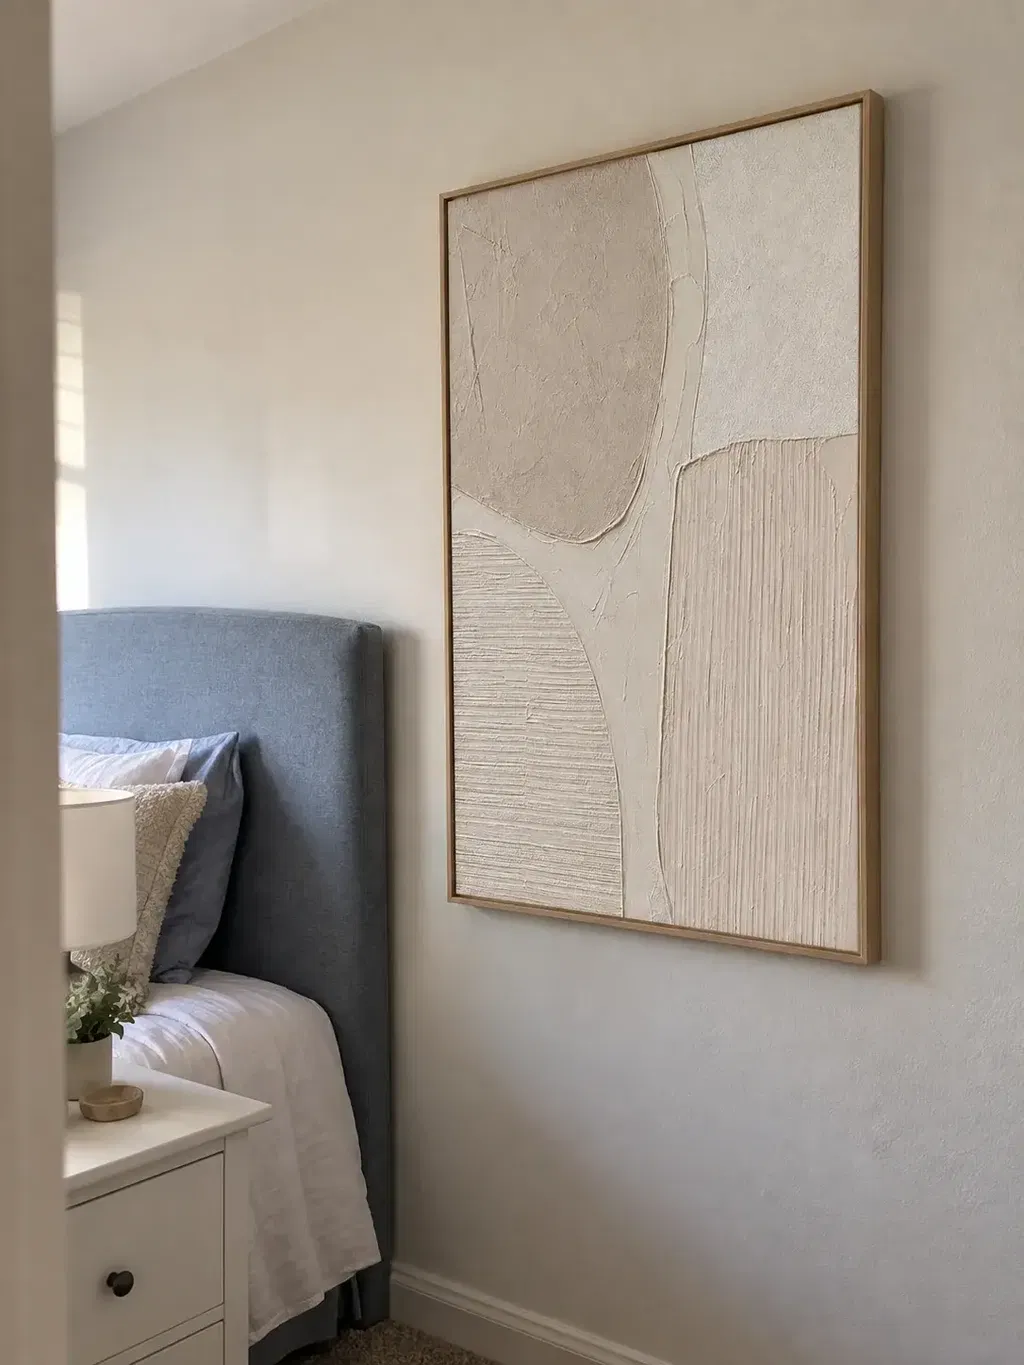
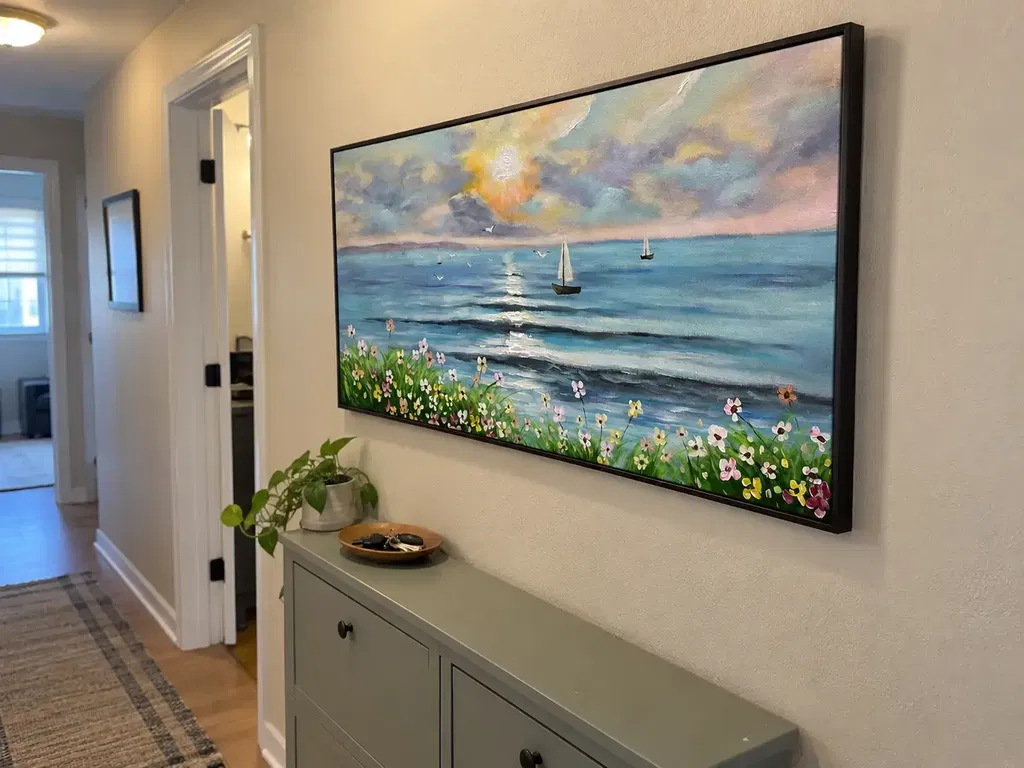
Start by measuring your credenza, not the wall. Aim for a total diptych span of roughly two-thirds of the furniture's width, then use that number to pick panel sizes and a center gap before you shop or drill.
Tape a full-size mock-up in place to confirm the proportions and vertical clearance look right in the room.
Calculate the Diptych's Total Width Before You Shop
The complete diptych grouping, not each panel alone, is what needs to match your credenza. Measure that grouping from the far-left outside edge to the far-right outside edge, including the gap between the two panels.
Measure the Furniture and the Finished Artwork
Measure the credenza or console at its widest usable point, from outer edge to outer edge, not the surrounding wall. If you already know the finished dimensions of your artwork, including any frame, use those numbers instead of the raw canvas size. Treat the diptych as a single object during this step: its visual footprint is the total distance from the outside edge of the left panel to the outside edge of the right panel.
Turn the Two-Thirds Starting Point Into Panel Sizes
A practical first target for the full grouping is approximately two-thirds of the furniture's width, a starting point used in general wall-art scaling guidance rather than a fixed rule you must hit exactly. That two-thirds figure already needs to include the center gap between panels, so back the gap out before you divide the remaining space between two equal panels.
| Credenza width | Two-thirds target span | How it breaks down |
|---|---|---|
| 48 in | 32 in | Two panels plus gap total 32 in |
| 60 in | 40 in | Two panels plus gap total 40 in |
| 72 in | 48 in | Two panels plus gap total 48 in |
For example, a 60-inch credenza gives a 40-inch target span. If you plan a 3-inch center gap, each equal panel works out to (40 − 3) ÷ 2, or about 18.5 inches wide. That number is illustrative: use your own measured credenza width and chosen gap to get your real target. If the taped result looks too narrow or too wide once you check two-panel diptych alignment, adjust the panel size before ordering rather than after it arrives. Shoppers comparing ready-made sets can browse vertical diptych size options, which lists per-panel widths from 16 inches up to 32 inches; you would still add both selected panel widths plus your chosen gap to get the finished installed span.
Set the Centerline, Panel Gap, and Height
Once you know your target span, center the whole grouping on the furniture and pick a gap before you touch the wall. These two decisions, centerline and gap, set every measurement you'll transfer later.
Set the Horizontal Centerline
Find the midpoint of the credenza by measuring between its two outer edges, then find the midpoint of the complete diptych the same way. Line those two midpoints up. For equal panels, the center gap sits symmetrically around that shared midpoint, so each panel ends up the same distance from center. If your panels are different sizes, center the full outside-edge span instead and judge the visual weight once you tape the layout up, since a larger panel can look heavier even when the measurements are technically balanced.
Choose the Gap Above the Credenza
Use the top of the credenza as your vertical reference point rather than a fixed ceiling height. For smaller panels, a 2–4 inch starting range between the two pieces is a workable range according to gallery installation guidance built for smaller works; larger panels usually need a wider, still-consistent gap that you settle on during the mock-up rather than by formula. Furniture clearance should take priority over a generic eye-level rule made for freestanding walls: if a low credenza sits well below eye level, following a strict eye-level guideline will push the art too high and disconnect it from the piece it's meant to anchor. If the console holds a TV, keep the diptych from crowding the screen or interrupting the main sightline from the couch; if you can't fit the grouping without competing with the TV, the wall zone next to or above it, not a fixed clearance number, should guide the final placement. For more on keeping panels aligned once positioned, see this diptych spacing guide.
Mock Up the Full Composition Before Drilling
A full-size paper or tape mock-up is the cheapest way to catch a sizing or spacing mistake before it's a hole in the wall. Build it at true scale, then live with it for a day before committing.
Build the Full-Size Wall Test
Cut painter's tape or paper to the actual outside dimensions of both panels, including any frame, and place them with your chosen center gap between them. University extension guidance on treating the grouping as one unit supports using paper templates and tape to test placement before any wall damage occurs. Mark the intended centerline and the bottom edge relative to the credenza top so the mock-up matches your planned final position exactly.

Make One Adjustment at a Time
Check total width first, since that decision affects everything else. Then check vertical clearance, then the centerline, then the panel gap, changing only one variable between checks so you know what fixed the problem. View the taped layout from the main seating spot and again from farther back in the room, since proportions that look fine up close sometimes read differently from across a living room. Once you're satisfied, write down the approved measurements before you remove the tape.
Install the Pair Without Losing Level or Alignment
Transfer your approved mock-up measurements to the wall, confirm the wall type, then hang both panels using hardware matched to their size and weight. Follow this order to avoid re-measuring later.
- Confirm each panel's actual hanging point from the product instructions or the back of the frame; the hardware location often sits lower than the visual center of the piece.
- Identify your wall type, since drywall, plaster, and masonry call for different anchors.
- Choose appropriately sized wall hardware for each panel, using a stud when one lines up and a suitable anchor when it doesn't; heavier or larger panels benefit from added support beneath the piece.
- Mark both hanging points on the wall using the centerline and height you approved in the mock-up.
- Hang the first panel and check it with a level before touching the second.
- Hang the second panel, checking the gap between panels and re-leveling both before you step back for a final look.
If your finished panels have different or unusual hardware, a guide to wall-specific art hardware can help you match anchor type to wall and weight before you drill.
Fix a Pair That Feels Too Wide, Narrow, High, Low, or Uneven
Match what you're seeing to one specific measurement, then change only that variable. Most visual problems trace back to width, height, gap, centerline, or level, and each has its own fix.
Match the Symptom to One Adjustment
If the grouping feels too wide, compare its outside edges to the credenza's edges before touching the centerline; the fix is usually a narrower gap or smaller panels, not a shift left or right. If it feels too narrow or lost on the wall, check whether the total span is meaningfully under your two-thirds target and consider the next supported panel size rather than widening the gap alone. If the art feels too high, remeasure the clearance above the credenza top before assuming the whole piece needs to move. If it feels too low or crowds the furniture, raise the grouping only enough to restore that clearance. If the gap looks uneven or the panels sit at a slight tilt, remeasure the actual hanging points on both panels and reset both level marks from the same reference line rather than eyeballing a correction.

Run the Final Visual Check
Step back to your main seating position and confirm the two panels read as one composition rather than two separate pictures. Make the smallest change that resolves what looks wrong, since one correction at a time keeps you from undoing an earlier decision that was actually fine.
FAQs
Can a diptych be wider than two-thirds of the credenza?
Yes. Two-thirds is a starting target, not a ceiling. If the taped mock-up looks undersized against a wide or tall wall, test a modestly larger span while keeping both outside edges within the furniture's footprint, then judge the result in person before ordering or drilling.
How should I size a diptych for a narrow credenza?
Compare the complete outside-edge span with your credenza's usable width rather than picking two large panels and hoping they fit. If the taped layout approaches or overhangs the furniture's edges, reduce panel width or tighten the center gap until the grouping sits inside the credenza's footprint.
Does a TV change where I center the diptych?
Often, yes. A television becomes a competing focal point, so keep the diptych centered on the furniture only if it doesn't crowd, obscure, or visually compete with the screen from your main seating position. If it does, use the available wall zone beside or above the TV instead and confirm the sightline with a taped mock-up.
How do I stop the two panels from drifting out of level?
Measure each panel's actual hanging point rather than assuming both panels use the same hardware placement. Mark both points from your approved mock-up while the panels are supported, then level and recheck each mark after hanging so neither panel drifts from the other.