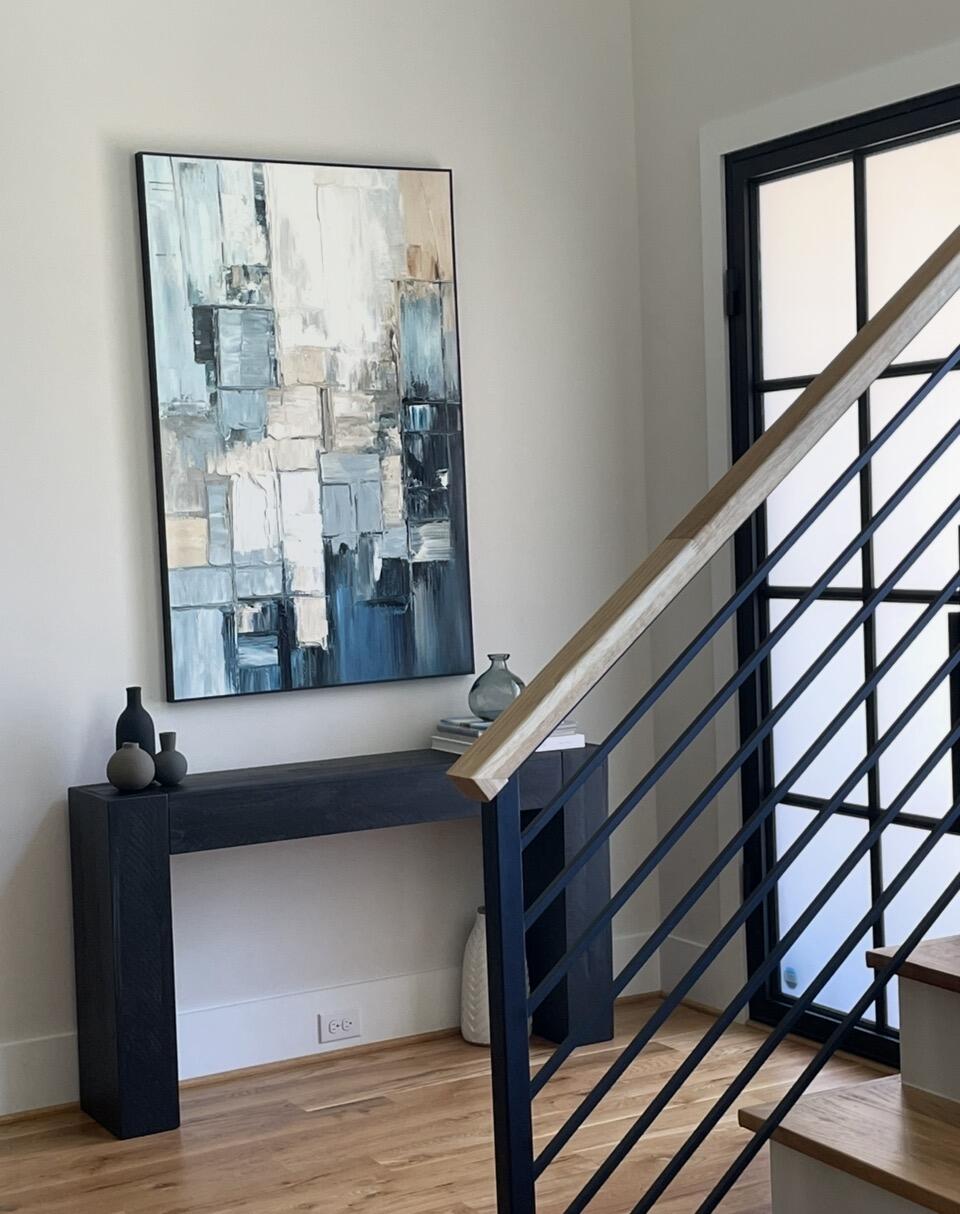
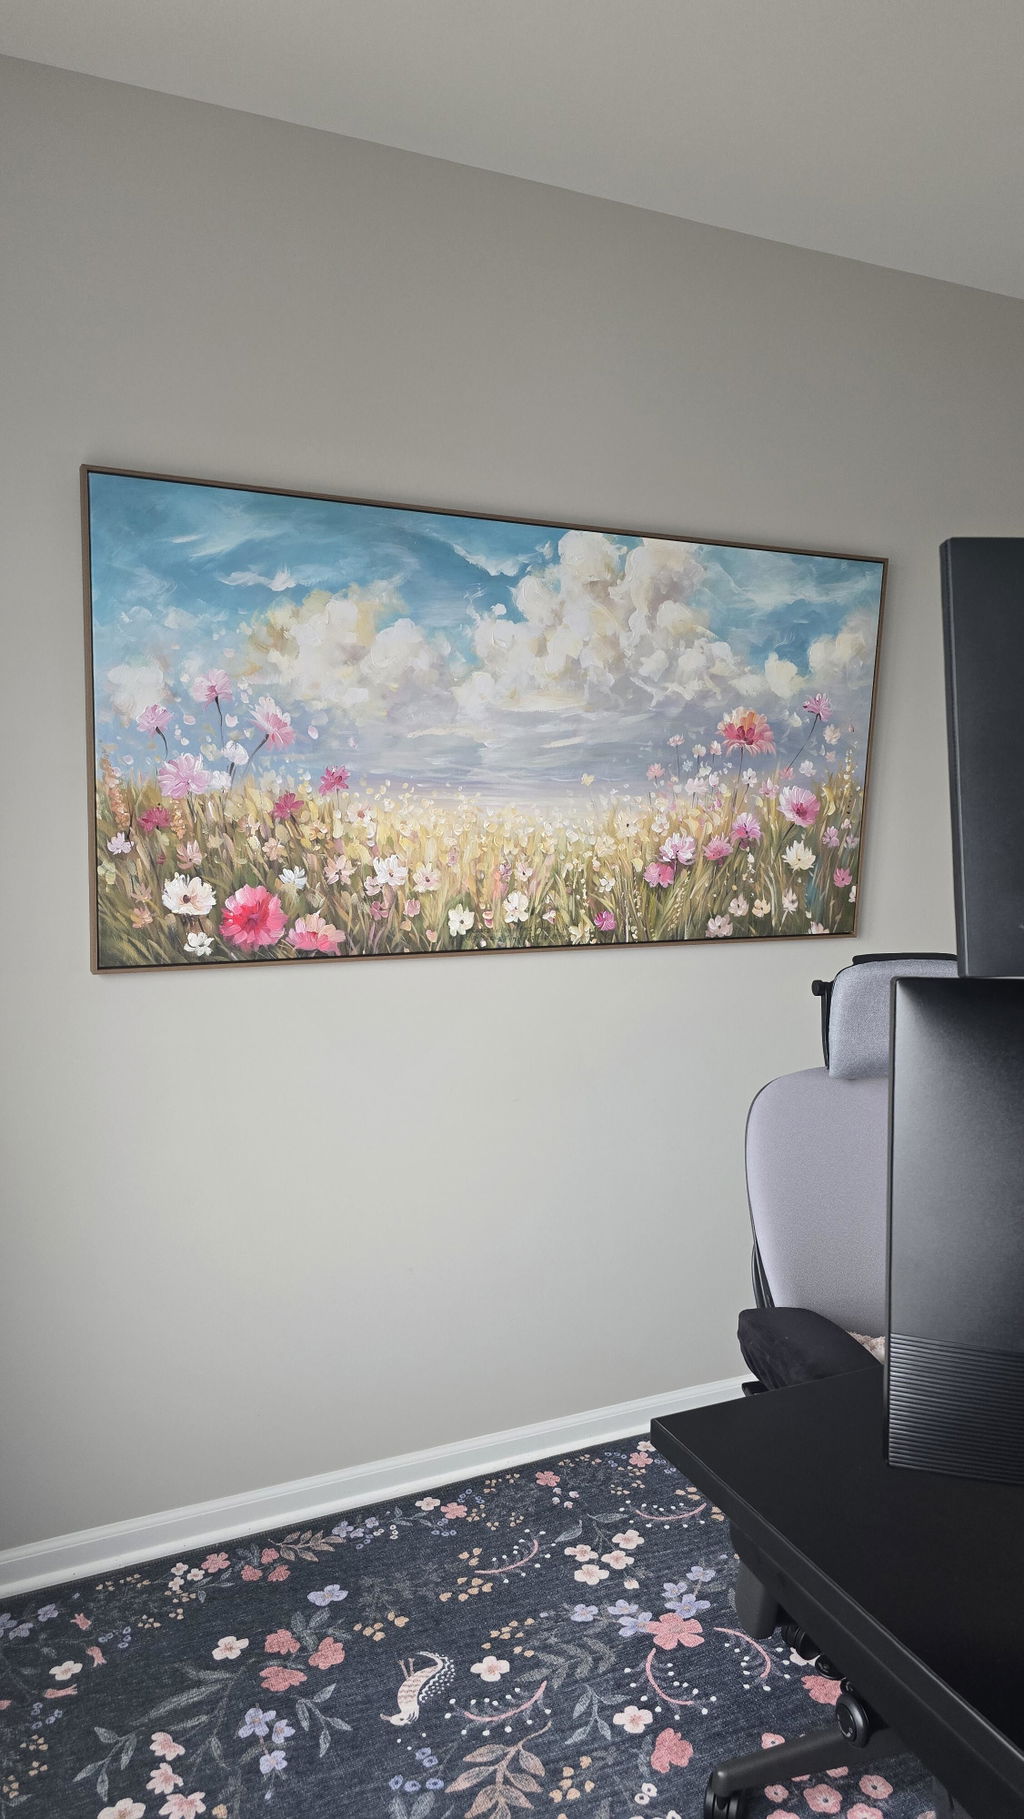
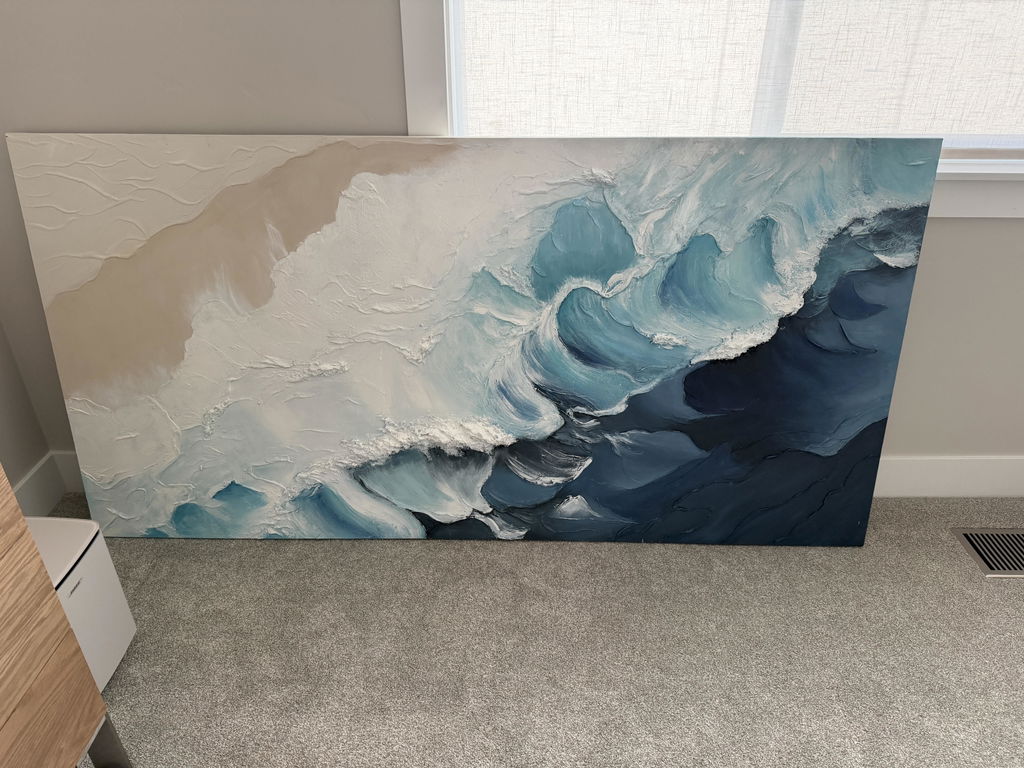
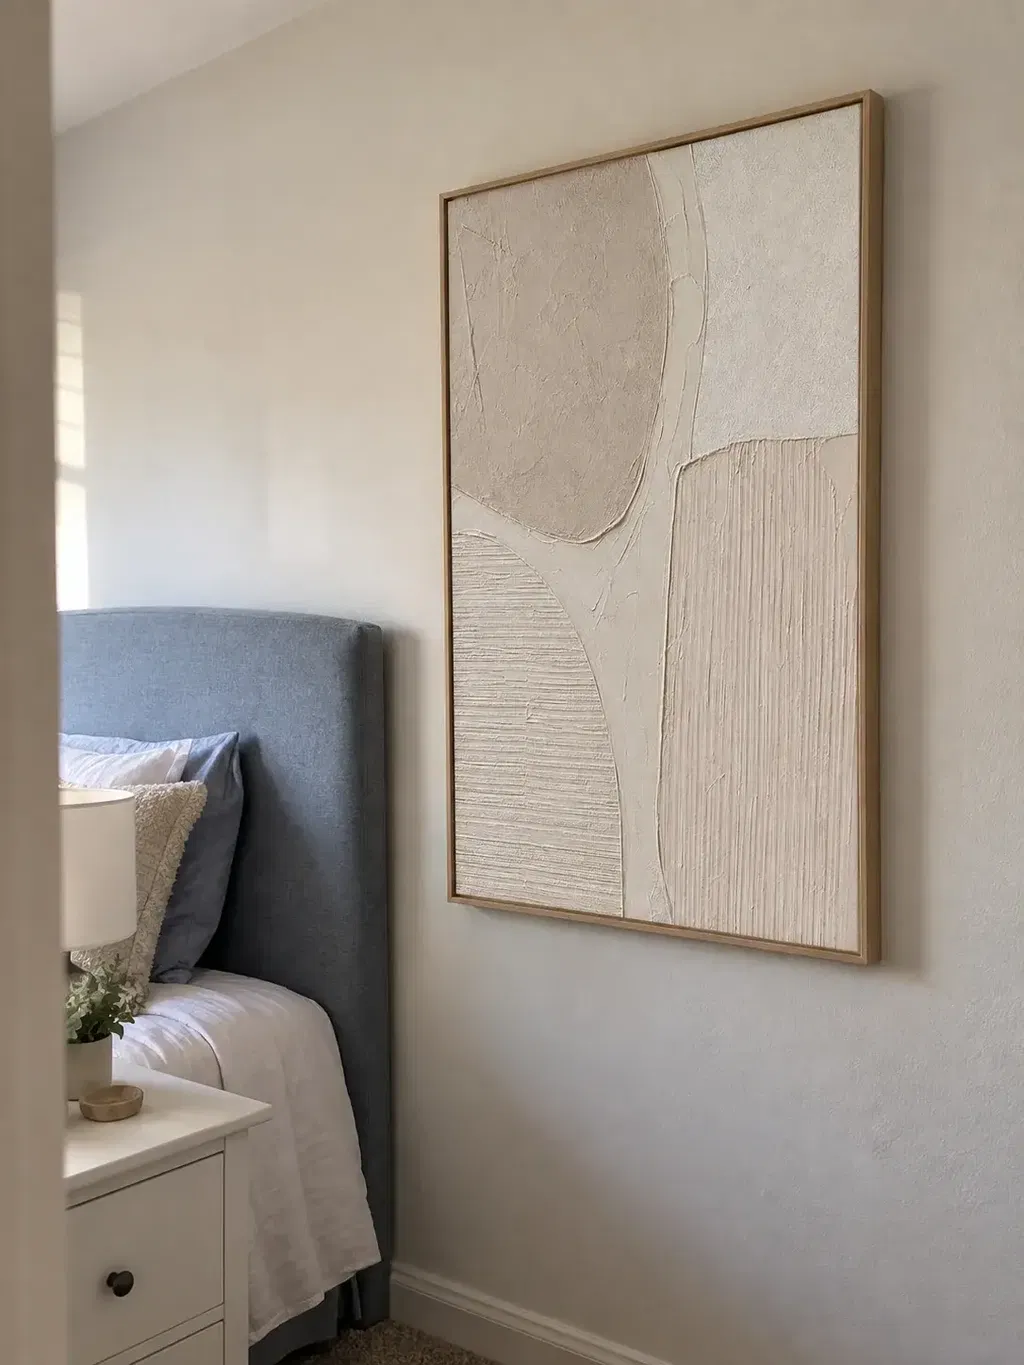
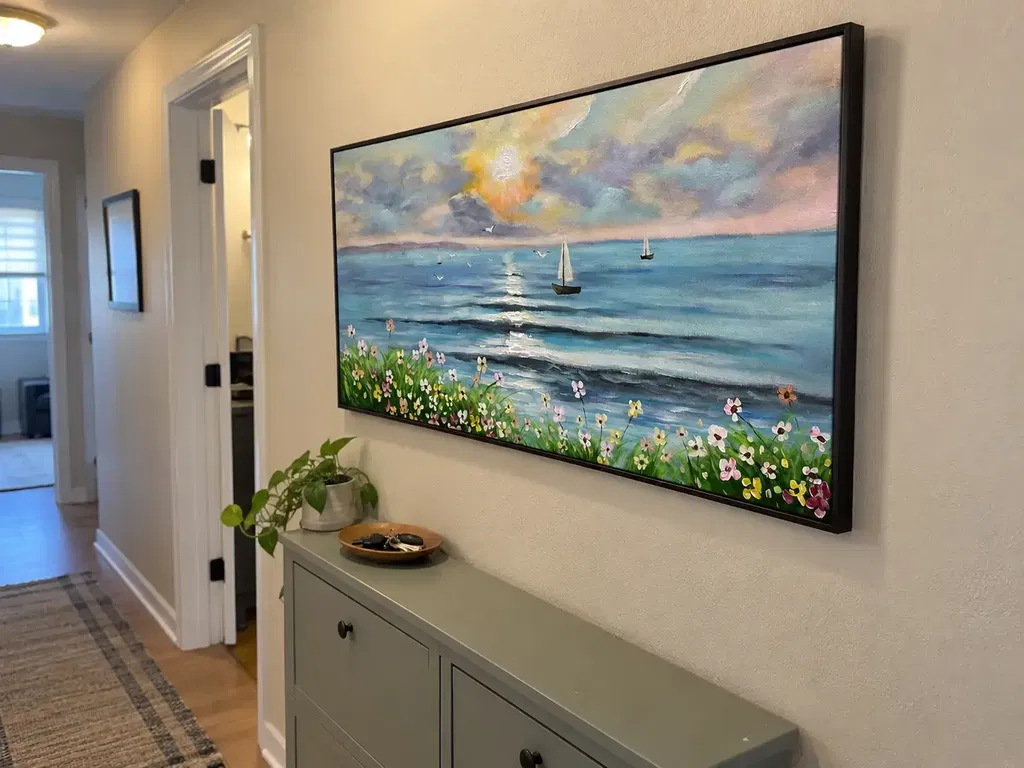
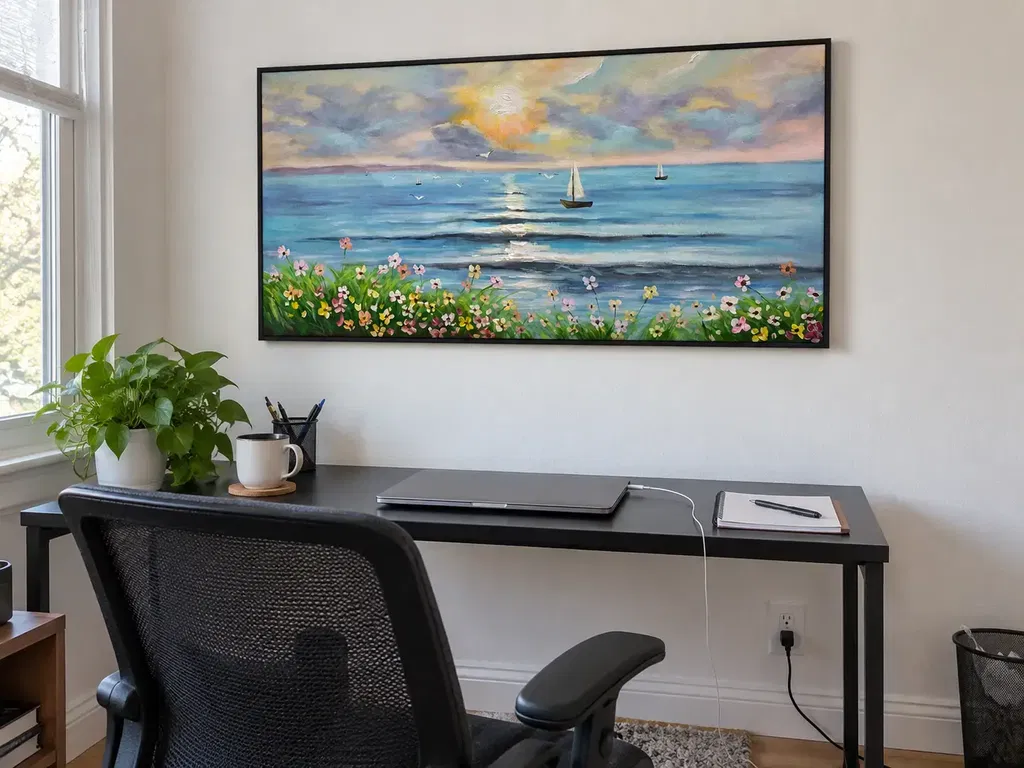
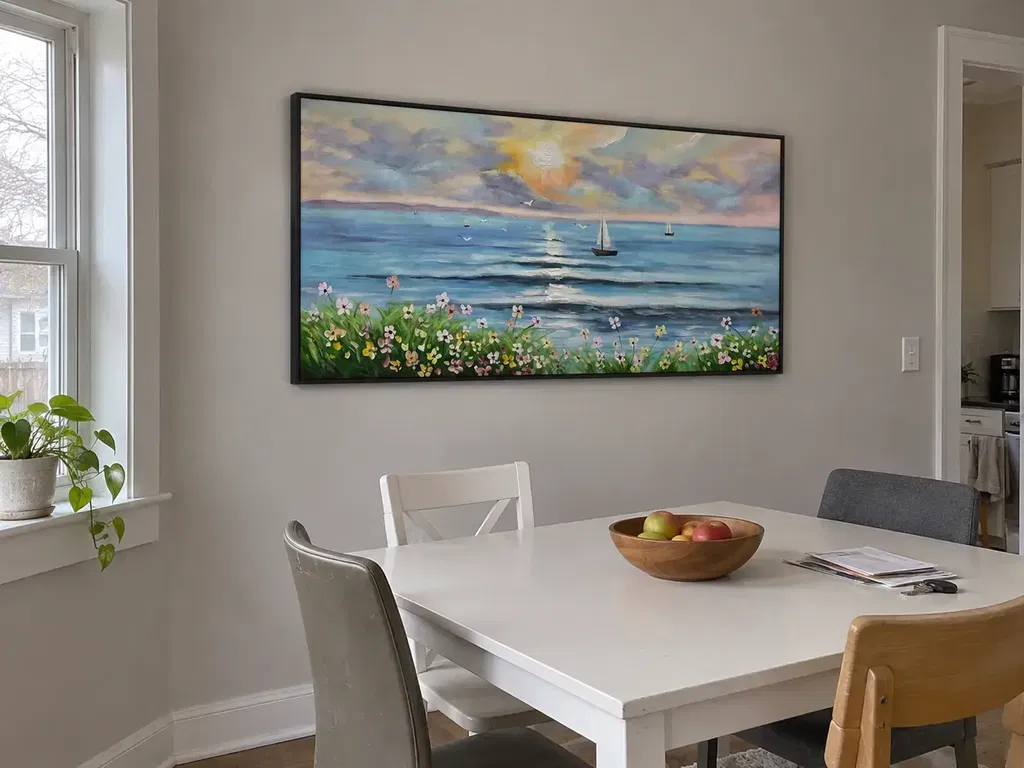
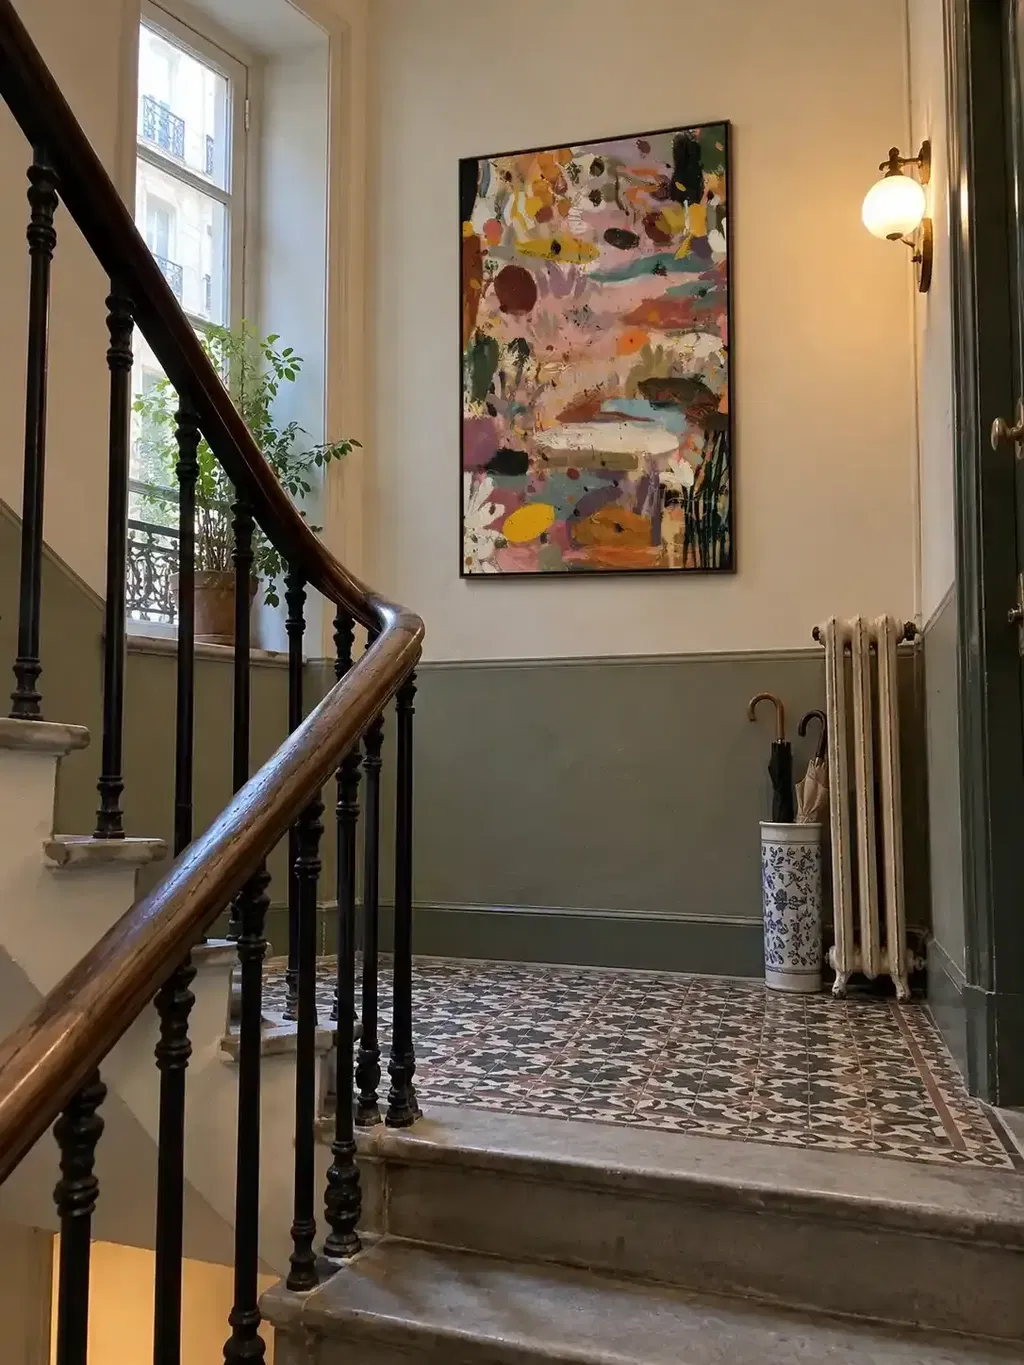
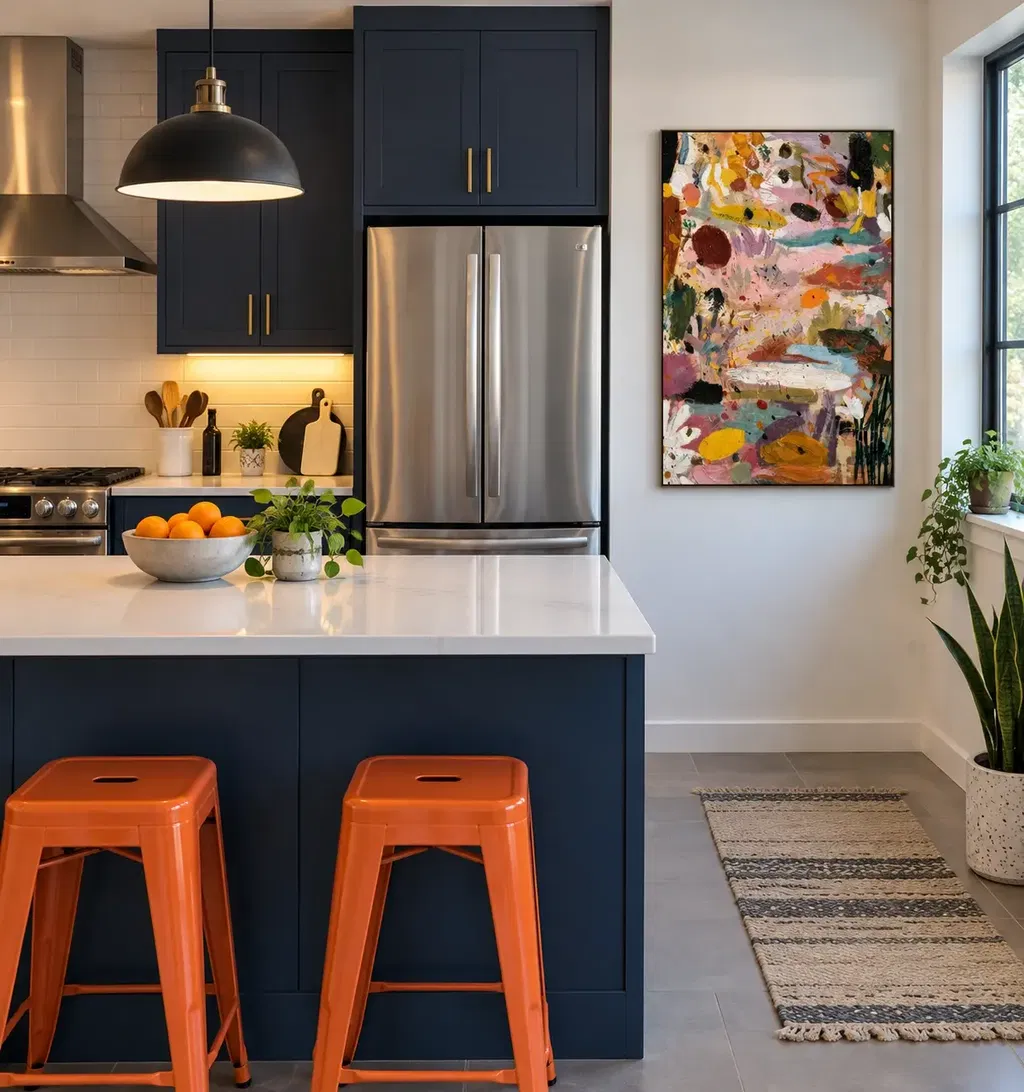
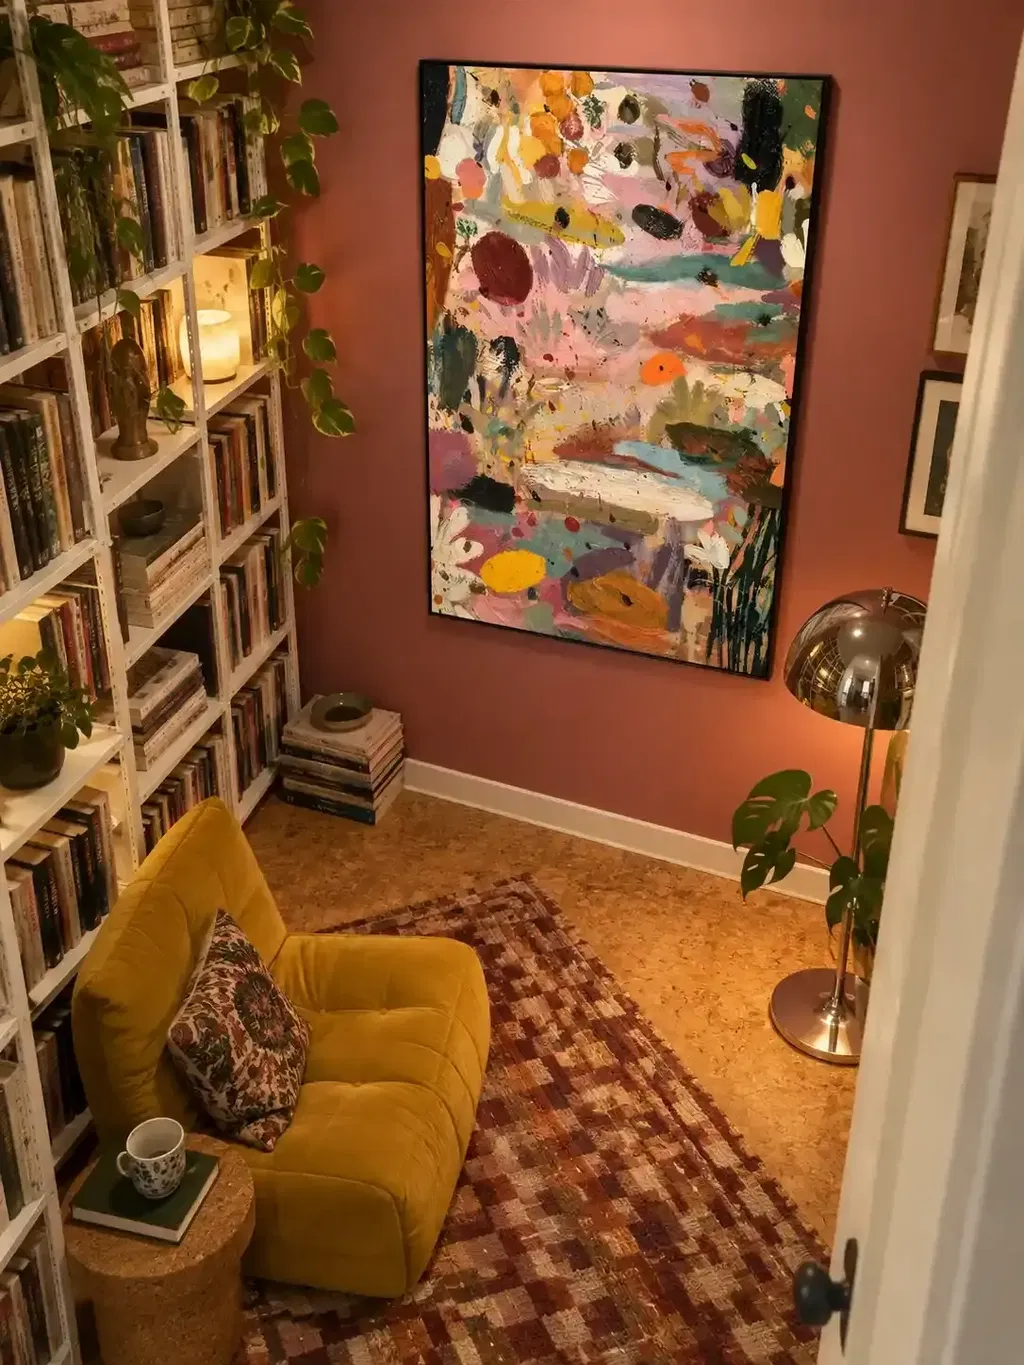
An L-shaped sectional has no single center, so the first step is picking which zone modern paintings for wall display should balance. A sofa with a long run and a short return can create four different centerlines: the long leg, the short leg, the full footprint, or the seating area people actually face. Once you choose that zone, you can measure it, size modern paintings for a wall to roughly two-thirds to three-quarters of its width, and calculate a hanger mark from real sofa and artwork measurements.
Test that plan with a full-size paper template before you drill, then confirm the wall and finished weight can support the hardware you plan to use.
Choose the Visual Center of the Sectional
There is no single correct center for an L-shaped sectional, so start by matching modern paintings for wall display to how the room is actually used. Compare the long run, short run, full footprint, and primary seating zone, then pick whichever one dominates the view from the main seats.
Compare the Four Possible Reference Zones
- Long-run center: use this when the long side of the sectional is the dominant seating and visual axis in the room.
- Short-run center: choose this only when the return or chaise is the intended focal seating area, such as a media wall facing that side.
- Full-footprint center: appropriate when both legs are meant to read as one composition and the room views the entire L evenly, like an open-plan layout.
- Primary seating-zone center: fits when the chaise or main seating cluster sits off-center from the total footprint, so the lived seating area differs from the outer shape. Furniture-first placement guidance supports starting from the sectional visual center that people actually face rather than the empty wall behind it.
Mark the Chosen Centerline
Measure from the outer edges of the zone you selected, not from the wall corners. If the long run is your reference, measure between its two outer arm edges; if you are using the seating zone, measure between the outer edges of that cluster of cushions. Mark this centerline lightly on the wall with painter's tape, and note any wall breaks nearby, such as a window or doorway, that could limit how wide the canvas can go. This centerline becomes the input for the width calculation in the next section.
Measure the Wall and Size the Canvas
Canvas width should track the reference zone you just marked, not the sectional's total footprint. Start with a canvas or complete grouped arrangement spanning roughly two-thirds to three-quarters of that zone's width, then check it against the usable wall.

Record the Measurements That Control Width
- Selected-zone width (Wz): the horizontal distance between the outer edges of the zone you chose above.
- Usable wall width: the span available before hitting a window, doorway, or awkward corner transition.
- Finished artwork width: the canvas's full outer width, including a frame if it has one, or the combined outer edges of a grouped arrangement.
- Nearby wall breaks: any opening or the sofa's own return that could make the initial span feel crowded once art is added.
Apply the Starting Width Range
| Measurement or formula | Use it for |
|---|---|
| Wz × 2/3 | Lower starting width for one canvas or the full grouped arrangement |
| Wz × 3/4 | Upper starting width for one canvas or the full grouped arrangement |
| Usable wall width | Maximum span before hitting a window, doorway, or corner |
This range is a practical starting point, not a fixed rule, and our own art width starting range guidance treats it the same way. If the resulting span crosses a wall break or looks crowded against the usable wall, choose a narrower canvas or revisit the reference zone rather than stretching the measurement to fit. For a grouped arrangement, calculate the complete outer span first and keep spacing between pieces consistent once you settle on a size.
Set Hanging Height Without Guessing
Hanging height above a sectional depends on the sofa itself, not a generic open-wall eye-level rule. You need four separate measurements: sofa-back height, clearance, artwork height, and hanger drop.
Separate Clearance, Center Height, and Hanger Height
The gap between the sofa back and the artwork's bottom edge is a different number from the artwork's center height, and both are different from where you actually mark the wall. A taller canvas shifts its own center even if you keep the same clearance above the sofa. The hanger mark also has to account for the distance from the artwork's top edge down to the wire, D-ring, or cleat that will actually hold it, since that distance is rarely zero.
Calculate the Mark From Measured Points
Before marking the wall, record four numbers: B, the sofa-back height from the floor to the top of the selected zone's sofa back; G, your chosen clearance above the sofa back, typically starting around 6 to 10 inches; A, the finished artwork height; and D, the drop from the artwork's top edge to its hanging hardware. The artwork's center height is C = B + G + A/2, and the hanger mark itself is C + A/2 − D. Our centerline hanging formula walks through this same measurement logic for symmetrical hanging. Keep every measurement referenced from the floor, and recheck the result against a taped template before you commit to a hole.
Test the Layout at Full Size Before Drilling
A full-size template is the fastest way to confirm your calculated width, centerline, and height actually look right in the room. Tape a paper, cardboard, or outlined rectangle at the finished outer dimensions of your canvas or grouped arrangement, matching frame edges if it has one.
View that template from the primary seats, from standing positions, and from the main path into the room, not just from directly in front of the wall. Check whether it visually supports the seating zone you chose, clears any nearby opening, and preserves the sofa-back gap you planned. If it looks shifted or crowded, move the template a few inches at a time until the balance feels right from those real viewpoints. Treat this test as the final composition decision: it can overturn your initial centerline, width, or height choice, and that is the point of doing it before drilling.
Install the Canvas After the Wall and Weight Check
Once the template is approved, installation still depends on the wall and the finished weight of the piece. Confirm the wall construction and the artwork's actual weight before choosing hardware, and do not drill until both are known.
Museum conservation guidance calls for appropriately sized, sturdy hanging hardware, with wall hooks driven into a stud when one is available and a proper anchor used for large or heavy pieces. Our guide to wall and hardware checks breaks down how to match drywall, plaster, masonry, or stud-backed walls to the right hardware for a given weight. Get a second person to help move and lift a large canvas into place, and once it is up, recheck level and the sofa-back clearance you planned. Before finalizing the spot, avoid active heat sources and direct sunlight when practical, since both can damage a painting over time.

FAQs
Should the corner of an L-shaped sectional sit under the center of the canvas?
Not automatically. The inside corner is a useful reference marker for measuring, but the actual center should come from whichever reference zone you selected, usually the forward-facing seating area. Confirm the corner-relative placement with a full-size template before committing to it.
How do I center canvas art when the sectional is in a corner?
When the sectional sits against two walls, define the usable wall plane on the side you plan to hang art, along with the primary viewing direction from the main seats. If the calculated canvas span would cross the corner or an opening awkwardly, reduce the width or shift to a different reference zone rather than centering on whatever empty wall happens to be available.
Does a multi-piece canvas arrangement use the same width measurement?
Yes, treat the complete grouped arrangement as one outer span for the initial width calculation against your selected zone's width. Once that outer span is set, keep the spacing between individual pieces consistent when you test the layout, rather than calculating each piece separately.
What if the ideal canvas width overlaps a window or doorway?
Measure the usable wall span on either side of the opening and size the canvas to fit within it, even if that means going narrower than the starting two-thirds to three-quarters range. The next step is retaping your template at the reduced width and rechecking it from the main seats before drilling.