The Final Shield: When and How to Varnish New Oil Paintings
In the shifting landscape of the global art market, we are witnessing a profound return to "real application value." While high-end auction sales for purely financial art assets plummeted 44% year-over-year in 2024, according to Marketplace.org, collectors are increasingly investing in custom hand-painted works that offer genuine emotional resonance. This shift highlights a fundamental truth: a hand-painted oil canvas possesses an "essential identity" and soul that digital replicas and AI-generated prints simply cannot replicate. In fact, research from Columbia University confirms that consumers value art labeled as "AI-generated" 62% lower than authentic human-created art.
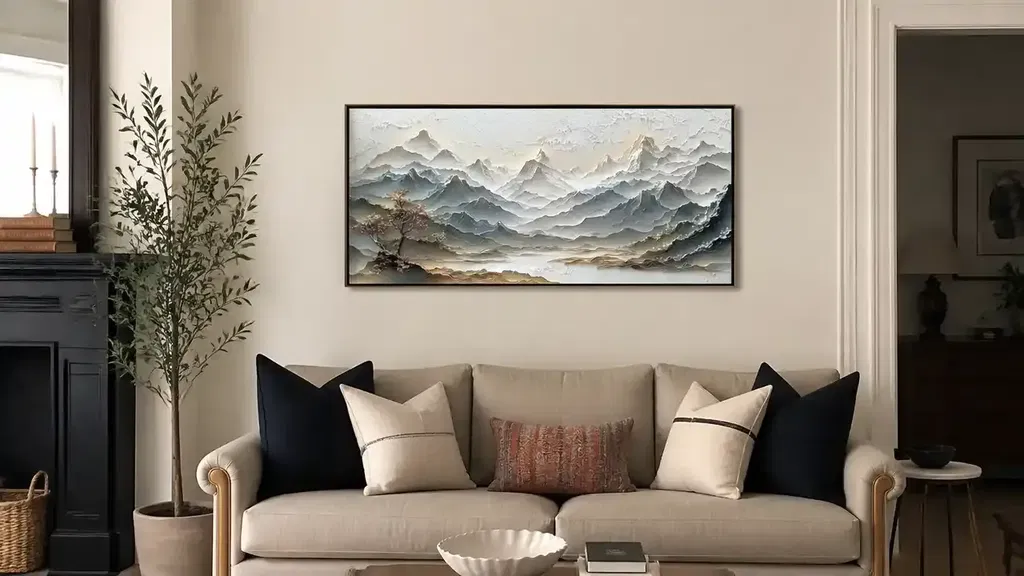
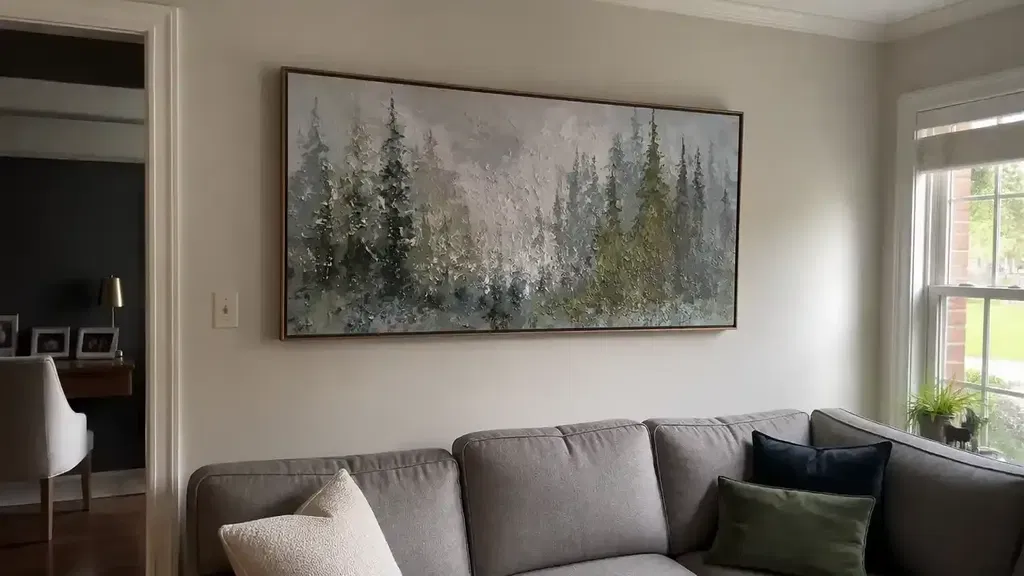
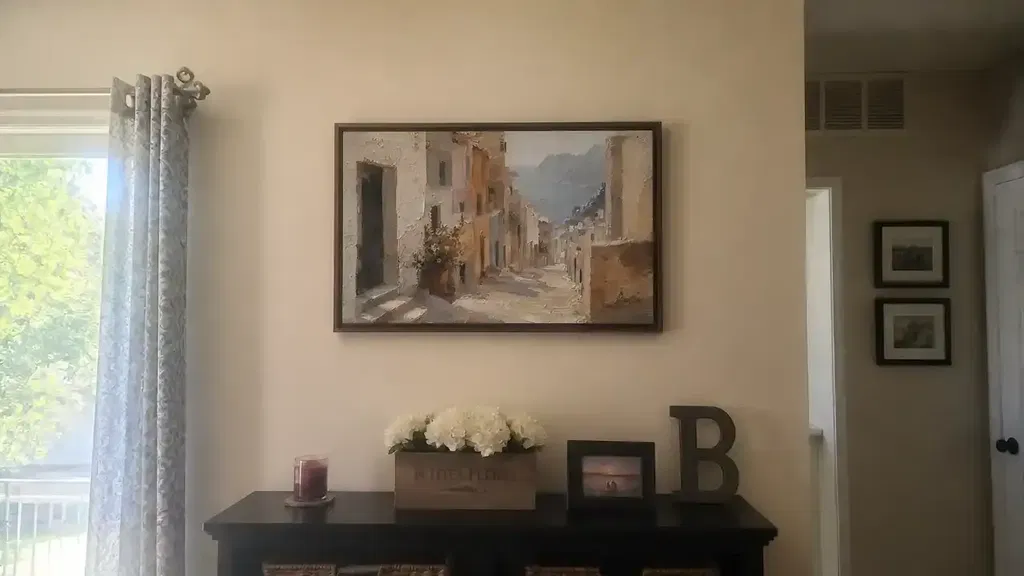
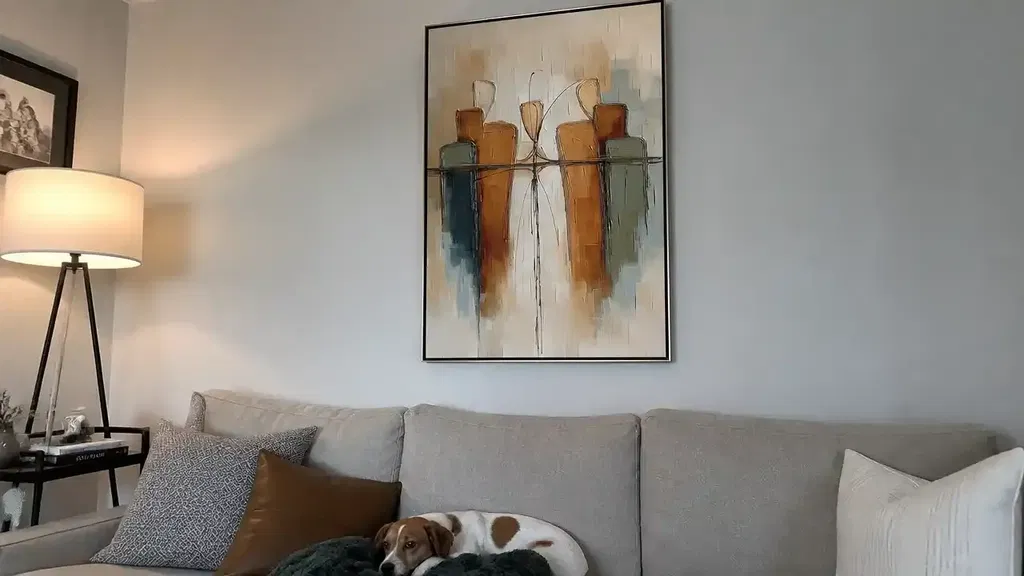
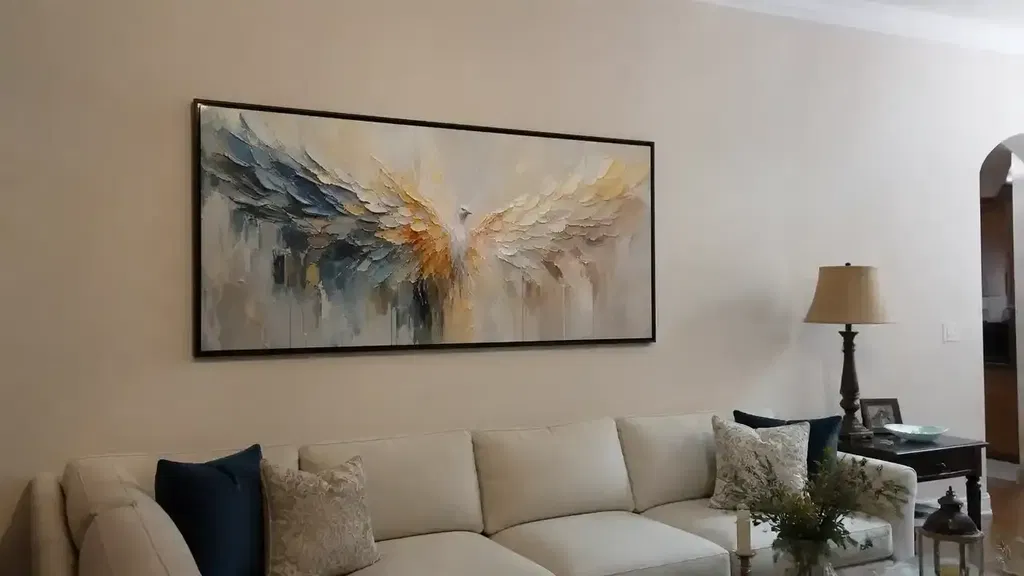
For the modern collector or interior designer, a hand-painted oil painting is more than decor; it is a multi-generational investment. However, the longevity of that investment depends entirely on the "final shield"—the varnish. Applying varnish is the most critical preservation step, yet it is also the one most fraught with misconceptions. At MontCarta, we often see the consequences of "varnish impatience," where a premature application traps solvents and leads to catastrophic cracking.
This guide breaks down the science and methodology of varnishing, ensuring your artwork remains a vibrant focal point for decades.

The Curing Paradox: Why Oil Never Truly "Dries"
The most common mistake owners make is assuming that because a painting is "dry to the touch," it is ready for varnish. In reality, oil paint does not dry through evaporation like water-based paints. Instead, it cures through a complex process of hydrolysis and oxidative cross-linking.
According to chemical studies published via ResearchGate, oil paint never truly stops moving. Hydrolysis and oxidation continue for decades at a molecular level. For the purpose of varnishing, we look for the "working dry" state—the point where the paint film has oxidized sufficiently to become a stable, solid structure that won't be dissolved by the varnish solvents.
Logic Summary: Our drying time recommendations are based on a deterministic scenario model that accounts for paint film thickness, binder type (linseed vs. walnut oil), and environmental stability. This is a practical heuristic for collectors, not a controlled laboratory measurement for every pigment variant.
| Parameter | Recommended Range | Impact on Curing | Rationale |
|---|---|---|---|
| Paint Thickness | 1mm to 5mm+ | Exponential | Thick impasto requires deeper oxygen penetration. |
| Relative Humidity | 45% – 55% | Moderate | High humidity (>65%) traps moisture in the film. |
| Temperature | 65°F – 70°F | High | Higher temps accelerate oxidation but can cause embrittlement. |
| Airflow | Low/Consistent | Moderate | Prevents dust while allowing oxygen exchange. |
| Substrate | Primed Canvas | Baseline | Non-porous priming prevents "sinking" of the binder. |
The 6-Month Rule vs. the Impasto Reality
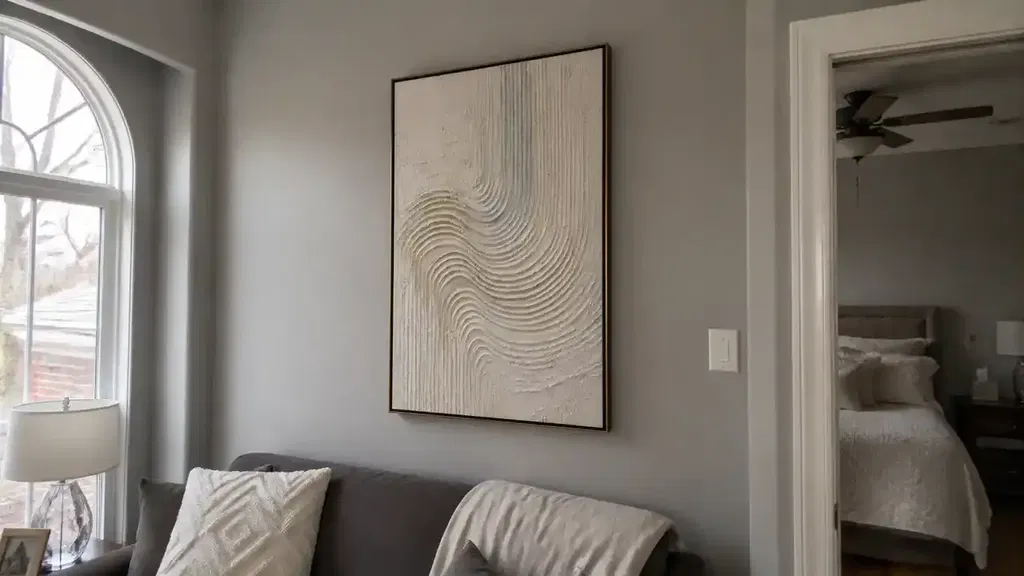
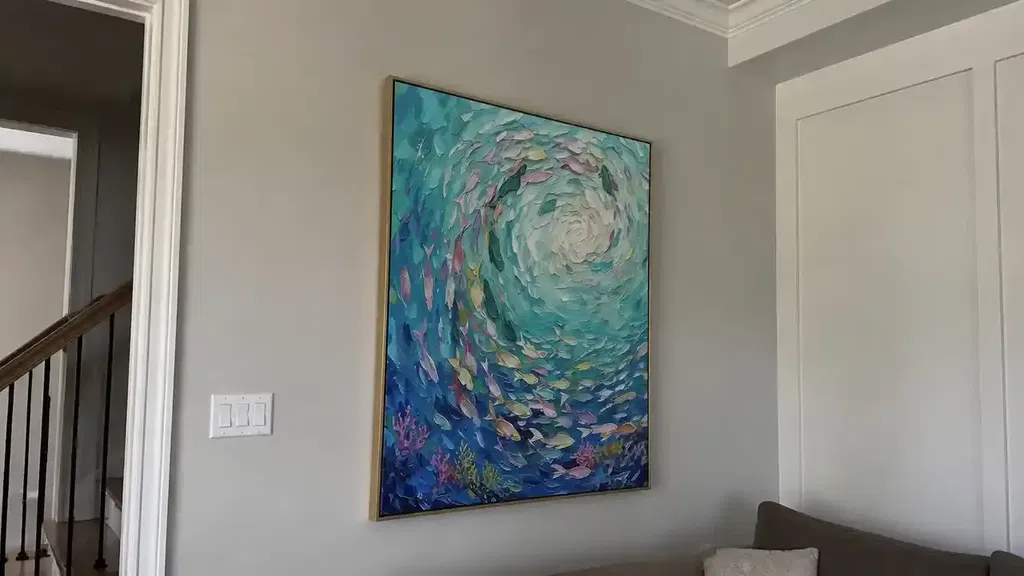
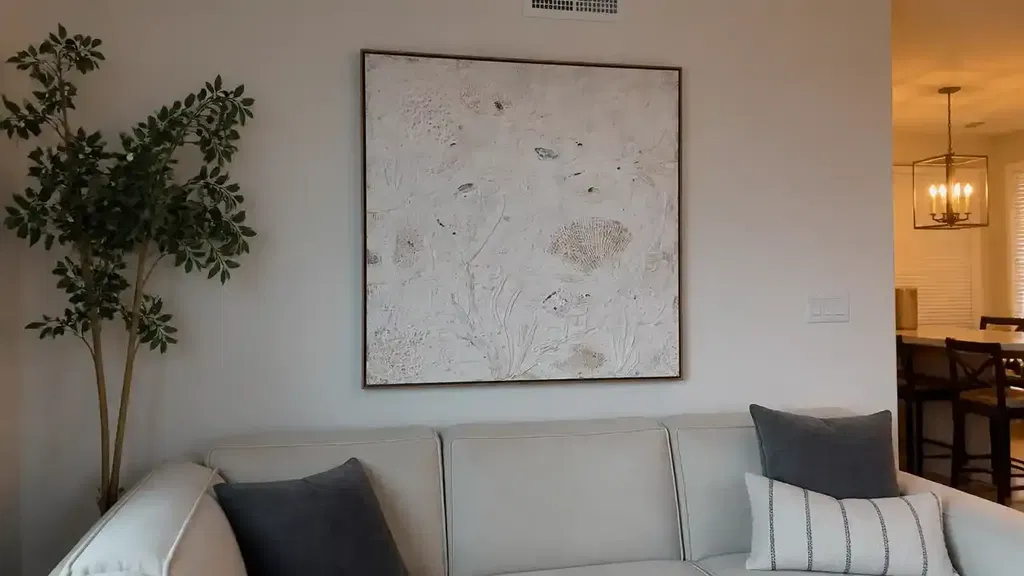
The industry standard for varnishing is the "6-Month Rule." For a painting of standard thickness, waiting six months allows the layers to settle and the primary oxidation phase to conclude. However, as interior design trends for 2026 lean toward "texture as the soul" of a space—with search interest in artisan craftsmanship rising 21% (Pennsylvania Association of Realtors)—many modern works feature heavy impasto.
If your painting features thick, palette-knife textures, the 6-month window is often insufficient. For works with significant impasto, waiting 12 to 18 months is the standard archival practice. Applying a final varnish too early on thick paint can trap unoxidized oils, leading to "Support Induced Discoloration" (SID) or structural failure of the paint film.
Two Practical Tests for Readiness
- The Thumb Test: Gently press your thumb against the thickest area of the painting. If there is even a microscopic hint of softness or "give," the painting is not ready. It must feel as hard as a plastic countertop.
- The Olfactory Test: Lean in close to the canvas. If you can still smell the distinct, nutty scent of linseed oil, the painting is still actively off-gassing. A "ready" painting should be virtually odorless.
The Varnish Spectrum: Retouch vs. Final Shield
Collectors often ask if they can protect their art while waiting for the full curing period. This is where Retouch Varnish comes in.
- Retouch Varnish: A highly thinned, breathable resin that can be applied as soon as the painting is "touch dry" (usually 2-4 weeks). It brings back the pigment saturation that often dulls during the initial drying phase and provides a temporary barrier against dust. Crucially, it allows the paint to continue breathing and oxidizing.
- Final Varnish: A thicker, permanent (but removable) layer designed to be the primary sacrificial shield. It protects against UV light, atmospheric pollutants, and physical abrasion.
Choosing between a gloss or satin finish is often a matter of the room's lighting. For high-glare spaces, a satin finish is typically preferred to reduce reflections. You can learn more about this in our guide on choosing finishes for bright spaces.
Environmental Saboteurs: Humidity and Temperature
The environment in which you varnish is just as important as the timing. Scientific studies in ScienceDirect demonstrate that temperature directly alters the rates of oxidation and hydrolysis.
- The Humidity Trap: In environments where relative humidity exceeds 65%, even a seemingly dry painting can harbor microscopic moisture pockets. If you varnish under these conditions, the moisture becomes trapped, leading to "blooming"—a dreaded white, hazy cloudiness that obscures the art.
- The Temperature Risk: Varnishing in temperatures above 75°F can cause the varnish to dry too quickly, preventing it from leveling out and resulting in visible brush marks or "streaking." Conversely, cold temperatures can make the varnish too viscous to apply evenly.
Application Mastery: Spray vs. Brush
The method of application should be dictated by the texture of the painting.
Brush Application
A wide, soft-bristled synthetic brush is the tool of choice for smooth or moderately textured works. The goal is a "polymer distribution" that is even and thin.
- The Friction Point: Avoid "over-brushing." Once the varnish is applied, it begins to set quickly. Going back over a semi-set area will create "tackiness" and ruin the finish.
- Expert Tip: Always apply varnish in a dust-free environment. We recommend "tenting" the painting with a clean plastic sheet or cardboard after application to prevent floating particles from landing on the wet surface.
Spray Application
For heavy impasto or highly delicate surfaces, spray varnish is often superior. It provides even coverage over deep "valleys" in the paint texture without the risk of a brush dragging through the peaks.
- The Technique: Use multiple light coats rather than one heavy layer. This prevents "pooling" in the texture, which can lead to uneven drying and glossy spots.

The UV Factor and Long-Term Maintenance
One of the primary reasons for varnishing is UV protection. However, it is a common misconception that all varnishes provide equal protection. Testing data from Kim Crick shows that while some varnishes block only 20-40% of UV radiation, high-quality archival varnishes with UVLS (UV Light Stabilizers) are essential for works displayed in naturally lit rooms.
Even the best varnish is a "sacrificial layer." Over 15 to 20 years, the varnish will accumulate dust, smoke, and pollutants. It may also begin to yellow slightly. Because professional-grade varnishes remain solvent-reducable, a conservator can safely remove the old, dirty varnish and reapply a fresh coat without ever touching the original paint layer. This is the hallmark of archival care.
Health and Safety in the Studio
Varnishing involves solvents that require respect. According to CDC NIOSH, chronic inhalation of volatile compounds in certain coatings can lead to central nervous system issues.
- Ventilation: Always varnish in a space with a cross-breeze or active exhaust.
- Solvent Choice: Modern "odorless" mineral spirits are safer for home use, but remember that "odorless" does not mean "vapor-free." Always wear appropriate protection if you are sensitive to fumes.
- Pigment Awareness: Be aware that some historical pigments, like those containing cadmium or lead, require specific handling if the paint film is ever disturbed during cleaning or restoration. You can read more about pigment safety and lightfastness in our technical archives.
Scenario-Based Guidance
Scenario A: The Interior Designer's Quick Turnaround
- The Situation: A custom mural or large canvas is needed for a residential project opening in two months.
- The Solution: Use Retouch Varnish. This allows the designer to present a finished-looking piece with vibrant colors while permitting the client to have the "final shield" applied by a professional six months later. This ensures the pigment quality is preserved without risking structural damage.
Scenario B: The Legacy Impasto Collector
- The Situation: A collector has purchased a heavy impasto work as a multi-generational asset.
- The Solution: Patience is the only path. We recommend a full 18-month wait before applying a spray-based UV-protective final varnish. This ensures the thickest layers are fully cured, preventing the "haziness" that occurs when solvents are trapped in deep texture.
Summary Checklist for Varnishing
- [ ] Wait: 6 months for thin paint; 12-18 months for impasto.
- [ ] Test: Pass the "Thumb Test" and the "Smell Test."
- [ ] Clean: Use a lint-free cloth to remove every speck of dust before starting.
- [ ] Environment: Ensure humidity is below 55% and temperature is ~68°F.
- [ ] Apply: Use thin, even coats. Never "patch" a dry spot once it has started to set.
By following these archival best practices, you ensure that your hand-painted oil painting remains as vivid and soul-stirring as the day it left the artist's easel.
Methodology & Modeling Note: The drying times and environmental thresholds provided in this article are derived from a parameterized scenario model based on standard industry heuristics for linseed-oil-based paints on primed canvas.
- Model Type: Deterministic sensitivity analysis.
- Assumptions: Average paint film thickness of 2mm; standard Gesso priming; consistent indoor climate control.
- Limitations: Results may vary significantly with the use of alkyd mediums, walnut oil, or extremely humid tropical climates.
Disclaimer: This article is for informational purposes only and does not constitute professional conservation advice. Always consult with a certified art conservator before performing restoration or permanent varnishing on high-value historical works.
Sources
- Marketplace.org - The Expensive Art Market
- ResearchGate - Chemical Changes in Curing Oil Paints
- ScienceDirect - Humidity and Oxidation in Aging Paint
- Kim Crick - Lightfast and Varnish Testing
- CDC NIOSH - Paint and Coating Hazards
- Columbia University - Human vs. AI Art Perception
- UChicago - Essential Identity in Artwork