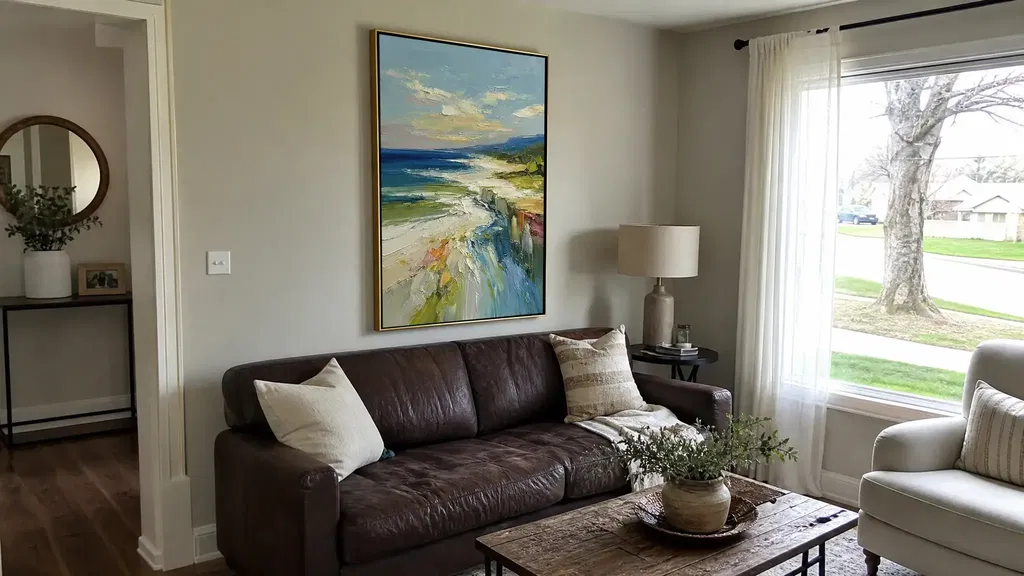
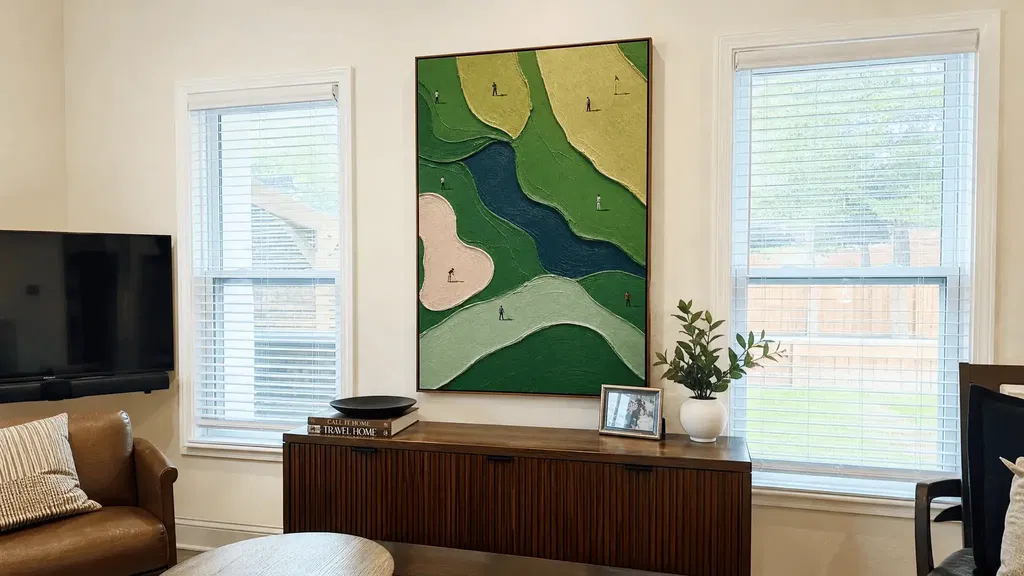
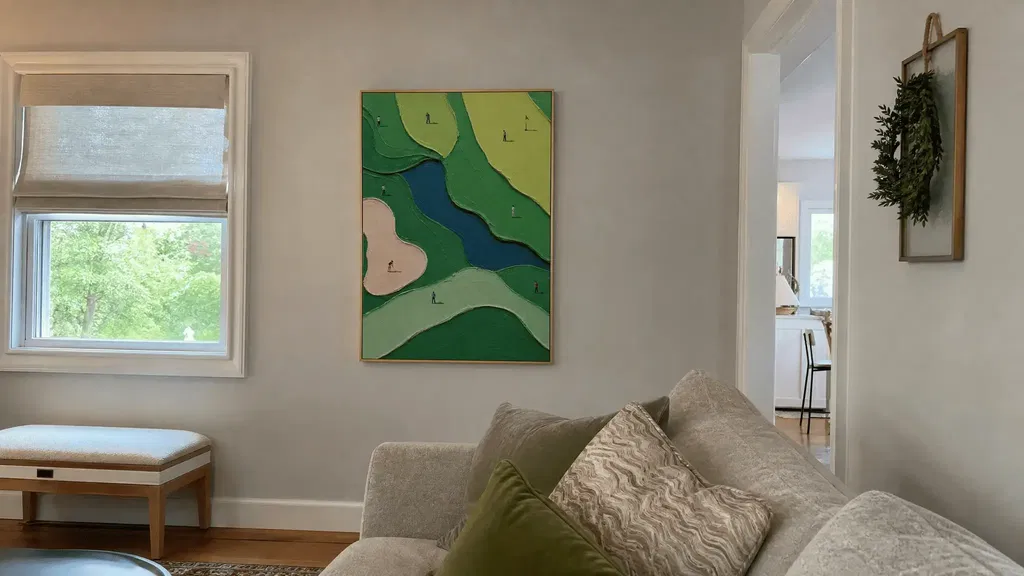
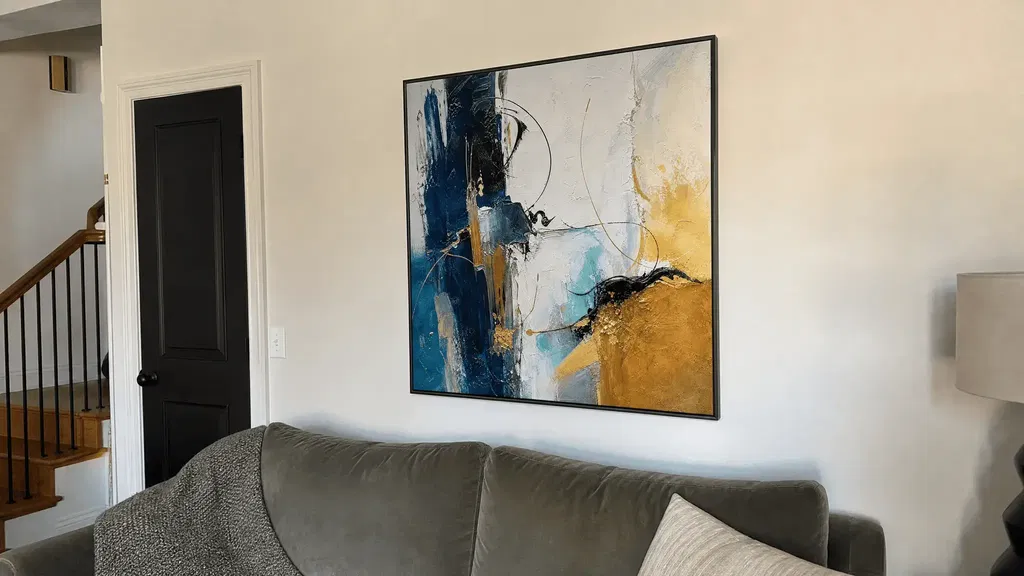
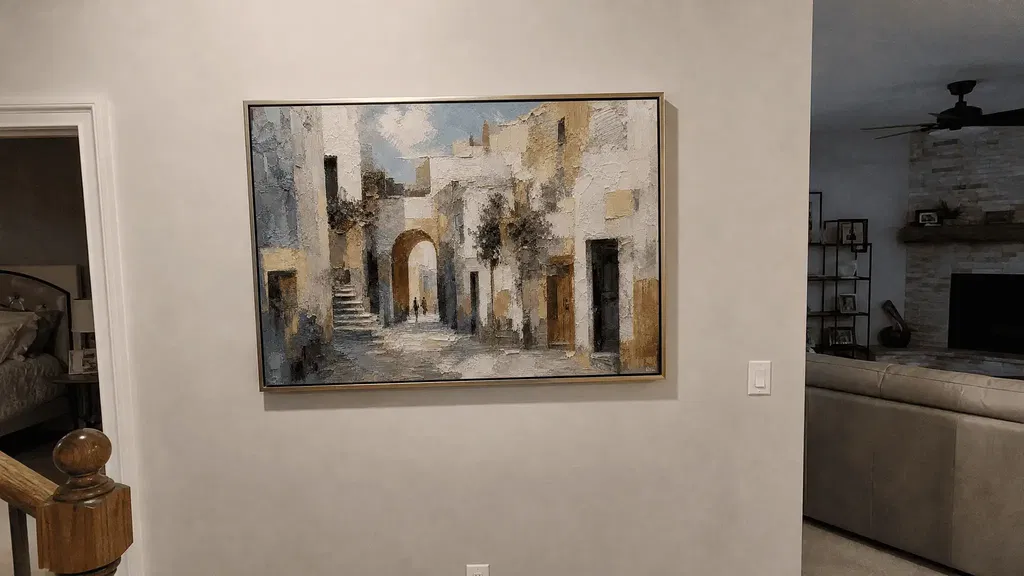
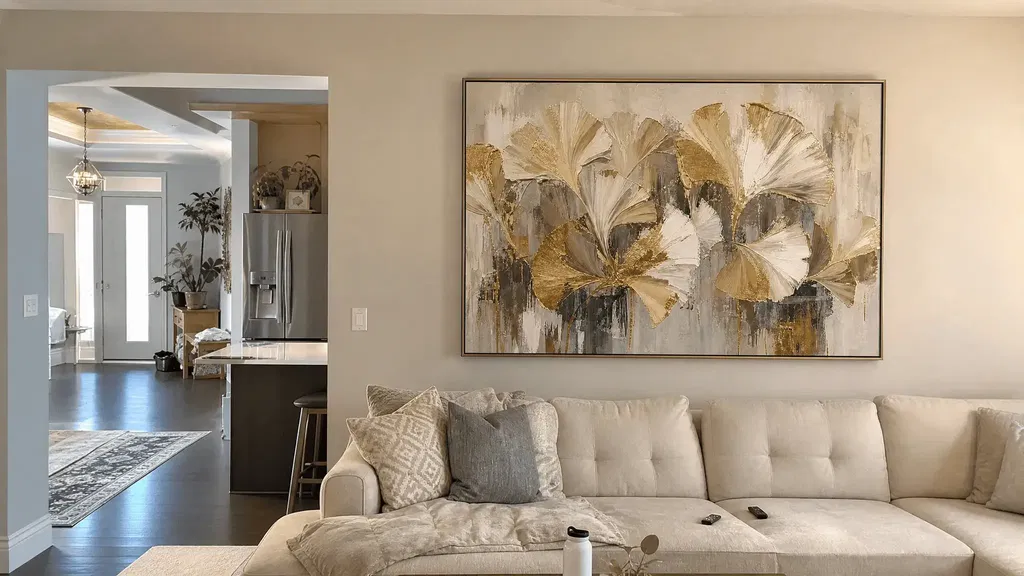
A three-piece painting set is right for your wall only if the complete arrangement—not just each panel—fits the usable wall area and stays visually connected from the room’s usual viewing points. Measure all three panels, add the two interior gaps, account for outer margins and furniture, then test the result at full size with paper or painter’s tape. This process will show whether a coordinated set or one large painting gives the wall better scale and balance.
Measure the Full Footprint of a Three-Piece Set
The first question is physical fit: calculate the assembled display width and compare it with the uninterrupted wall area, not the room’s total wall length. Use the actual dimensions and orientation from the listing; no universal margin formula can replace a room-specific check.
Calculate Panel Width, Gaps, and Outer Margins
Add the three panel widths and the two interior gaps:
Panel 1 width + gap 1 + Panel 2 width + gap 2 + Panel 3 width = total display width.

Record the panel height separately. A horizontal set may fit the wall’s width but still feel too tall above a sofa, bed, console, or dining area. Keep the outer margins outside this calculation. They are the visible spaces between the group and a corner, window, doorway, trim, sconce, or other boundary.
Start with equal gaps to establish a clear baseline, then adjust them in the mockup. A gap that works on a wide wall may make a narrow wall feel fragmented, while a very tight gap can make separate panels look cramped. Framing guidance for triptychs also treats equal spacing as a starting point rather than a universal requirement.
Before ordering, verify the panel dimensions, orientation, and whether the listed size applies to one panel or the complete set. If those details are unavailable, treat the assembled size as unconfirmed rather than estimating it.
Check the Wall’s Usable Area
Measure only the part of the wall the artwork can actually occupy:
- Identify the left and right boundaries of the uninterrupted area.
- Exclude windows, doors, corners, switches, sconces, vents, and trim that interrupt the arrangement.
- Compare the total display width with that usable area, then assess the remaining side margins separately.
- Mark the furniture or room feature the group should anchor to, such as a sofa, bed, console, or dining table.
A set can fit between two boundaries and still look cramped if one outer margin is much smaller than the other. Conversely, a slightly smaller group may look intentional when centered within a clean, uninterrupted section. Use this footprint check before browsing three-piece wall art, since the collection can help you shop by format but cannot confirm fit without the specific dimensions. A seller’s wall-size calculation can provide background context, but your measured wall and the listing’s actual dimensions determine the calculation.
Set Panel Spacing for a Three-Piece Painting Set
The right spacing creates a balanced relationship with the furniture and usable wall while keeping the group legible from normal sightlines. Use this quick check before fine-tuning the gaps:
- Center the assembled footprint on the sofa, bed, console, or dining area—not automatically on the whole room.
- Compare the set with the furniture width as a starting point, not a universal percentage rule.
- Account for lamps, mirrors, windows, doors, and other objects that reduce the usable area.
- Check both seated and standing sightlines when the room is used both ways.
Above a Sofa or Bed
Center the assembled footprint on the sofa or bed—not automatically on the whole room—and inspect both side margins. A wider furniture anchor often benefits from a wider visual arrangement, but furniture width is only a starting comparison; the wall and full-size test determine the result.
Some wall-art guides use roughly two-thirds to three-quarters of the furniture width as an initial prompt. Treat that range as a question for your mockup, not a pass-or-fail triptych rule. A set within that broad proportion can still look undersized on a long wall, while a different arrangement may work when the usable wall is narrow or interrupted. A collector’s art-placement guide is similarly useful as a starting prompt, not a clearance standard.

Also inspect the open area between the furniture and the bottom of the group. Leave visible breathing room, then adjust it for the wall, furniture height, and sightline instead of applying a fixed triptych measurement. Check the composition from the primary seated position, then from a standing position if the room is used both ways.
Above a Console or Dining Area
For a console or dining wall, subtract the width occupied by lamps, mirrors, vases, chairs, or other objects before judging the set. The usable area may be narrower than the furniture itself, especially when objects sit near the artwork’s intended side margins.
Check the arrangement from the room’s usual standing and seated positions. A compact set may look adequate up close but lose presence from a dining chair or entry path. A broader set—or one continuous painting—may hold the wall better if the normal sightline is long. A wall art sizing checklist can provide a broader measurement reference, but your actual wall remains the deciding factor.
Use a Paper-Tape Mockup to Test the Scale
Before ordering, mark the actual panel sizes and gaps on the wall, center the group on its intended anchor, and inspect it from the room’s usual viewing positions. Follow this sequence:
- Measure the actual width and height of each panel from the listing or product information.
- Use paper, painter’s tape, or removable drafting tape to mark each panel separately at full size.
- Leave the two planned gaps visible between the panel outlines rather than taping one solid rectangle.
- Label the total assembled width and mark the group’s centerline.
- Center the outlines on the sofa, bed, console, dining area, or uninterrupted wall zone that will anchor the artwork.
A full-size mockup tests scale, spacing, and negative space in context. It does not show how the finished artwork’s color, texture, frame depth, or surface reflection will look. A practical three-print mockup discussion supports the method as a useful planning step, but it is community advice rather than technical authority.
Build the Full-Size Three-Panel Outline
Separate outlines show both the total span and the negative space. Start with equal gaps, then make one controlled adjustment at a time. If the listing gives only a total size without individual panel dimensions, you cannot create a reliable panel-by-panel mockup until those measurements are confirmed.
Inspect It From the Main Viewing Point
Stand or sit where the artwork will normally be seen: the sofa, bed, dining seat, entry path, or another everyday position. Then check a secondary sightline so the set does not work only when viewed directly beneath it.
- Ask whether the group holds the furniture visually.
- Check whether the side margins feel deliberate.
- Notice whether the panels disappear or dominate at normal distance.
- Retest the gaps, total width, or a single-work outline if the result is uncertain.
You can also review multi-panel spacing steps after making the purchase decision, but the full-size test should happen first. The mockup is a scale aid, not a finished-art preview: it cannot show texture, color relationships, frame depth, or how light will reflect from the artwork.
Check Whether the Three Panels Read as One Work
Three coordinated panels do not automatically read as one continuous work. The set passes this check when the visual relationship remains clear across the gaps and the empty space supports the group rather than becoming its most noticeable feature at normal viewing distance.
Look for a Continuous Visual Rhythm
Inspect the relationship across the gaps through the subject, color, texture, or composition. You are looking for a reason for the eye to move from one panel to the next instead of stopping at each boundary.
- Check whether a shared visual element continues or relates across the panels.
- View the group from the distance where the room is normally used, not only close to the wall.
- Notice whether the furniture anchor and wall shape support the group’s rhythm.
- Treat a narrow wall or long viewing distance as a reason to test more carefully, not an automatic rejection.
A MoMA discussion of salon hangs offers background on how grouped works can relate in a room, but it does not establish spacing or scale rules. A product thumbnail may show coordination without revealing how the group will look beside your furniture. The room-based mockup is the stronger buying signal.
Test the Empty Space Between Panels
The gaps should separate the panels without taking over the arrangement. If the negative space is the first thing you notice, retest the gap plan, the total set width, or a single-work alternative.
Viewing distance can change the result. From close range, panel boundaries may feel prominent; from across a large room, smaller panels may lose their presence. Keep the format only when the panels remain connected enough to support the wall’s focal point without requiring awkward spacing.
Choose Between a Three-Panel Set and One Large Painting
Choose the three-panel format only when the full-size test passes the footprint, furniture, and visual-unity checks. Choose one large painting when its continuous outline solves the wall more cleanly than the set.
| Wall-fit question | Three-panel set | One large painting |
|---|---|---|
| Wall shape | Works when the usable area accommodates the full span and two gaps | Works when one continuous outline uses an irregular or broad area more cleanly |
| Visual rhythm | Adds separation when the panels stay connected | Creates one uninterrupted focal shape |
| Spacing | Requires intentional gaps and side margins | Avoids interior panel gaps |
| Furniture relationship | Can echo a wide anchor through a grouped span | Can anchor it with one continuous visual mass |
| Viewing distance | Needs enough presence for separate panels to read as a group | May remain easier to read across a longer room |
Use the Mockup Results as the Buying Decision
Choose a three-piece painting set when the assembled width fits the uninterrupted wall, the group centers naturally on the furniture, and the panels remain connected from the main viewing point. Choose one large painting when the set needs awkward gaps, conflicts with an obstruction, leaves uncomfortable margins, disappears at normal distance, or makes the negative space more prominent than the artwork.
When the result is borderline, mock up both formats in the same wall position. Then browse three-piece wall art or oversized large wall art only after the format test identifies the better fit. These links are browsing paths, not proof that any specific piece will fit your wall.
Frequently Asked Questions
Can a Three-Piece Painting Set Work on a Narrow Wall?
Yes, but only when the assembled width leaves comfortable side margins inside the uninterrupted area. Tape the actual panel widths and gaps, then inspect the arrangement from the main viewing point. If either side margin feels cramped, compare a narrower arrangement or one continuous work.
Do All Three Panels in a Triptych Need to Be the Same Size?
No. Unequal panels can work, but they change the total footprint, centerline, and visual rhythm. Measure and mock up each actual panel rather than assuming three equal rectangles, and center the group by its assembled composition—not by the middle panel alone.
How Does Viewing Distance Change the Wall Art Size I Should Choose?
A long viewing distance can reduce the presence of smaller panels, while a close view can make gaps and panel boundaries more prominent. Test the set from the room’s usual seated or standing position and from a secondary sightline. If it disappears from the primary position, compare a larger or more continuous outline.
What If a Window, Doorway, or Light Fixture Interrupts the Wall?
Measure and center the artwork only within the uninterrupted wall area, excluding the obstruction from the usable width. If the full footprint cannot clear it without an awkward margin or shifted centerline, compare a narrower set or one large work.