To hang multi-panel paintings with even spacing, you must maintain a consistent gap of 1 to 2 inches between each panel and position the center of the artwork at the standard 57-inch eye level. Successful installation requires starting with the center panel and using a calculated formula to place subsequent hooks, ensuring the image flow remains cohesive across the entire set. This process eliminates the guesswork that often leads to crooked or poorly spaced wall displays.
Multi-panel art, often referred to as a triptych (three panels) or diptych (two panels), offers a dynamic way to fill large wall spaces. However, the visual impact depends entirely on precision. Whether you are hanging a set of mountain paintings or a large abstract wall art piece, the relationship between the panels and the wall is just as important as the art itself. If the gaps are uneven, the viewer’s eye will focus on the mistakes rather than the imagery.
The Golden Rules for Spacing and Mounting Height
When hanging a multi-panel set, the standard gap size is between 1 and 2 inches. This distance is small enough to keep the image feeling continuous but large enough to define the individual panels as separate elements. For exceptionally large canvas sets or rooms with vaulted ceilings, you might extend this to 3 inches, but exceeding this often makes the art look disconnected. If the panels are small, stick to the 1-inch rule to maintain visual density. If you are still choosing between two and three pieces, review the diptych and triptych painting sets guide.
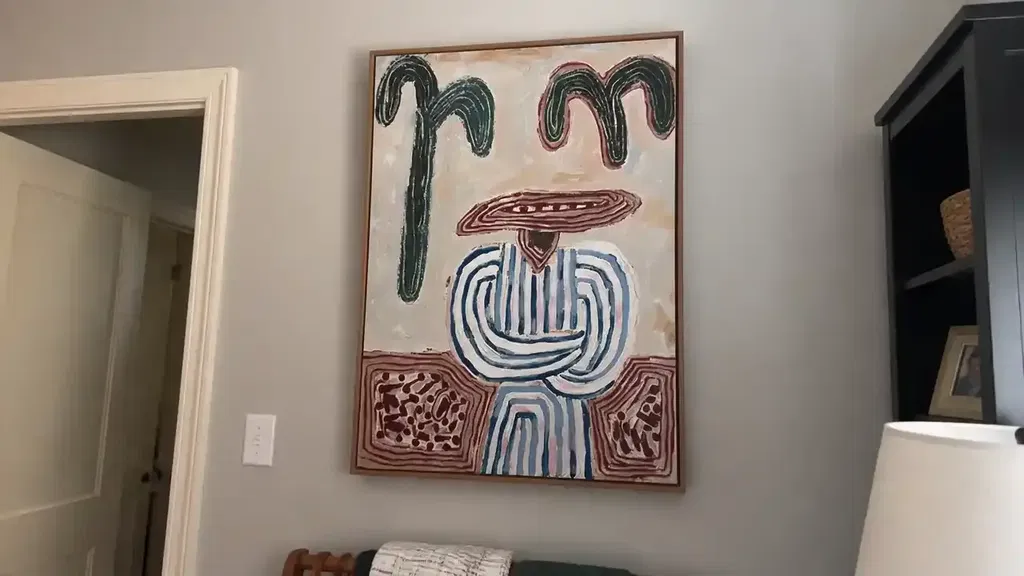
Height is the next critical factor. The "57-inch rule" is the standard used by museums and galleries to ensure art is hung at a comfortable eye level for the average person. This rule dictates that the center of the artwork—not the top of the frame—should be exactly 57 inches from the floor. For a multi-panel set, this measurement applies to the vertical center of the entire arrangement.
It is also important to consider the structural integrity of your hardware to prevent accidents. According to the Canadian Conservation Institute, falling damage often results from aged hanging hardware, loose fasteners, or wall-attachment failures. Always ensure your chosen hooks are rated for the weight of your panels, especially if you are hanging heavy oil paintings on canvas.
Essential Tools for Achieving Level Art Alignment

Before you begin drilling or hammering, gather the necessary supplies. Precision is difficult to achieve with just a hammer and nails; you need tools that allow for measurement and adjustment.
- Measuring Tape: A sturdy steel tape is best for calculating distances between panels and height from the floor.
- Bubble Level: Essential for ensuring each panel is perfectly horizontal. A 24-inch level is ideal for most home art projects.
- Painter’s Tape: Use this to mark the wall without damaging the paint or to create a temporary visual "ceiling" for your art.
- Pencil: For marking hook locations and panel corners lightly on the wall.
- Wall Anchors: Choose specific anchors based on your wall type (drywall, plaster, or masonry) and the weight of the panels.
- Hammer or Drill: Depending on whether you are using traditional nails or heavy-duty screw-in anchors.
Step 1: Planning Your Layout with a Floor Trial
The most common mistake in hanging multi-panel art is committing to the wall before seeing the full layout. A floor trial allows you to experiment with spacing and image flow without making permanent holes. Clear a space on the floor in front of the wall where the art will live.
Lay the panels down in their intended order. Adjust the gaps between them, testing both a 1-inch and a 2-inch spacing. Step back and look at the image flow. For a split-canvas design, you want the lines of the composition to transition smoothly from one panel to the next. If the panels are placed too far apart, the image will feel fractured. Once you have found the distance that looks best, measure the total width of the entire set, including the gaps. This number will help you center the group on your wall.
Calculating the Math for Perfect Panel Distance
Once you have decided on your gap size, you need to calculate exactly where the hooks will go. You cannot simply measure from frame to frame on the wall because the hanging hardware is usually hidden behind the panel. Use this formula to find the distance between the hanging points (hooks) of two adjacent panels:
Hook Distance = (Half the Width of Panel A) + (Desired Gap) + (Half the Width of Panel B)
Measuring from Frame Edge vs. Hardware
If your panels use centered sawtooth hangers, the formula above gives you the exact distance between the nails. If your panels have D-rings on the sides, you will need to measure the distance between the two rings on a single panel first, then apply the gap calculation to the outer rings. Always measure from the top of the frame down to the hardware to ensure your vertical alignment is consistent across all pieces.
| Panel Width | Desired Gap | Distance Between Nails (Center-to-Center) |
|---|---|---|
| 12 inches | 1 inch | 13 inches |
| 20 inches | 1.5 inches | 21.5 inches |
| 24 inches | 2 inches | 26 inches |
| 30 inches | 2 inches | 32 inches |
The Center-Out Strategy for Hanging Multi-Panel Sets

To ensure the entire arrangement is symmetrical, always hang the center panel first. If you are hanging an even number of panels (like a diptych), you will work outward from the center point between the two middle pieces. For a painting 3 piece set, the middle panel is your "anchor." For above-furniture sizing before drilling, see how to choose a painting set above a sofa or bed.
- Mark the Center Point: Find the center of your wall space and mark it at the 57-inch height. This mark represents the vertical and horizontal center of your middle panel.
- Install the Center Hook: Calculate the distance from the top of the frame to the hanging hardware. Mark this spot above your center point and install your hook.
- Level the Center Panel: Hang the middle panel and place your level on top. Adjust until it is perfectly straight. This panel determines the alignment for everything else.
- Work Outward: Use your calculated hook distance to mark the wall for the left and right panels. Use the level to ensure these new marks are perfectly horizontal with the center hook before you hammer.
Layout Considerations for Sofas and Hallways
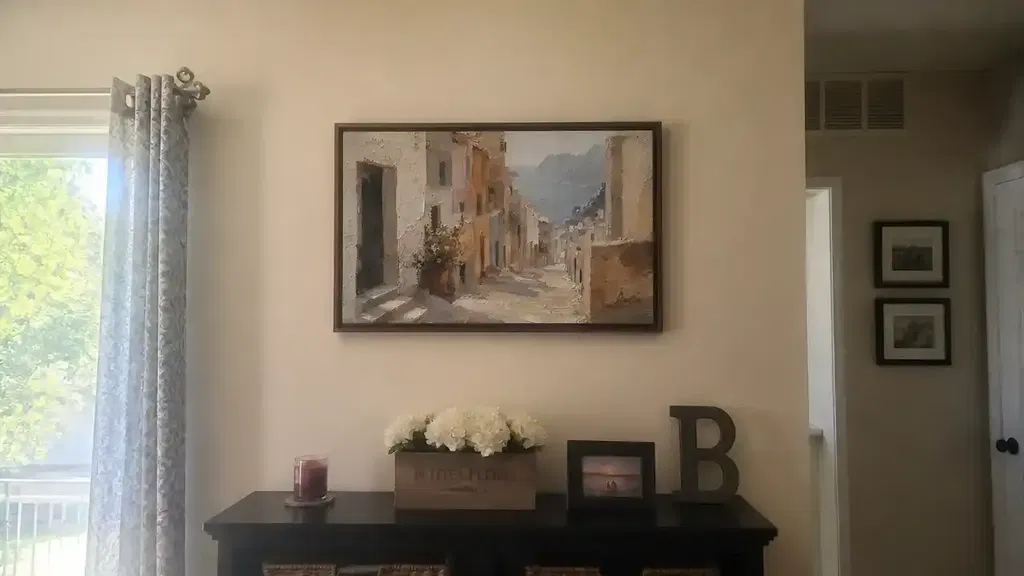
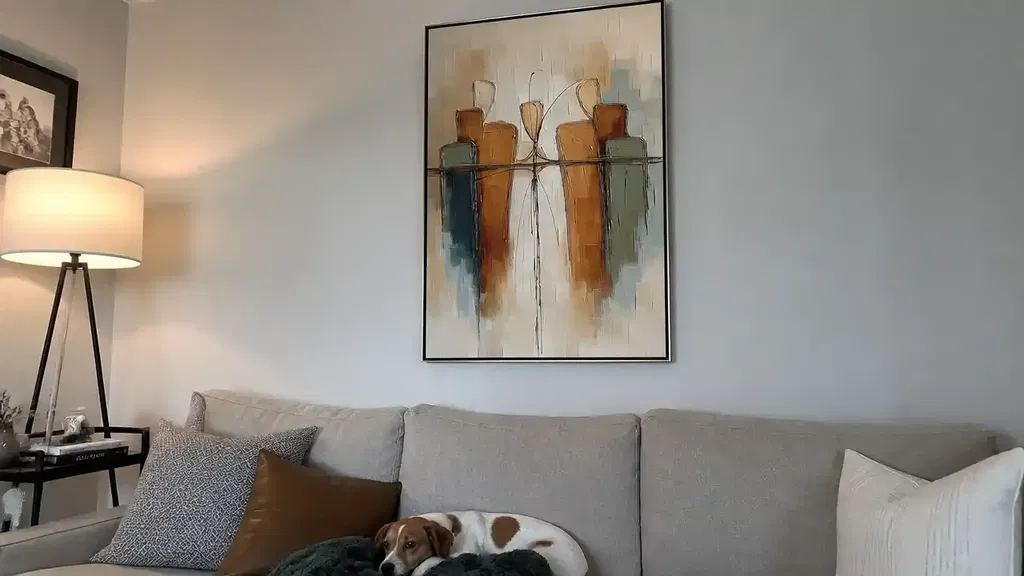
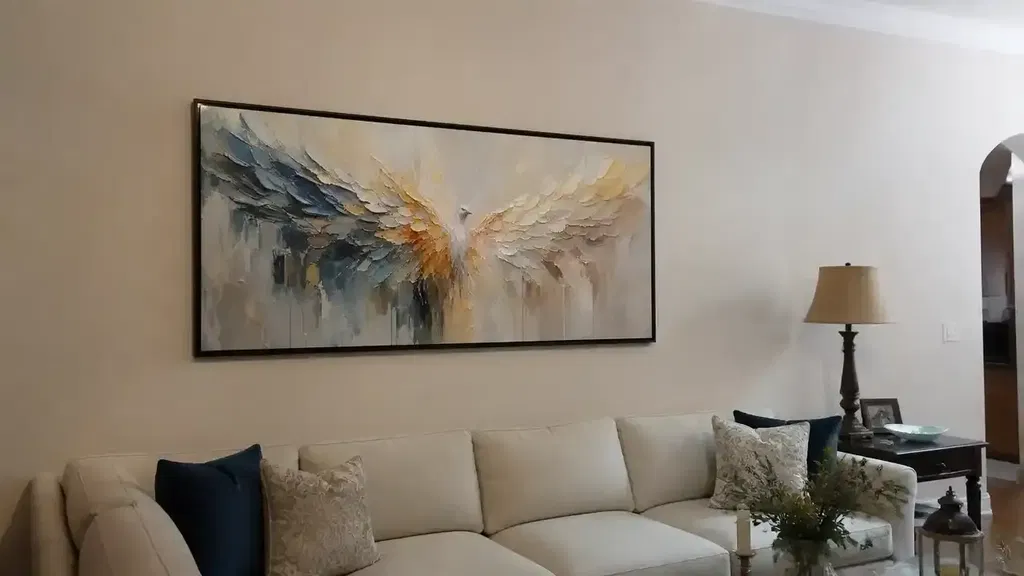
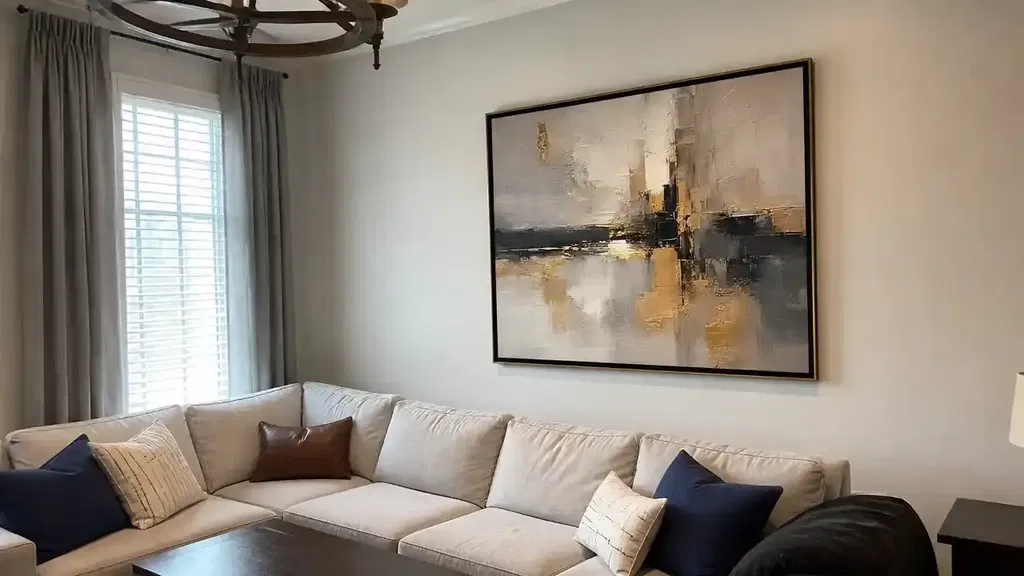
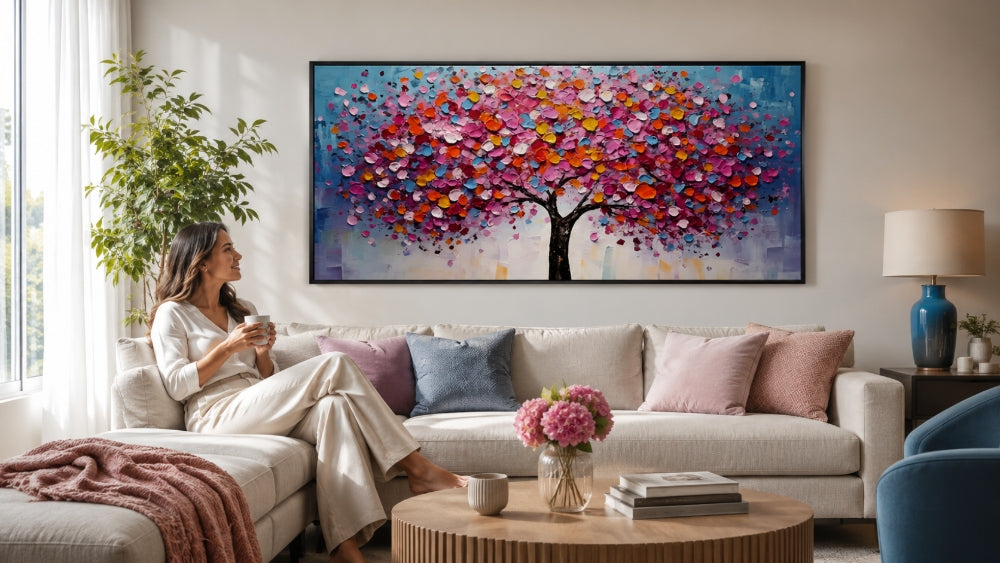
While the 57-inch rule is a great baseline, furniture changes the visual dynamics. When hanging canvas wall art framed over a sofa or sideboard, the bottom of the frames should typically be 6 to 10 inches above the top of the furniture. This creates a cohesive grouping rather than leaving the art "floating" too high on the wall. For extra-wide walls, compare single canvas vs multi-panel art before finalizing the layout.
In narrow hallways, art is more susceptible to movement. Vibrations from foot traffic or slamming doors can cause panels to shift. For these areas, use two hanging points per panel or adhesive museum putty at the bottom corners to keep the panels locked in place. Additionally, the Smithsonian MCI notes that large panels should be carried by two or more people during installation to avoid structural damage or drops.
Marking Sawtooth Hangers and Hardware Hacks
Marking the exact spot for a nail when the hanger is hidden behind a canvas can be frustrating. A popular "pro tip" is the toothpaste trick: place a small dab of white toothpaste on the point of the sawtooth hanger. Position the panel against the wall where you want it and press firmly. The toothpaste will leave a small, washable dot on the wall exactly where the nail needs to go.
For multi-panel sets, sawtooth hangers are generally preferred over hanging wires. Wires are prone to stretching over time, which can cause the panels to sit at different heights. Sawtooth hangers provide a fixed point that makes maintaining a level line much easier. If you are concerned about the longevity of the art, the Canadian Conservation Institute suggests that backing boards help limit dust entry and protect the canvas from environmental changes, which is a wise addition for any wall art nature enthusiasts want to preserve.
Conclusion: Achieving Perfection with Multi-Panel Paintings
Learning how to hang multi-panel paintings with even spacing is a blend of artistic vision and basic geometry. By adhering to the 1-to-2-inch gap standard, utilizing the 57-inch rule for eye-level placement, and following a center-out installation strategy, you can transform a disjointed set of canvases into a professional gallery display. Remember to take your time during the planning phase; a few extra minutes spent on the floor layout and gap calculations will save you from the frustration of unnecessary holes in your wall. With the right tools and a bit of patience, your multi-panel paintings will become a perfectly aligned centerpiece that enhances the character of your home.
Safety Notice
This article provides general guidance only. Always follow the manufacturer's instructions for hanging hardware, consider your specific wall material, and use appropriate safety practices when using tools. For installations involving exceptionally large or heavy pieces, structural loads, or specialized wall surfaces, consult a qualified professional to ensure the artwork is securely and safely mounted.
FAQs
What is the difference between a triptych and a diptych?
A triptych is a piece of art divided into three sections or panels, while a diptych consists of two panels. Both are designed to be hung together as a single cohesive unit.
How much space should be between multi-panel canvases?
The recommended gap is 1 to 2 inches for most residential spaces. This allows for visual breathing room while maintaining the continuity of the image.
Can I hang multi-panel art on a staircase?
Yes, but instead of level spacing, you will follow the slope of the stairs. Maintain a consistent vertical distance from each step and a consistent horizontal gap between the panels.