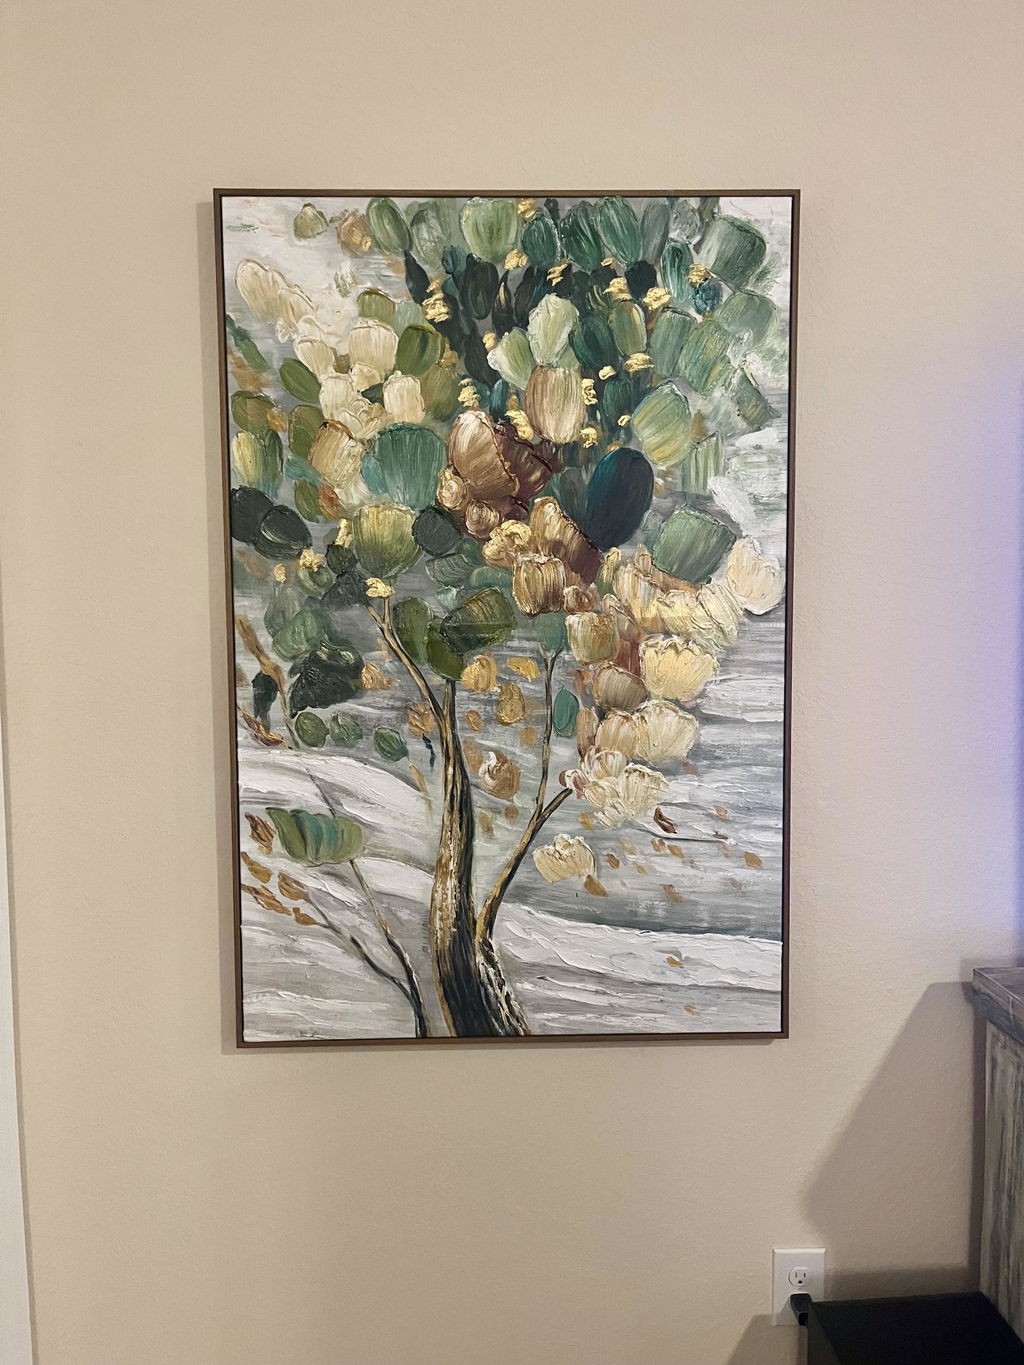
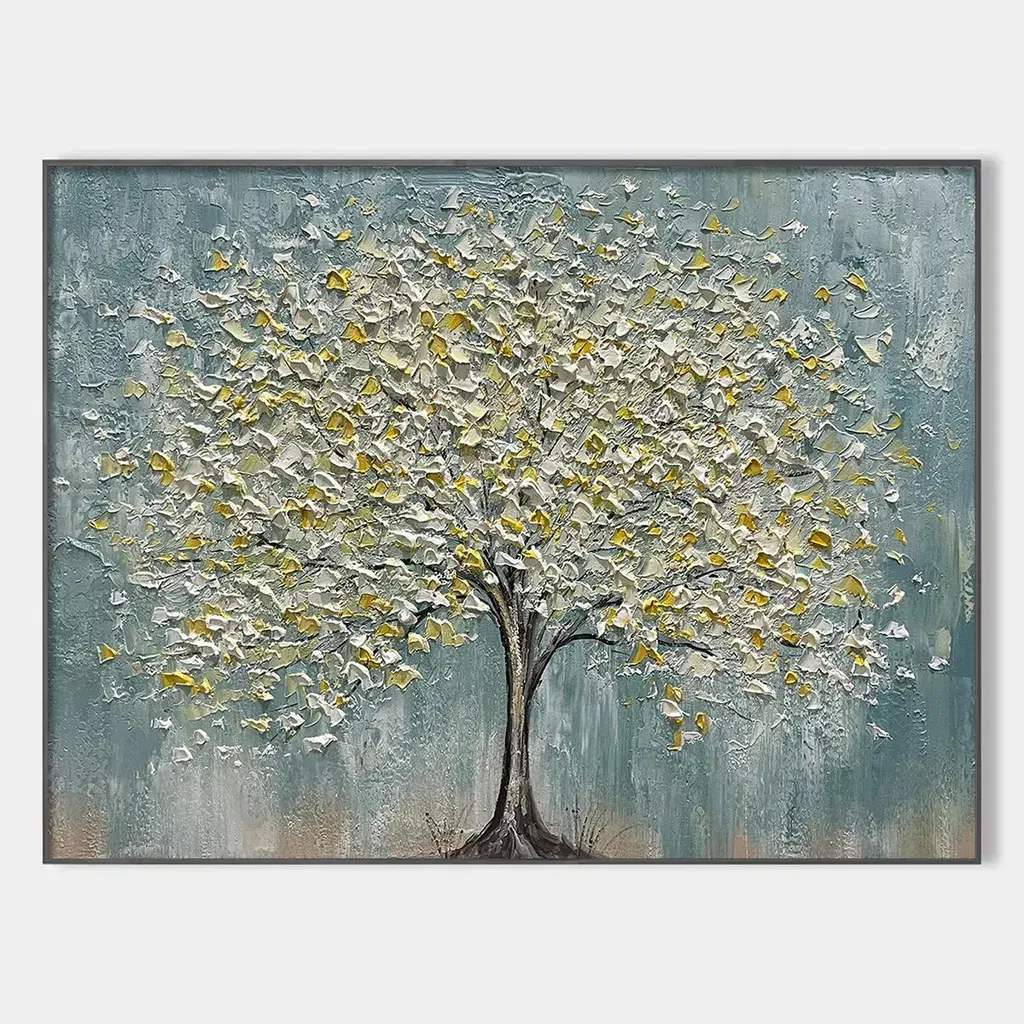
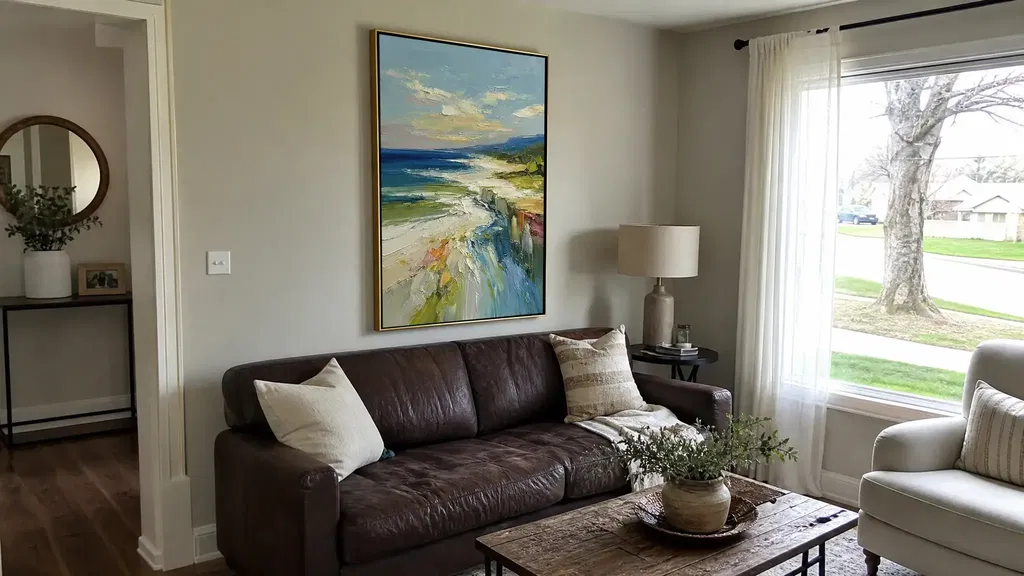
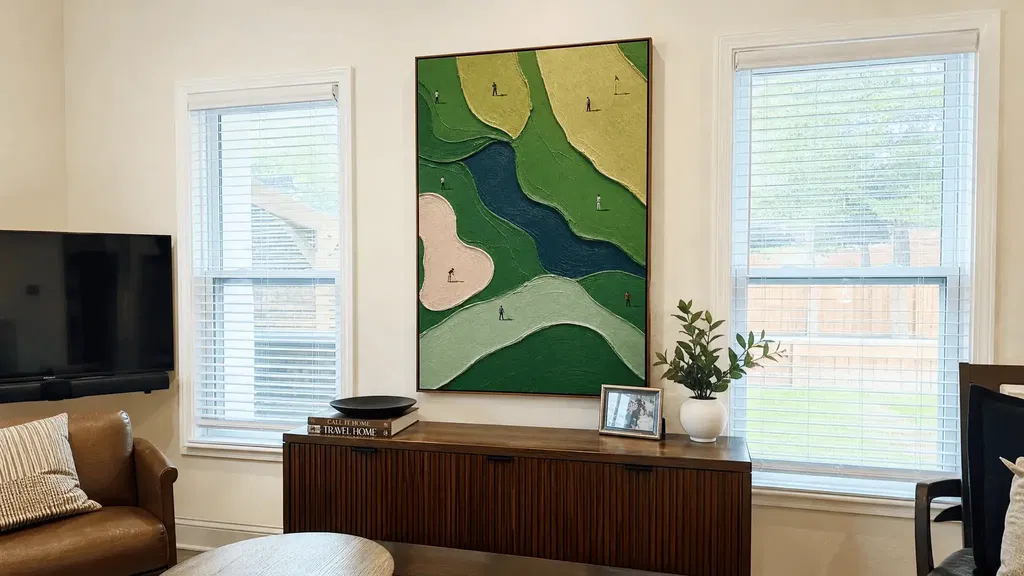
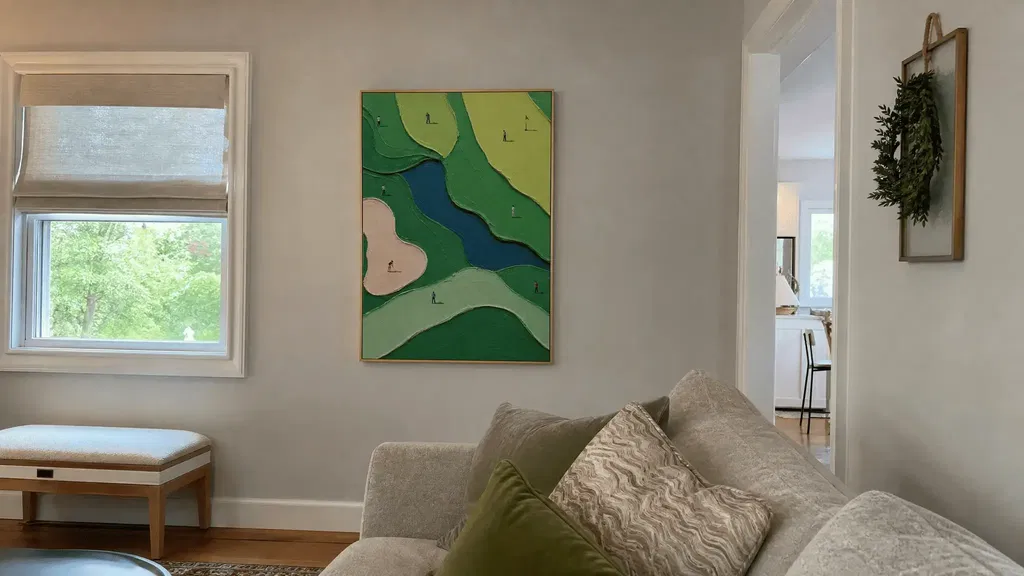
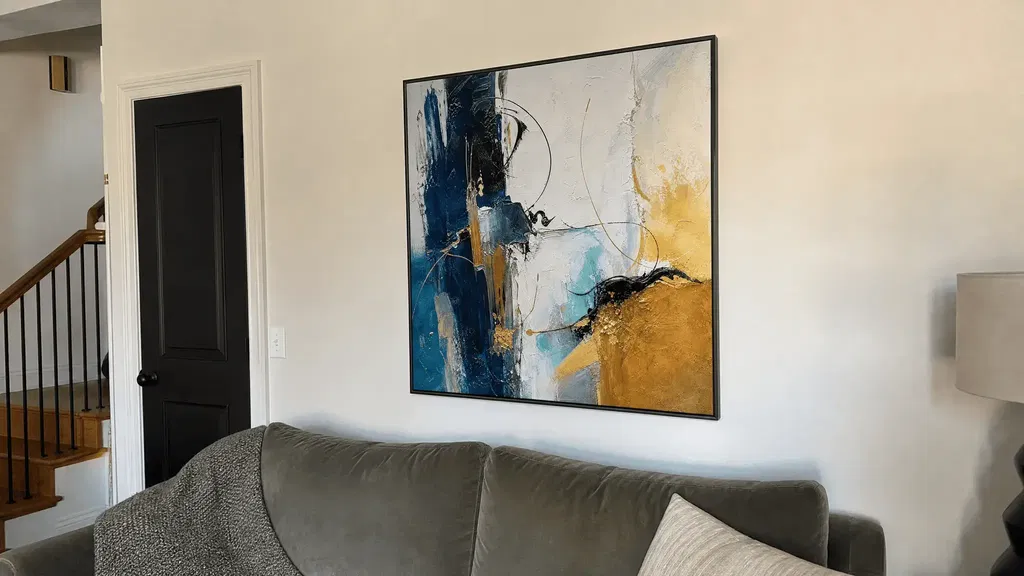
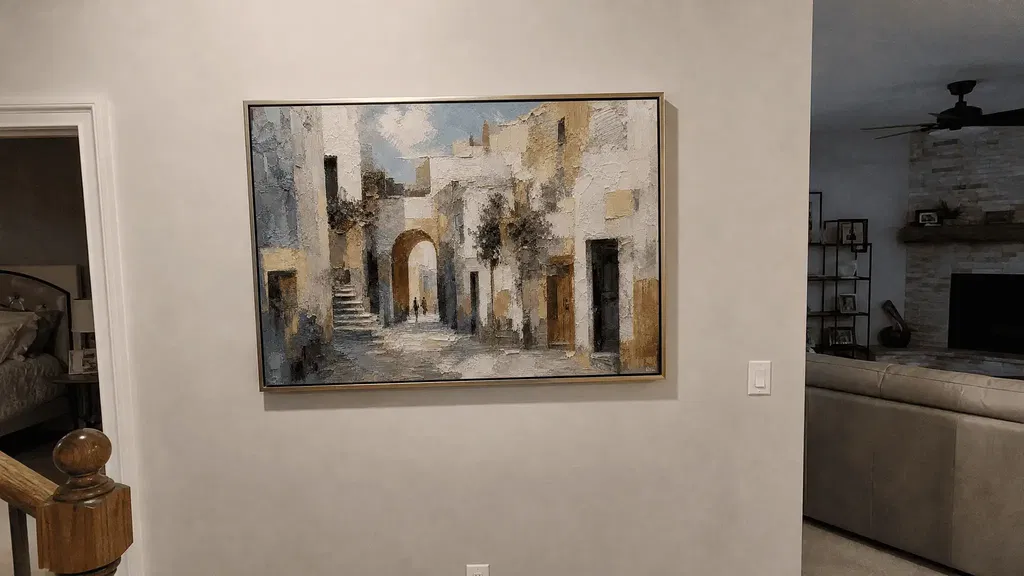
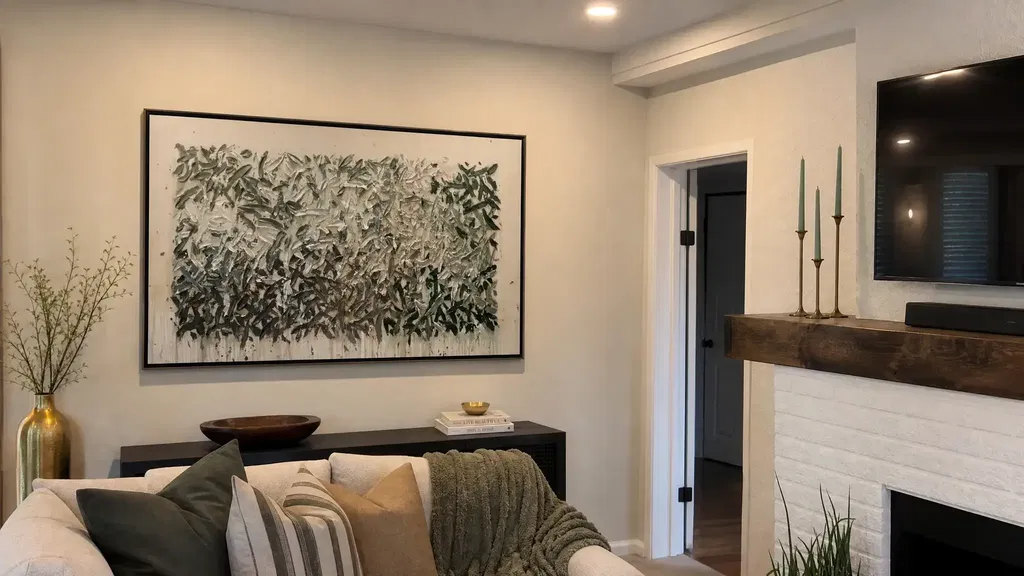
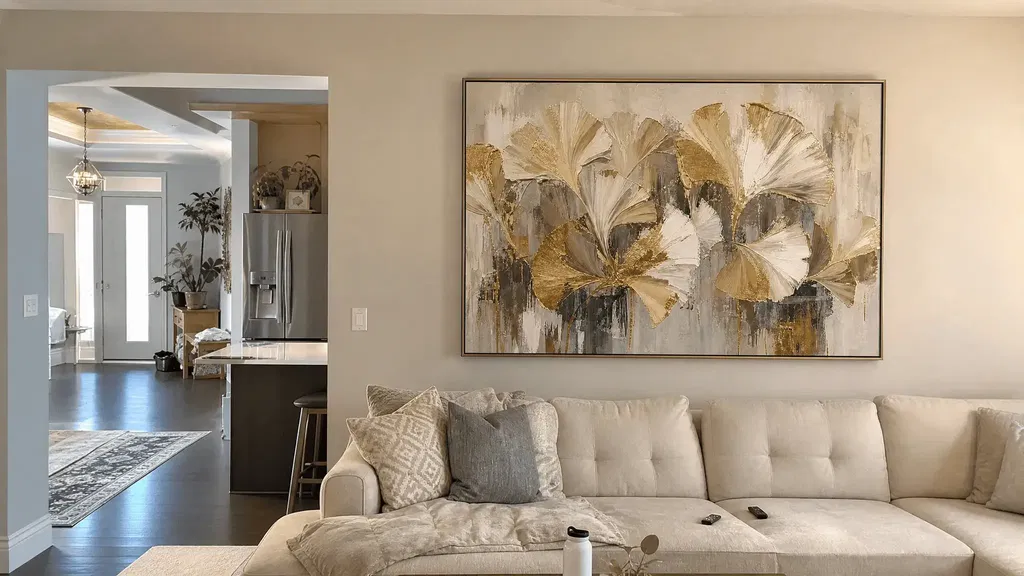
Textured wall art care is safest when you treat the surface as a potentially delicate finish rather than a scrub-resistant one. Inspect the raised texture first, then use minimal-contact dry dusting only when the surface is stable and the issue is loose dust. Water, sprays, solvents, and household cleaners should not be default treatments for unknown raised art. If you see attached residue, flaking, tackiness, cracking, color transfer, or any other change, stop and ask the maker or a qualified conservator which method suits that specific piece.
Where Dust and Grime Settle on Raised Surfaces
Dust usually collects where the surface changes direction: inside grooves, around raised edges, and along lower exposed areas where loosened particles settle. Before attempting any textured wall art care, examine those spots under angled, or raking, light so the relief is easier to see.
Angled light can reveal flaking, lifting, cracking, powdery paint, or other instability that ordinary room lighting may hide. Raking-light inspection guidance supports checking a painting this way before dusting. Do not diagnose the paint or coating from appearance alone; raised art may use different paints, binders, grounds, varnishes, or supports.

Use this simple decision guide:
- Proceed cautiously when the visible issue is loose, dry, nonsticky dust and the raised surface appears stable.
- Pause before touching when the deposit looks greasy, damp, sticky, bonded, smoky, or unknown.
- Stop DIY care if you notice flaking, lifting, cracking, powdery paint, color transfer, a new sheen change, or texture that moves or sheds.
- Document unusual conditions by taking clear photos before contacting the artist, seller, or a qualified conservator.
The key distinction is not how dirty the artwork looks. It is whether the material can be removed with minimal contact without changing the surface.
A related guide to textured painting care can help you plan routine maintenance, but artwork-specific instructions should take priority over any general article.
Textured Wall Art Care Starts With Dry Dusting
For stable raised art with loose dust, use a clean, soft, dry brush and make a light pass from top to bottom. Keep contact minimal, and stop immediately if the brush catches, transfers color, or dislodges material. Conservation cleaning guidance supports this narrow approach for stable surfaces with loose dust.
- Stabilize the artwork and the area. Make sure the piece is securely supported and that nearby objects, cords, or furniture cannot bump the wall or frame while you work.
- Inspect before handling. Use angled light to look into grooves, along raised edges, and across any area that appears shiny, dull, powdery, cracked, or loose.
- Test an inconspicuous spot. Use a clean, dry, soft brush. The test is not permission to continue if the surface changes; it helps detect catching, shedding, or color transfer before you cover more area.
- Brush lightly from top to bottom. Work in small sections and let loosened dust fall away. Do not press the bristles into recesses or scrub across the raised paint.
- Inspect the result. Check the test area and the surrounding surface for color on the brush, loose particles, a changed sheen, or a newly exposed patch.
- Stop at the first change. If the tool catches, the artwork sheds, the finish looks different, or dust does not release with minimal contact, do not switch to a stronger tool or a liquid method.
Avoid direct vacuuming, forceful brushing, compressed air, feather dusters that can catch on the relief, and wet cloths as substitutes for this conservative pass. A gentle textured-paint cleaning resource may be useful as background, but a title or general care article cannot establish that an unknown artwork is safe to clean in a particular way. General collection housekeeping guidance is useful context, not permission to wet or scrub raised paint.

Choose Dry Care or Professional Help by Surface Condition
The condition of both the artwork and the deposit should determine the next step. Dry dusting fits a narrow situation: a stable surface with loose dust. Stains, stuck-on residue, unknown deposits, and unstable paint are reasons to avoid increasing pressure or adding moisture.
Loose Dust Versus Stuck-On Residue
Use the lowest-contact option that matches what you can actually observe. This comparison is a screening guide, not a treatment protocol for every paint system.
| Visible condition | Lowest-risk first action | Stop or escalation point |
|---|---|---|
| Loose, dry dust | Inspect under angled light, then consider a clean, soft, dry brush with minimal contact | Stop if the brush catches, sheds material, or changes the finish |
| Dry specks that do not release easily | Do not pick, scrape, or press into the texture; photograph the area | Ask the maker or a conservator if the specks remain attached |
| Sticky or greasy residue | Do not rub, scrub, degrease, or use a wet cloth by default; reduce the exposure if practical | Contact the maker or a qualified conservator, especially if the residue is widespread |
| Unknown deposit or discoloration | Leave it untouched and document it in clear, well-lit photos | Seek material-specific advice before testing any cleaner |
Conservation cleaning guidance often separates loose dust from embedded or heavier soiling, but methods for paper or other objects should not be transferred directly to raised canvas. The practical lesson is narrower: do not treat bonded grime as if it were loose dust.
Why Water and Household Cleaners Need a Caution Label
Water is not automatically compatible with textured wall art. Because the paint system, binder, ground, varnish, and support may be undocumented, do not make water, soap, alcohol, disinfectants, oils, sprays, solvents, or abrasive products part of the default routine. Acrylic-paint cleaning guidance also shows why paint-system-specific instructions matter; it should not be treated as a universal method for unknown raised art.
If the maker provides material-specific instructions for a damp method, follow them exactly rather than substituting a household cleaner or improvising a broader treatment. If no instructions exist, or if the piece is valuable, sentimental, signed, fragile, damaged, or undocumented, ask a qualified conservator before testing moisture.
Signs the Surface Is Too Fragile for DIY Care
Stop handling the artwork when you see any of these signs:
- Flaking paint, lifting edges, cracks, or an exposed support
- Powdery paint, repeated shedding, or loose raised details
- Sticky or tacky areas
- Color transfer to the brush or another surface
- A new shiny, dull, wet-looking, or otherwise different patch
- A brush that catches in the texture
- Grime that remains attached after minimal dry care
Do not run a second test to see whether a stronger tool works. Photograph the condition, note where it appeared and what exposure may have caused it, then contact the artist, seller, or a qualified conservator. Professional assessment may clarify the next step, but it does not guarantee that every stain can be removed or every raised detail restored.
Protect the Artwork With Placement and Inspection Habits
A lower-exposure location usually makes textured canvas maintenance easier. Reduce contact with cooking residue, splashes, direct vents, heat, smoke, pets, and high-traffic areas where the artwork could be bumped. If exposure keeps creating residue, repositioning is preferable to cleaning more aggressively. No single room is universally safe or unsafe, so use the actual conditions around the artwork as your guide.
| Location or setting | Main exposure to watch | Practical placement choice | Inspection cue | When to reposition |
|---|---|---|---|---|
| Living room or lower-traffic hallway | Ordinary household dust and occasional contact | Choose a spot with limited brushing from furniture or people | Look for dust in grooves and around raised edges | Move it if furniture, doors, or traffic repeatedly touch the relief |
| Kitchen or dining area | Cooking residue, grease, splashes, and heat | Place it away from the active cooking and cleanup zone | Check for sticky film or a change in sheen, not just dry dust | Reposition when residue recurs or the surface becomes difficult to assess |
| Bathroom or humid room | Moisture, condensation, and changing room conditions | Prefer a drier location unless the maker gives specific guidance | Look for tackiness, residue, or appearance changes | Move it if moisture exposure is recurring or the surface condition changes |
| Entryway or busy hallway | Bumps, door movement, coats, bags, and tracked-in dust | Keep it outside the main contact path | Check corners, lower areas, and edges after periods of heavy traffic | Reposition if people or objects regularly brush against it |
| Pet-accessible or bump-prone area | Fur, dander, movement, and accidental contact | Use a location pets and furniture cannot easily reach | Look for shedding, contact marks, or disturbed texture | Move it before repeated contact creates a new cleaning problem |
Inspect every few weeks at first, then adjust the schedule based on what the room and artwork show. A dusty, smoky, kitchen-adjacent, open-window, or high-traffic setting may call for closer observation; a lower-exposure room may need less frequent checking. This is an adjustable starting practice, not a universal preservation schedule.
Follow the maker's instructions for sunlight, humidity, temperature, framing, and hanging when they are available. Do not turn general placement advice into a fixed distance or climate threshold. For households with frequent traffic, compare the exposure before hanging by reading about placement in busy homes.
Use a Stop-and-Check Routine Before the Next Cleaning
Before each session, run this brief screening checklist. Clean only when loose dust is present and the surface remains stable.
- Surface: Check grooves, raised edges, lower areas, and previous problem spots under angled light.
- Tool: Confirm the brush is clean, dry, soft, and free of grit, moisture, residue, or loose fibers.
- Exposure: Note recent cooking, splashes, smoke, pets, heat, vents, or heavy traffic; recurring exposure may call for repositioning.
- Method: Use minimal contact and a top-to-bottom motion only for stable loose dust.
- Result: Stop if you see shedding, color transfer, catching, a changed sheen, or bonded or greasy residue.
- Next step: Take photos and contact the maker or a qualified conservator if the condition is uncertain, worsening, valuable, damaged, or not responding to minimal dry care.
This checklist supports routine textured wall art care; it is not a conservation treatment protocol. When the condition falls outside stable loose dust, follow the maker's instructions or request qualified advice before handling the surface again.
FAQs
How Often Should I Dust Textured Wall Art?
Inspect every few weeks at first, then shorten or lengthen that schedule based on what you observe. Check more closely near kitchens, pets, smoke, open windows, or heavy traffic. Dust only when loose dust is present on a stable surface; a calendar reminder should prompt an inspection, not automatic brushing.
Can I Use a Vacuum on Raised Paint?
Do not place a vacuum nozzle on raised paint or use strong suction as a replacement for a soft brush. Suction or a nozzle edge may catch and dislodge texture. If a maker specifically approves a suction method for the documented construction, follow those instructions; otherwise, ask the maker or a conservator.
Can Textured Paintings Be Cleaned With Water?
Not by default. Water may be appropriate only when the maker provides material-specific instructions for that artwork. Do not test it on valuable, fragile, flaking, tacky, or undocumented work. For a visible mark, photograph it first and seek advice rather than assuming it is removable dust.
How Should I Remove Grease From Textured Wall Art?
Do not rub the area or apply degreaser. Photograph the residue, check any maker instructions, and reduce the artwork's exposure to the kitchen or dining area. If the grease is embedded, widespread, recurring, or near fragile texture, contact a qualified conservator before attempting treatment.
Does Direct Sunlight Change How I Should Care for Raised Wall Art?
A color or surface change should not automatically be treated as a cleaning problem. Follow the maker's placement guidance and reduce strong or prolonged exposure when practical, but do not wet-clean or polish the area to correct its appearance. Ask the maker or a conservator to distinguish an environmental change from removable surface dust.