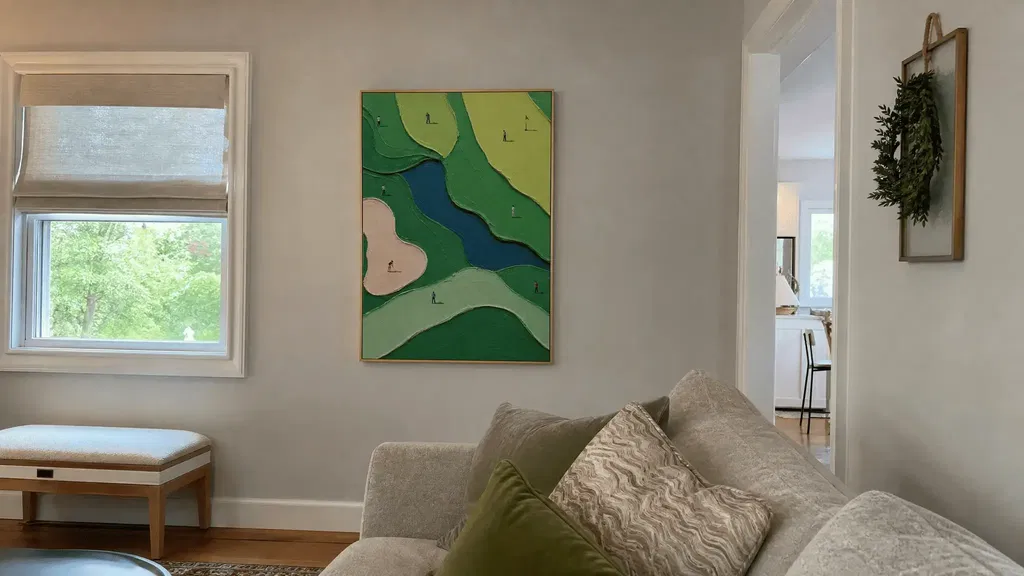
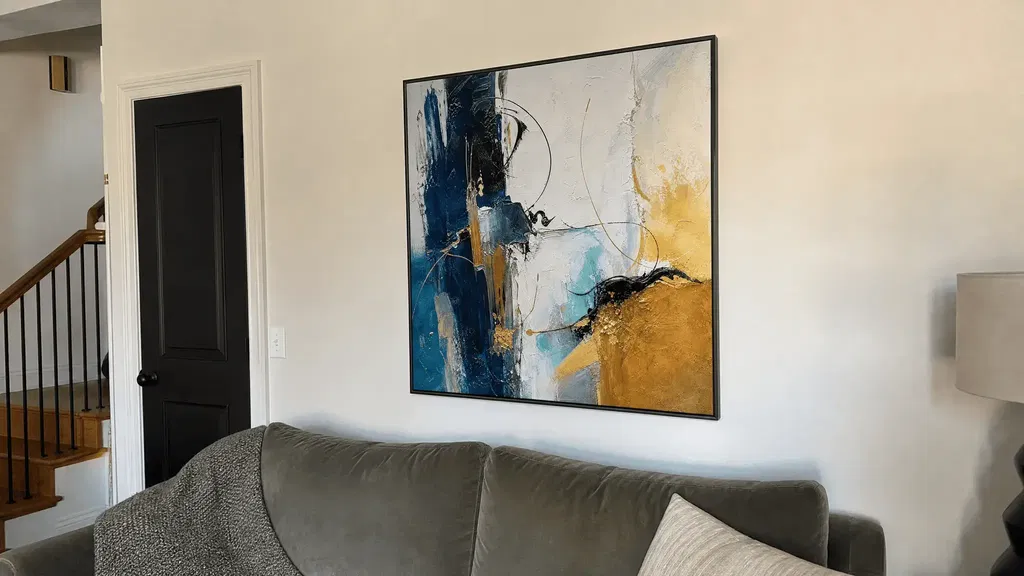
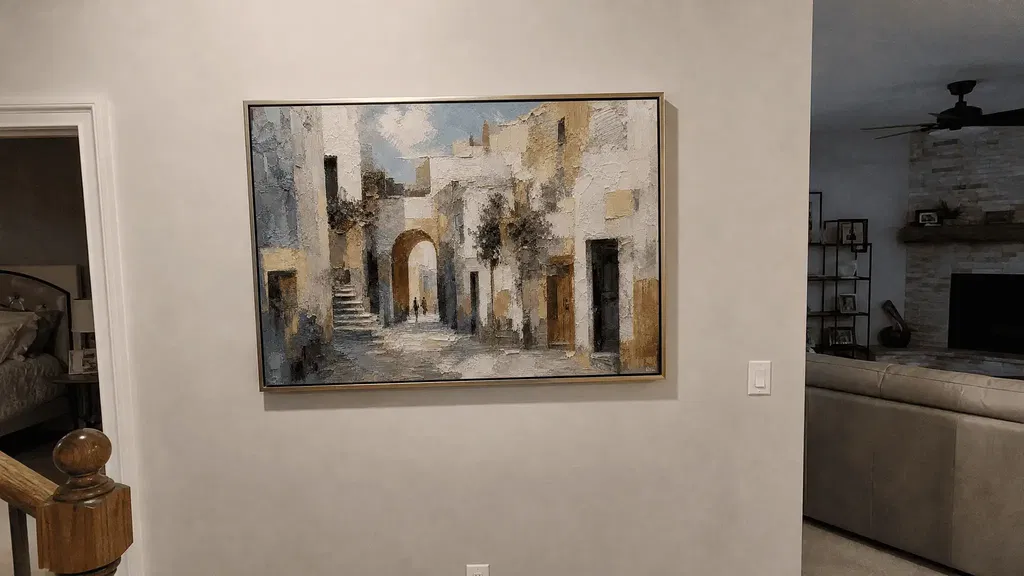
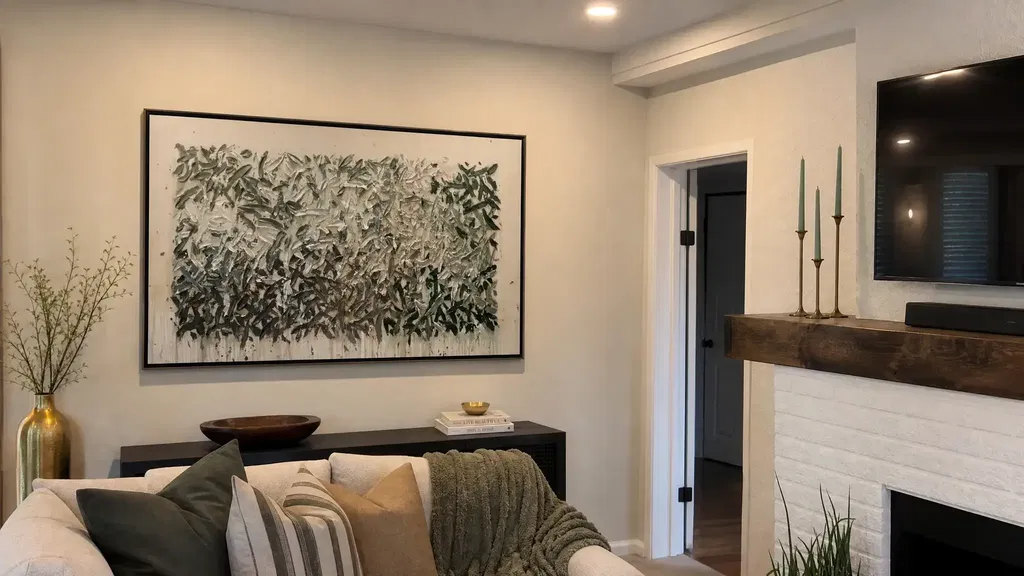
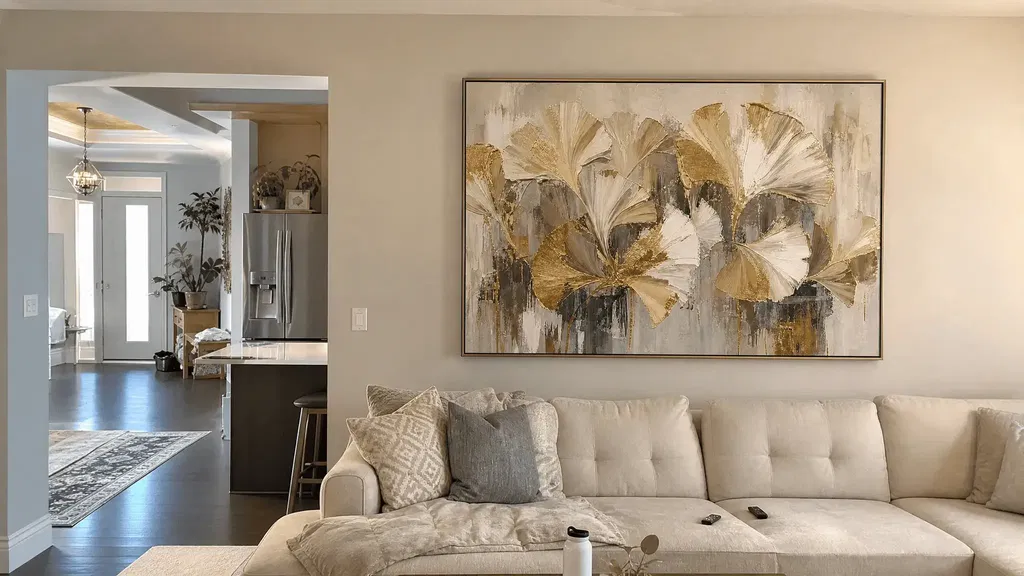
Oversized art should be mounted only after you verify four things: the wall assembly, the artwork's finished weight, the artwork-side and wall-side hardware, and the manufacturer's instructions for the complete installation. A French cleat, rated anchor, or stud can be part of the solution, but none is automatically suitable on its own. For how to hang oversized art, treat the wall, fastener, frame, and handling conditions as one system.
If the wall construction, artwork weight, surface condition, or concealed-utility location is uncertain, pause before drilling. The safest next step may be reviewing the product documentation or hiring a qualified installer instead of guessing at the anchor choice.
Start With Wall Type, Artwork Weight, and Hardware Rating
The first decision is not “cleat or anchor?” It’s whether you can verify the complete load path: artwork hardware, wall fastener, substrate, and any framing behind the surface. Confirm the finished weight, including the frame and existing hardware, with the seller or maker when available. Then compare that weight and the actual installation conditions with the selected manufacturer's allowable rating.
A package rating is conditional. Wall material, thickness, spacing, surface condition, fastener placement, and installation quality can all affect whether a method is suitable. If the documentation excludes overhead or critical-holding use, do not use that product for this installation. Product ratings are not universal approval for every piece of heavy wall art.

Before drilling, check for concealed wiring, plumbing, and metal. Scan methodically and stop if the result is inconclusive; Bosch's drilling guidance also makes clear that a detector is not an infallible safety guarantee. If you cannot identify the wall or inspect the attachment path, do not choose hardware based on appearance, artwork size, or a number printed on the package. You can also use an oversized wall art collection as a planning reference after the installation requirements are clear—not as proof of a piece's weight or included hardware.
How to Hang Oversized Art: Match the Mounting Method to Drywall, Plaster, Masonry, or Studs
Drywall, plaster or lath, masonry, and stud-backed walls require different drilling and attachment plans. Match the fastener to the actual substrate and its condition; do not transfer drywall-anchor instructions to plaster or masonry. Follow the instructions for the exact fastener, such as the substrate-specific DEWALT Wall-Dog instructions, rather than relying on a general anchor category.
| Wall type | What to identify | Support path that may be suitable | Main limitation | Stop or escalate when |
|---|---|---|---|---|
| Drywall | Board thickness, condition, framing, spacing, and utilities | Usable framing or a manufacturer-rated anchor system matched to the wall | A single anchor rating does not approve a multi-point installation | The board is damaged, the anchor conditions do not match, or framing cannot be located |
| Plaster or lath | Brittleness, lath, framing, movement, and surface condition | A plaster-compatible fastener plan or suitable framing attachment | Plaster-over-lath is not interchangeable with ordinary drywall | The surface crumbles or flexes, or the wall assembly is unclear |
| Masonry | Brick, block, concrete, mortar condition, and tool requirements | Fasteners and tools specifically intended for the identified masonry | Damaged or mixed masonry can provide an unreliable attachment | You cannot identify the masonry or the selected hardware excludes it |
| Stud-backed wall | Stud center, depth, condition, fastener engagement, and alignment | Direct stud mounting or a cleat spanning suitable framing | A nearby stud is not enough if the fastener and artwork hardware do not align | Framing is damaged, inaccessible, or cannot be confirmed |
Drywall: Choose Between Framing and Rated Anchors
Start by locating usable framing when the artwork's hardware and layout allow it. Direct engagement with sound framing can provide a clear attachment path, but the fastener must reach and align with that framing rather than merely land near it.
If you are considering an anchor, match its instructions to the drywall thickness, substrate, spacing, and complete load. Do not treat one fastener's rating as a guarantee for several fasteners, a cleat, or a different wall configuration. If the anchor's documented conditions do not match the installation, stop and reassess.

- Confirm the drywall thickness and condition before selecting an anchor.
- Compare the manufacturer's allowable rating and exclusions with the complete installation, including spacing and artwork-side hardware.
- Stop if framing, utilities, or the anchor's required conditions cannot be verified.
Plaster: Protect the Surface Before Drilling
Plaster—especially plaster over lath—needs its own preparation plan. Check for brittle areas, lath, framing, and surface movement, and follow the selected hardware's pre-drilling instructions rather than reusing a drywall routine. Practical plaster-and-lath installation guidance also treats this assembly differently from drywall.
Stop if the surface crumbles, flexes, or cannot be identified confidently. A damaged surface may not provide the support assumed by an otherwise compatible fastener.
Masonry: Use Compatible Fasteners and Tools
Masonry installation starts with identification, not drilling. Determine whether the surface is brick, block, concrete, or mortar, and inspect for damage before selecting a fastener or drill bit.
- Identify the masonry type and condition.
- Select hardware and tools intended for that material.
- Prepare and drill according to the product instructions.
- Install and inspect the wall-side attachment before lifting the artwork.
If the material is cracked, crumbling, mixed, or unknown, obtain qualified guidance before proceeding. A masonry fastener designed for one material should not be assumed suitable for another.
Stud-Backed Walls: Use Framing Without Overconfidence
Confirm the stud center, condition, fastener reach, and alignment with the artwork hardware. “There is a stud nearby” is not the same as a verified attachment path.
A spanning cleat may distribute a wide piece across suitable framing, but only when the cleat's wall-side attachment and the selected instructions support that configuration. In a mixed wall, treat each attachment point separately and verify that the least-supported point does not control the installation.
| Check | What to confirm | Stop when |
|---|---|---|
| Stud location | Center and alignment with the mounting hardware | The stud is only assumed or cannot be located |
| Stud condition | Sound framing without damage or movement | The framing is damaged or uncertain |
| Fastener reach | Enough engagement for the documented installation | The fastener cannot reach the confirmed framing |
| Cleat or hardware | Level, spacing, and secure wall-side attachment | The hardware does not align or its instructions exclude the setup |
For related precautions around protecting a canvas surface and wall, see this canvas wall protection resource; it should not be used as a substitute for product-specific load guidance.
Compare French Cleats, Rated Anchors, and Direct Stud Mounting
These methods solve different parts of the installation. A French cleat can help distribute and align a wide piece, a rated anchor may suit a specified substrate, and direct stud mounting uses confirmed framing. The right choice is the one whose entire attachment path matches the wall, artwork hardware, spacing, and documented conditions.
| Method | What it contributes | Wall conditions that may fit | Installation dependence | Limitations and checks |
|---|---|---|---|---|
| French cleat | Broad interface, alignment, and potential force distribution across a wide artwork | Suitable framing or a wall system specifically covered by the cleat instructions | Wall-side fasteners, cleat engagement, level, spacing, and artwork-side attachment all matter | A cleat does not create capacity by itself; weak or damaged wall-side support remains a failure point |
| Rated anchors | A documented attachment option for particular substrates and conditions | The exact wall material, thickness, spacing, and installation must match the product instructions | Correct drilling, seating, spacing, and allowable—not merely ultimate—rating are required | A rating for one product and substrate cannot be transferred to another wall or configuration |
| Direct stud mounting | A direct path into confirmed framing | Sound, accessible framing aligned with the artwork hardware | Fastener reach, stud condition, alignment, and seating must be verified | A nearby or damaged stud is not sufficient, and framing may not match the desired artwork position |
A French cleat's reliability still depends on its wall-side foundation and fastener locations, as shown in these French cleat installation instructions. Likewise, manufacturer anchor data may distinguish allowable loads from ultimate test values and may exclude overhead or critical-holding applications. Use only the applicable allowable rating for the tested substrate and conditions; do not convert a published test number into a universal recommendation.
The practical rule for a heavy wall art installation is simple: choose distribution, anchoring, or framing only after you can inspect the wall-side support and match it to the artwork-side hardware. If those facts cannot be matched, the method name is not enough.
Install Oversized Art With a Safer Handling Plan
A large piece is a handling task as well as a mounting task. Reach, height, travel distance, twisting, grip, shape, and control can make a lift difficult even when the weight seems manageable. NIOSH lifting guidance explains why these conditions matter and why mechanical assistance may be appropriate where possible.
Use this sequence:
- Clear the route. Remove furniture, protect corners and floors, and make sure the destination wall is accessible.
- Gather compatible equipment. Have the selected hardware, tools, level, protective materials, and any required assistance ready before lifting.
- Mark the position. Confirm the height, spacing, and attachment points without holding the artwork in place as a substitute for planning.
- Install and inspect the wall-side attachment. Check fastener seating, cleat level, framing engagement, and visible wall damage before the artwork is brought up.
- Use appropriate help. A second person may improve control for a bulky piece, but team lifting is not a guarantee. OSHA's heavy-lifting guidance can serve as a conservative workplace prompt, not an artwork-specific rule.
- Seat the artwork fully. Confirm cleat engagement or hardware seating, level, clearance, and whether the piece is pulling away from the wall.
- Stop when conditions change. Pause if the artwork shifts, the wall cracks, hardware loosens, coordination breaks down, or access is inadequate.
Use a qualified installer when the artwork is high, awkward, difficult to control, inaccessible, valuable, near utilities, or being mounted to a damaged or uncertain wall. A helper can improve control, but cannot correct an unsuitable wall attachment or make an uncertain lift safe. This handling plan is part of how to hang oversized art, not a substitute for verifying the wall.
Run a Final Wall-and-Hardware Check Before You Lift
Lift only when the finished weight, wall condition, attachment path, and handling plan are accounted for. Use this final check immediately before the artwork leaves the floor:
- Finished weight: Confirm the artwork, frame, glazing if present, and existing hardware—not just the listed image size.
- Wall type: Identify drywall, plaster or lath, masonry, framing, or a mixed assembly.
- Wall condition: Look for crumbling plaster, cracks, movement, water damage, or loose surface material.
- Utilities: Investigate concealed wiring, plumbing, and metal; stop when scanning is inconclusive.
- Artwork hardware: Inspect its attachment to the frame, alignment, looseness, corrosion, and spacing.
- Wall-side hardware: Confirm that the selected fastener or cleat is intended for the actual substrate and installation.
- Documented rating: Compare the manufacturer's allowable rating and exclusions with the real configuration. Do not rely on an ultimate test value or package label alone.
- Load distribution: Trace the force from the artwork hardware through the fastener and into sound substrate or confirmed framing.
- Tools and access: Make sure the route, drill, bit, level, protective materials, and working position are ready.
- Handling support: Decide whether you need a helper, lifting equipment, or a qualified installer before you begin.
- Final seating: After mounting, check level, clearance, cleat engagement or fastener seating, and visible wall movement before releasing control.
If one critical input remains unknown—especially the weight, substrate, attachment condition, utility location, or ability to control the piece—delay the lift and verify it. Once those checks are complete, our oversized wall art collection can be a planning step for comparing scale and placement, not a substitute for installation advice.
FAQs
These questions address exceptions and next steps after you have considered the wall and hardware. When the installation cannot be verified, use the product instructions or qualified help rather than guessing.
Do I Need a Stud for Heavy Art on a Finished Wall?
Not automatically. Some documented systems may suit specified non-stud substrates, while direct stud mounting may fit when framing, fastener reach, and artwork hardware align. Check the finished weight and wall-side support first. If that support cannot be verified without damaging the finished wall, pause before drilling.
How Can I Tell Whether a Wall Is Plaster or Drywall?
Use non-destructive clues such as the building's age, surface texture, and an existing opening, but do not rely on appearance alone. Plaster over lath and mixed renovations can look like drywall. Confirm the assembly before selecting fasteners, and avoid exploratory drilling near suspected utilities.
Can I Hang Oversized Art in a Rental?
Check the lease and property manager before planning any drilled attachment. A patchable hole is not the same as guaranteed damage-free removal, and adhesive products should not be assumed suitable for oversized art. Ask for the approved attachment method in writing when the piece is large or heavy.
What Should I Do If the Artwork Wobbles or Pulls Away?
Support or remove the piece with help if it is unstable, stop relying on the attachment, and inspect both the wall and artwork hardware. If the piece shifts, loosens, or pulls away, obtain qualified advice before reinstalling it. Do not treat a small leveling adjustment as a fix for movement at the attachment point.