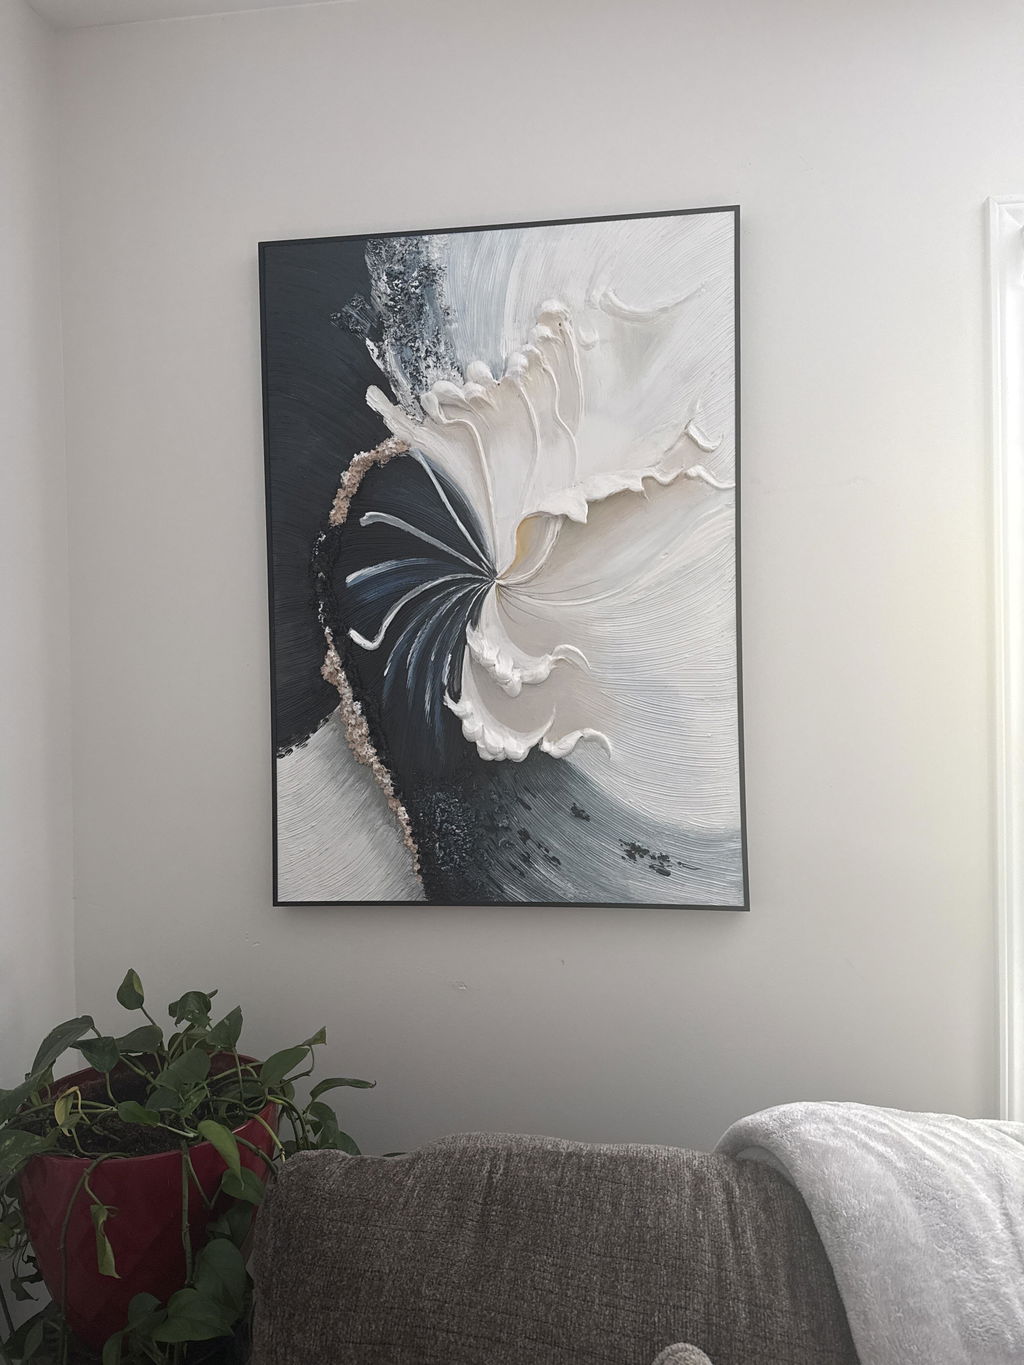
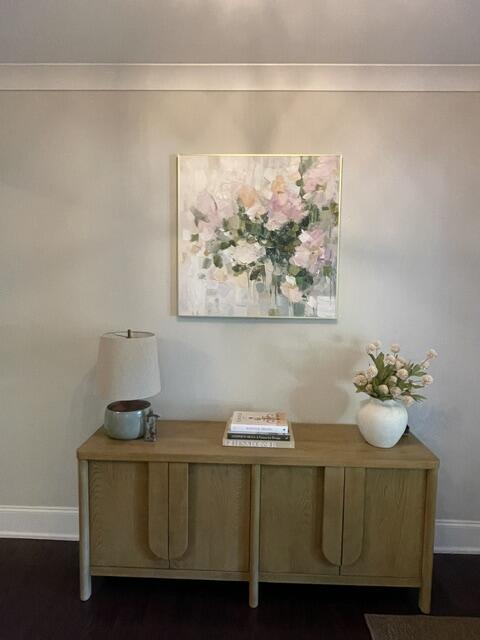
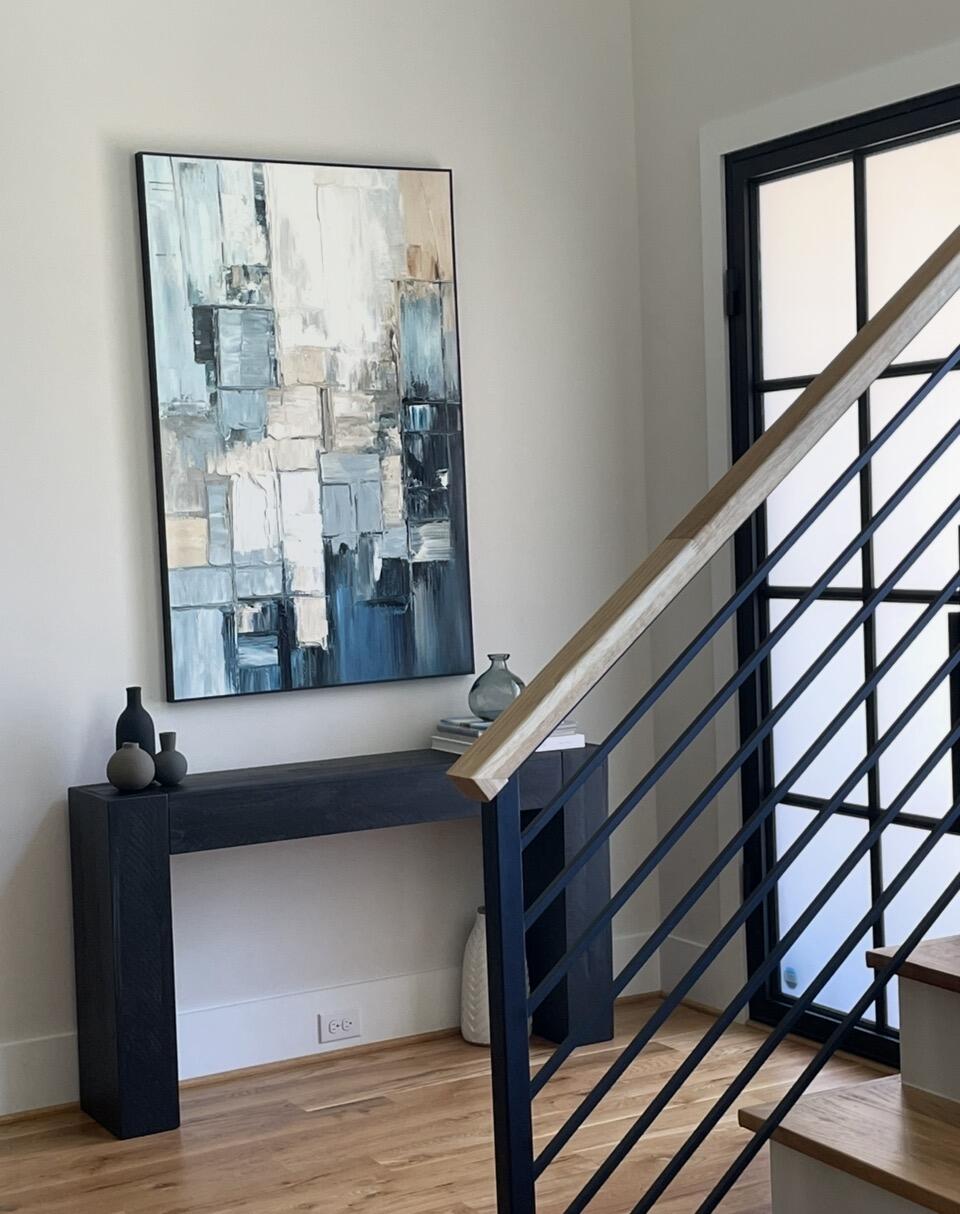
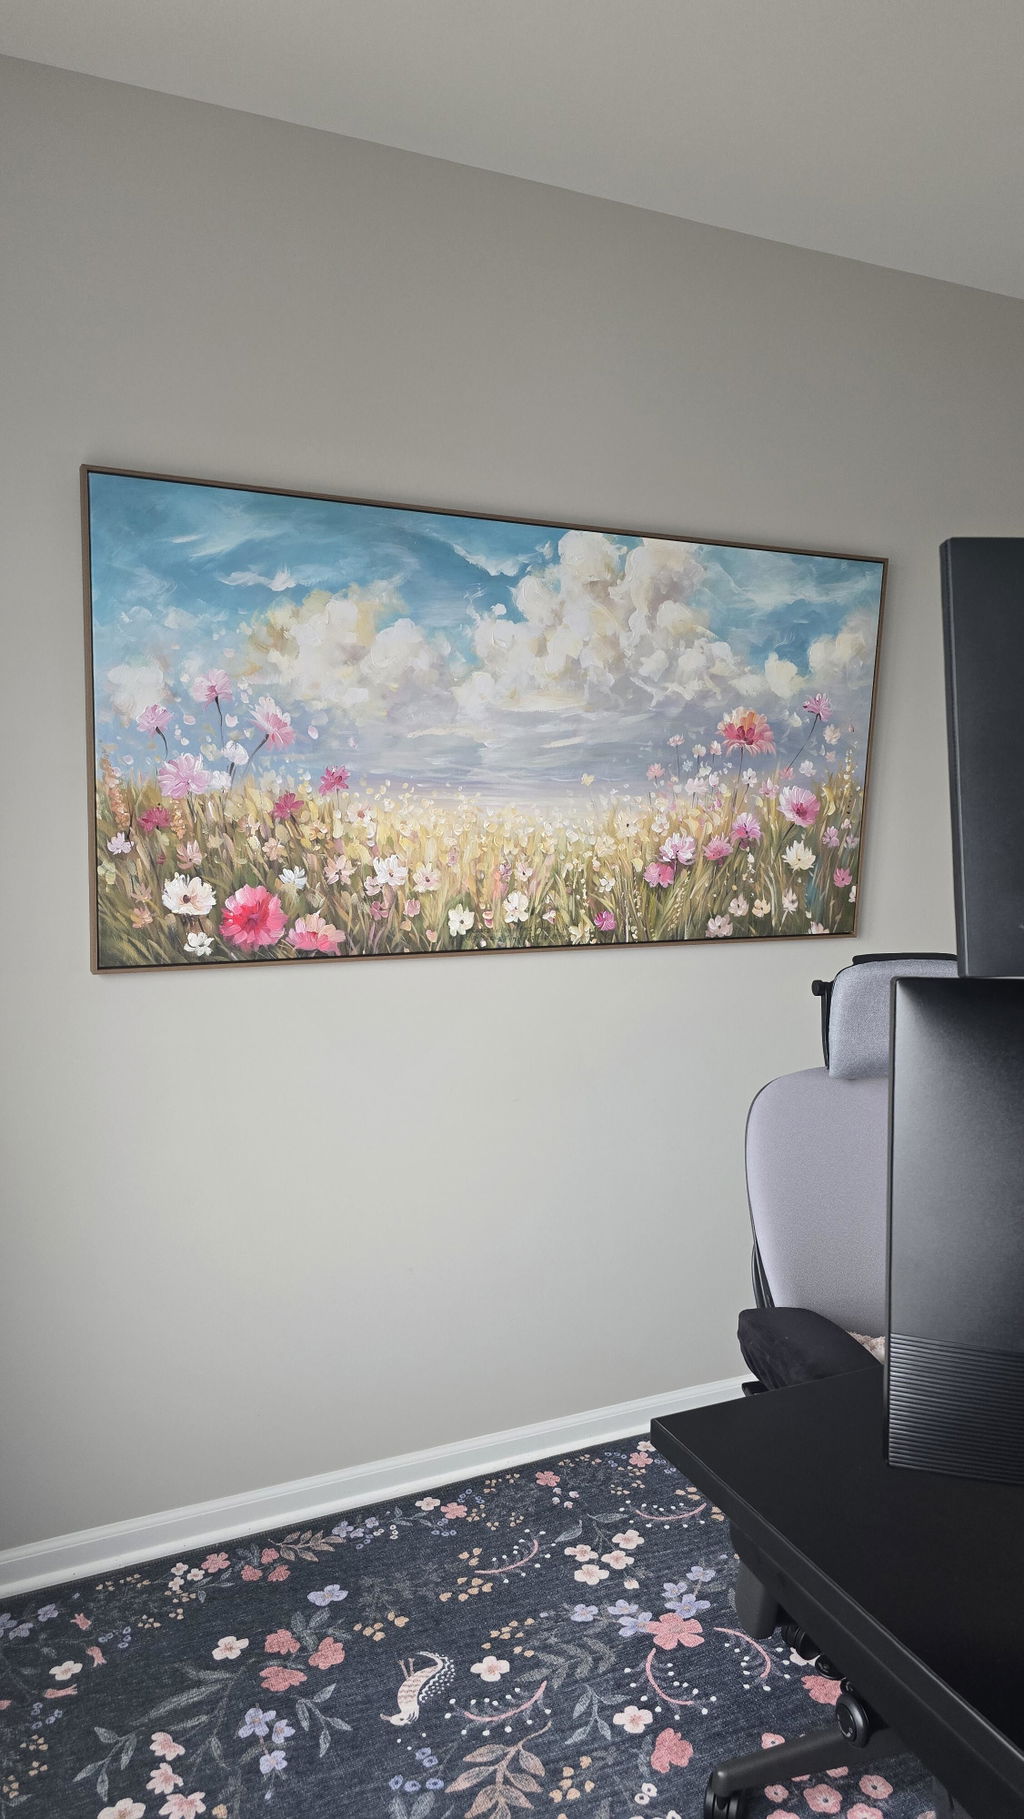
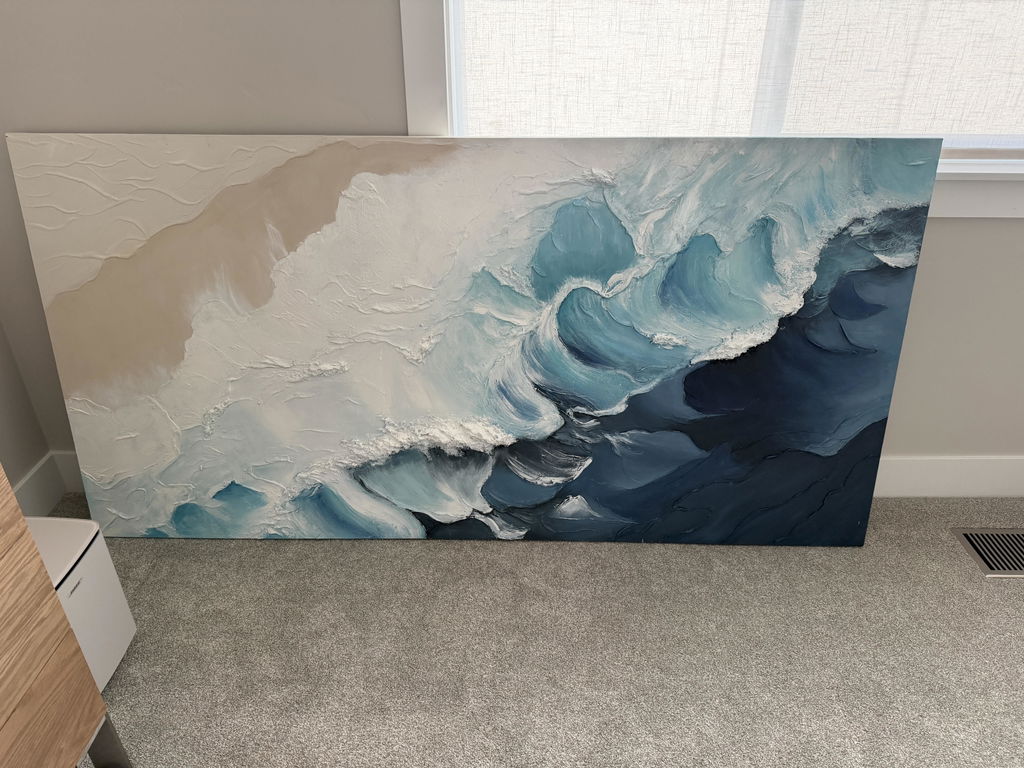
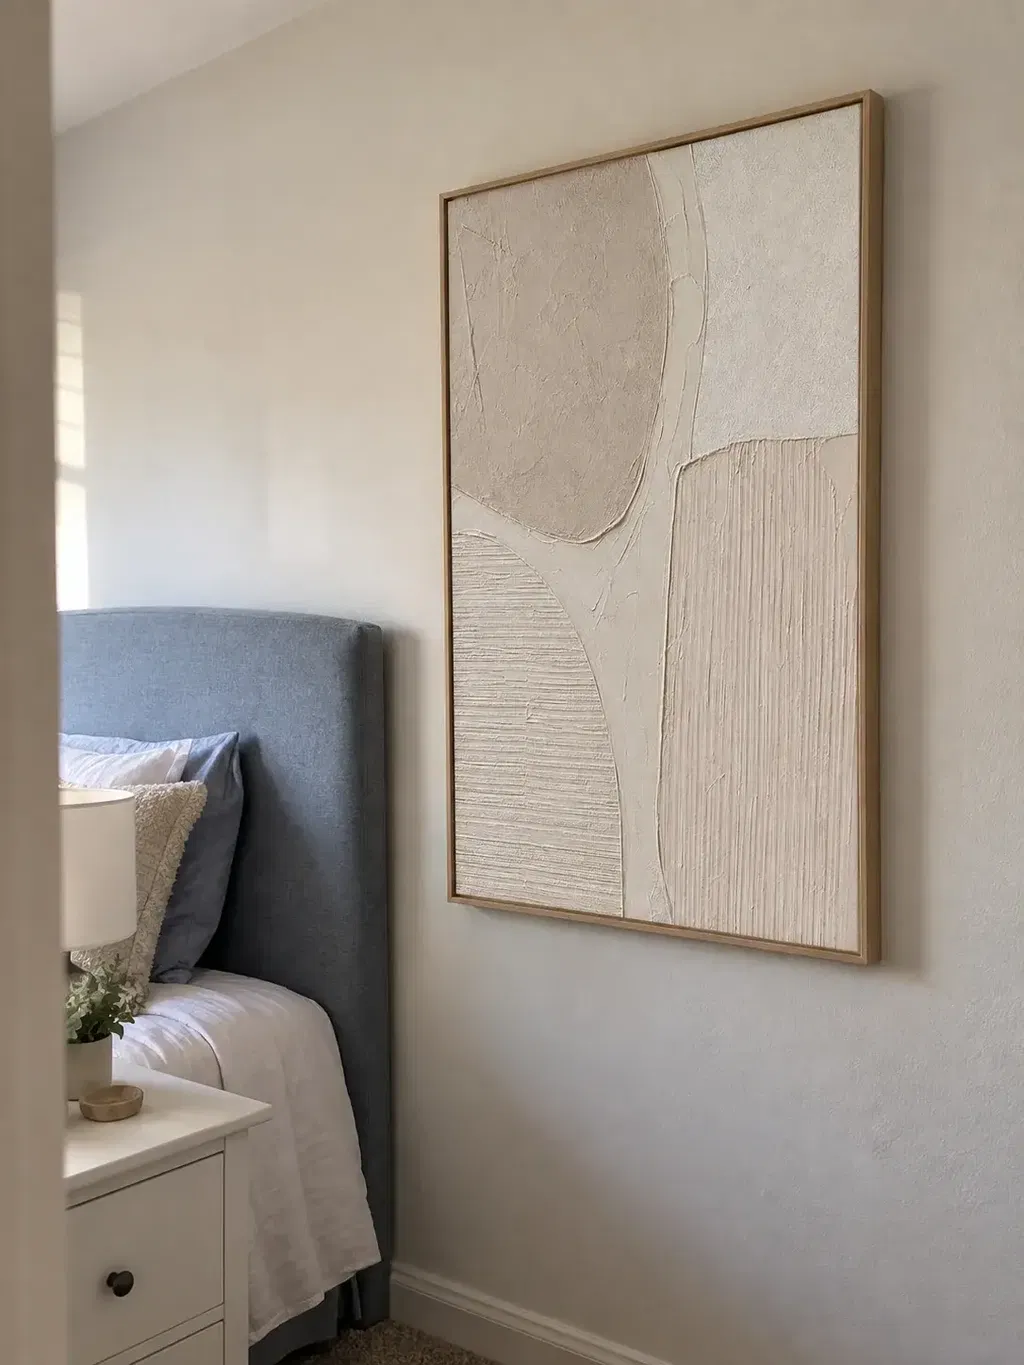
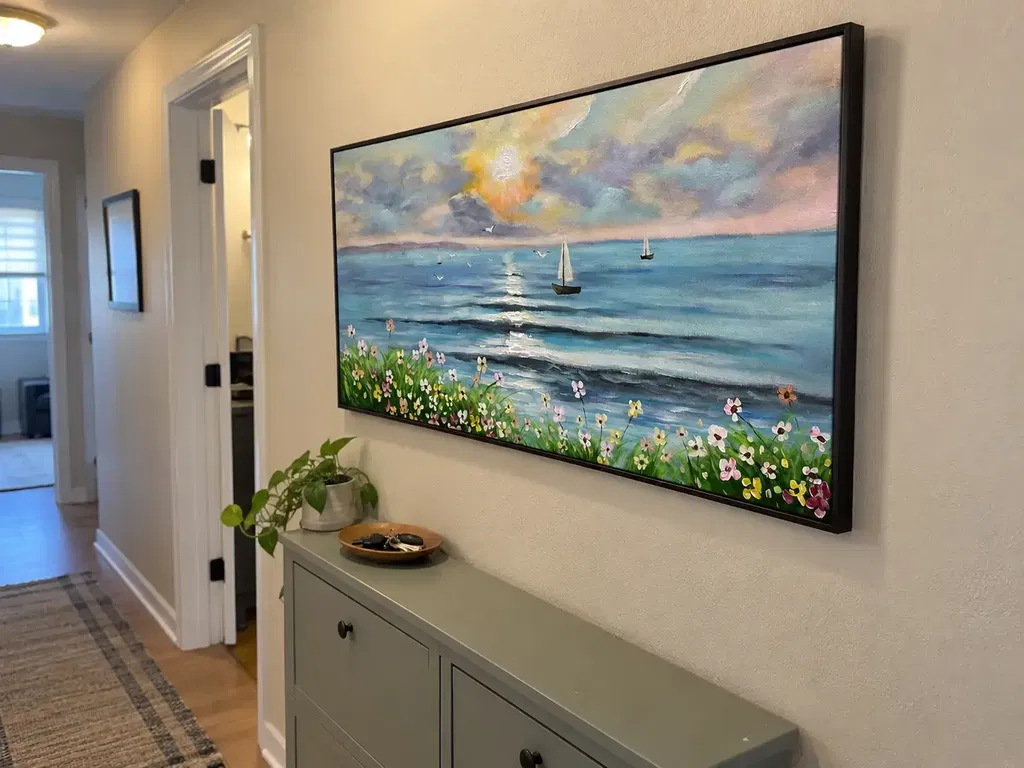
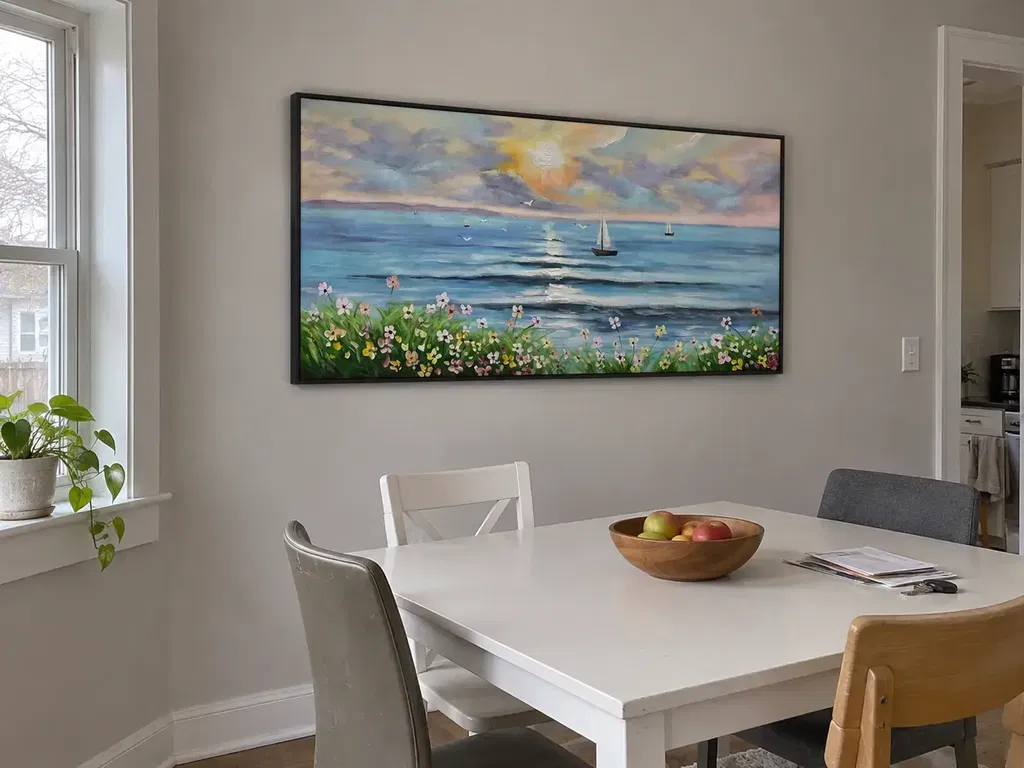
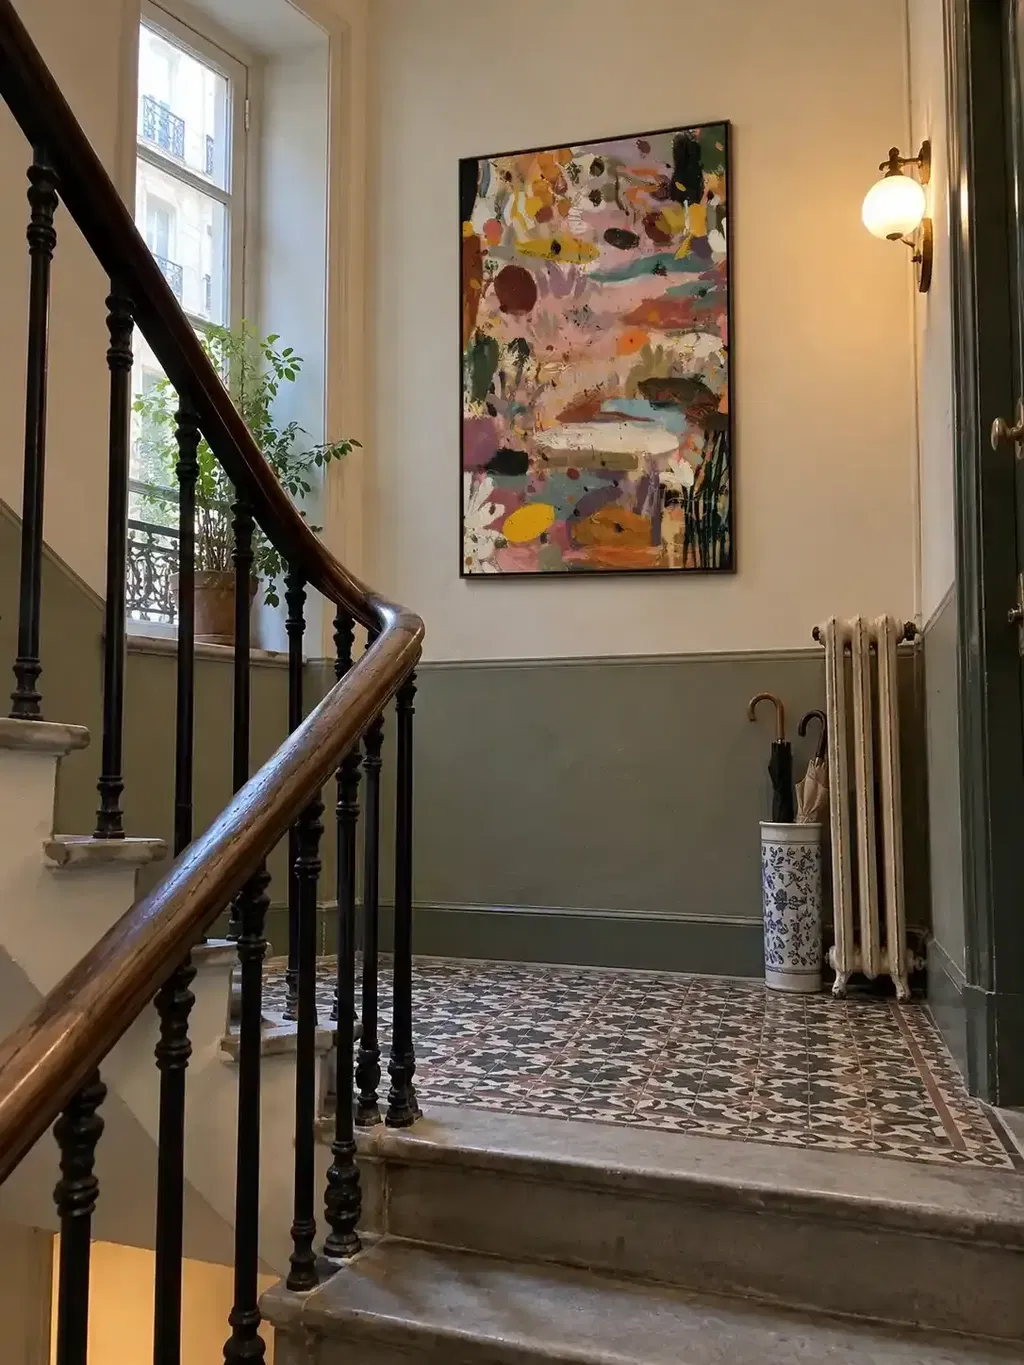
Multi-panel art texture consistency is about whether the panels share a cohesive surface feel, relief depth, and finish when they hang together. It doesn't mean every brushstroke must be identical. It does mean the set should read as one piece of art at a normal viewing distance, even if you are looking at a diptych or triptych with hand-applied variations.
That distinction is important because flat mockups can hide surface differences. If you are approving original textured art, the real question isn't, "Are the marks identical?" It is, "Do the panels feel coordinated enough in texture and color that nothing pulls your eye out of the set?"
What Texture Consistency Means in Multi-Panel Art
For buyers, texture consistency means the panels share the same visual rhythm: similar relief, similar sheen, and a finish that feels intentional across the full set. In a well-matched diptych or triptych, the panels may not mirror each other exactly, but they should still connect cleanly once they are hung side by side.
That is the right standard for multi-panel art texture consistency, not perfection. Small differences are easier to notice when a seam splits the image, when the wall has strong side light, or when you view the set from across a room. If one panel looks flatter, busier, or glossier than the others, the eye often notices that before it notices a color shift.

A useful rule of thumb: judge the set as a whole first, then inspect the surface. If the whole reads as one piece, small hand-made differences are usually fine. If the panels look like separate works that only share a theme, the cohesion is weak even if the colors are close.
What to Request Before You Approve the Set
Before you approve a multi-panel order, ask for proof that shows the whole composition and the surface detail at the same time. Front-facing mockups aren't enough on their own. You want images that make the raised areas, brush movement, and edge transitions visible.
The most effective check is raking light for texture proof, because angled light reveals relief that flat photography tends to hide. A matched set of same-lighting close-ups across panels helps you compare the surface fairly. Ask for the same angle, the same distance, and a view that includes the edges, since edges often expose whether texture was handled consistently.

If you want a clearer approval package, request these four things:
- A full-set mockup from the front.
- Close-up photos of each panel under angled light.
- One image that shows the edges or seam zones.
- Written confirmation of the finish, especially if the set is hand-finished.
You can also ask whether the studio is matching the panels as a coordinated group or finishing each one separately. That answer won't guarantee the final result, but it tells you how much control they have over matching texture across multi-panel art sets. If the seller can only give vague answers, keep the request open until the finish is clearer.
For buyers who also want a broader texture reference, a quick check on canvas weave texture can help separate surface feel from overall style. If you are comparing a specific set in the store, a textured option like a textured floral diptych should still be judged with the same proof standard: ask for side-angle photos before you approve anything.
How to Compare Panels for Texture and Color
Compare the panels in two passes. First, judge the texture. Then, check the color. That order matters because a surface that is too flat, too glossy, or too heavy will stand out even if the palette is close.
| What to compare | What to look for | Buyer action |
|---|---|---|
| Lighting | Same angle, brightness, and distance | Ask for a matched photo set before approving |
| Surface relief | Similar depth, brush movement, and raised areas | Compare texture first, not color first |
| Paint thickness | No panel should feel visibly heavier or busier | Flag any panel that dominates the others |
| Color temperature | Whites, neutrals, shadows, and metallics should stay close | Check neutral areas before judging saturated hues |
| Seam alignment | Edges should flow deliberately, not look patched together | Zoom in on joins and border transitions |
| Room read | The set should look cohesive from a typical hanging distance | Step back in your mind, not just on screen |
Color checks need a little more caution. Lighting and screen calibration can exaggerate or hide color drift in proofs, so don't treat every small shift as a defect. A white wall, a warm lamp, or a phone display set too cool can make two panels look less consistent than they really are.
If you are deciding whether to approve, separate two questions: does the texture match well enough, and does the color match well enough for your room? A set can pass the texture test but still miss the mark for your space if the tones pull too warm, too cool, or too metallic under your specific lighting.
Red Flags That Signal a Mismatch
- One panel looks flatter or more heavily built up than the others. This usually means the surface rhythm will break once the set is hung.
- The sheen changes sharply from panel to panel. A glossy panel next to a matte one can look mismatched even when the colors are close.
- Whites, neutrals, shadows, or metallic touches drift first. These areas often reveal finish differences before the main color fields do.
- The studio keeps reshooting instead of answering finish questions. If the replies stay vague, the proof set may not be controlled tightly enough.
- You never see side-angle or close-up texture shots. This is the biggest blind spot when checking for texture consistency.
Treat these as reasons to pause, not as automatic rejection. A set that looks slightly off in one proof can still be fine if the next round shows better texture control. But if the same issue appears in multiple angles, the safer move is to ask for one more proof round before you commit.
Approval Checklist Before You Buy
- Review the full-set mockup first, so you know the intended composition.
- Compare the angled close-ups panel by panel and look for similar relief depth.
- Check seam zones, edges, and repeated motifs for intentional flow.
- Judge the color in neutral areas before you focus on accent colors.
- Save the studio's written confirmation about finish, lighting, or hand-applied texture.
- Approve only if the set still reads as one cohesive piece at the distance your room will use.
If you are still uncertain, ask for one more proof round rather than forcing a decision. That is especially true when the only images you have are front-on mockups. For many buyers, the right next step is to browse textured wall art or compare broader canvas paintings only after the proof package is strong enough to support the order.
The safest approval habit is simple: request matched proof photos, compare them under the same lighting, and separate texture from color before you say yes. If the set reads cohesively, approve it. If the finish still feels ambiguous, ask for one more round and keep the order open until the texture match is clear.
FAQs
How can I tell if a multi-panel set will match in real life?
A front-facing mockup can show composition, but it cannot fully prove texture. The best sign is a set of side-angle or raking-light close-ups that show relief on every panel under the same lighting. If those photos look consistent, the set has a much better chance of reading well on the wall.
What proof should I request before approving a textured set?
Ask for a full-set mockup, close-ups of each panel, edge views, and written confirmation of the finish. If possible, request the same light angle across all panels so you can compare the surface fairly. That combination gives you a much better read than front-view images alone.
Can slight texture differences be normal across diptychs or triptychs?
Yes, slight variation is often expected in original hand-painted work. The key boundary is whether the set still reads as one piece when hung. If the differences jump out from a normal viewing distance, the variation is too strong for a cohesive display.
Why do colors look different across panels in proofs?
Lighting, screen calibration, and even the room where the photos were taken can shift how color appears. Neutral areas, whites, and shadows are usually the best places to check first because they reveal drift sooner than bold colors do. If those areas stay close, the set is usually easier to trust.
What should I do if the panels look a little off?
Pause approval and ask for one more proof round. Request closer surface images, the same light angle, and a direct answer about the finish or hand-applied texture. If the studio cannot make the proof clearer, treat that ambiguity as a warning sign and keep the order open.