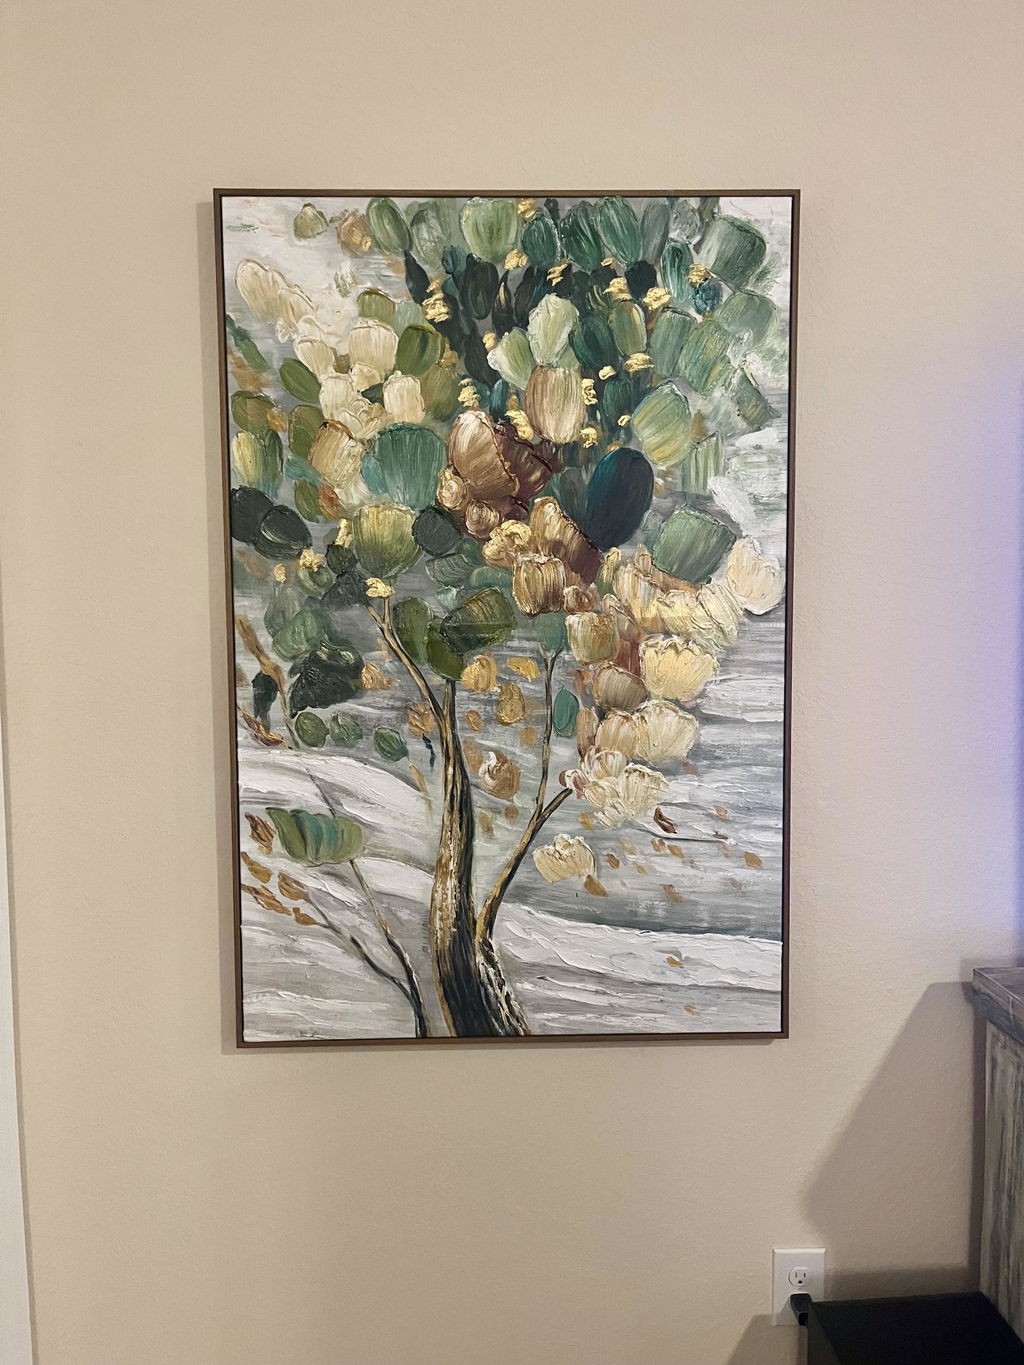
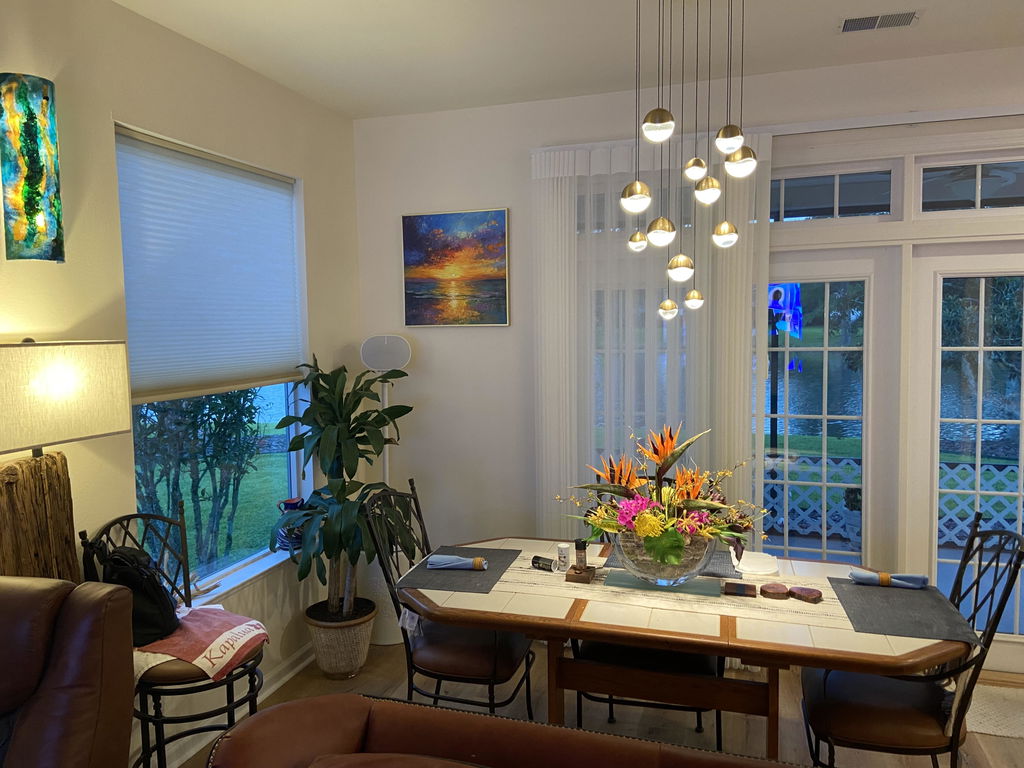
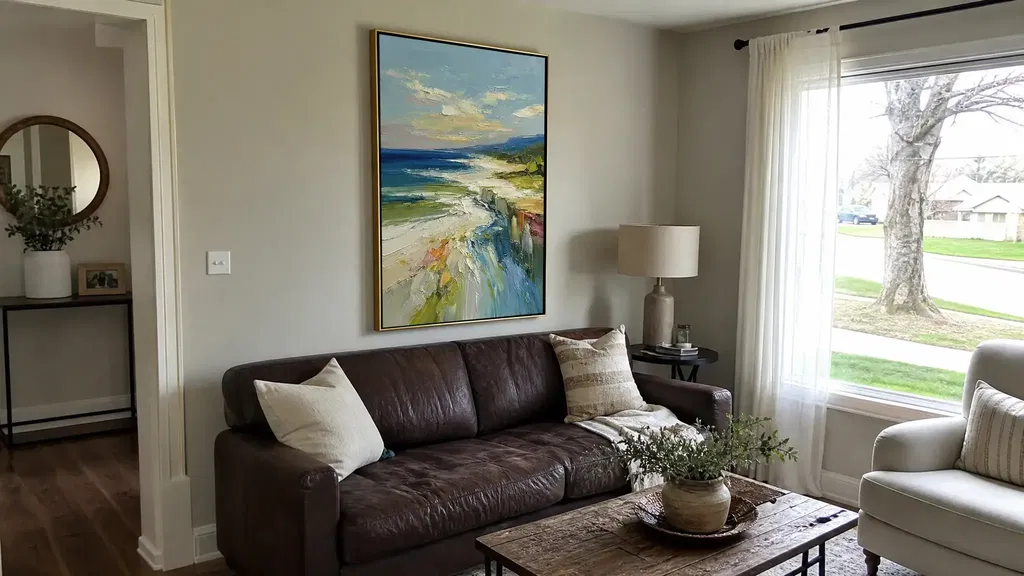
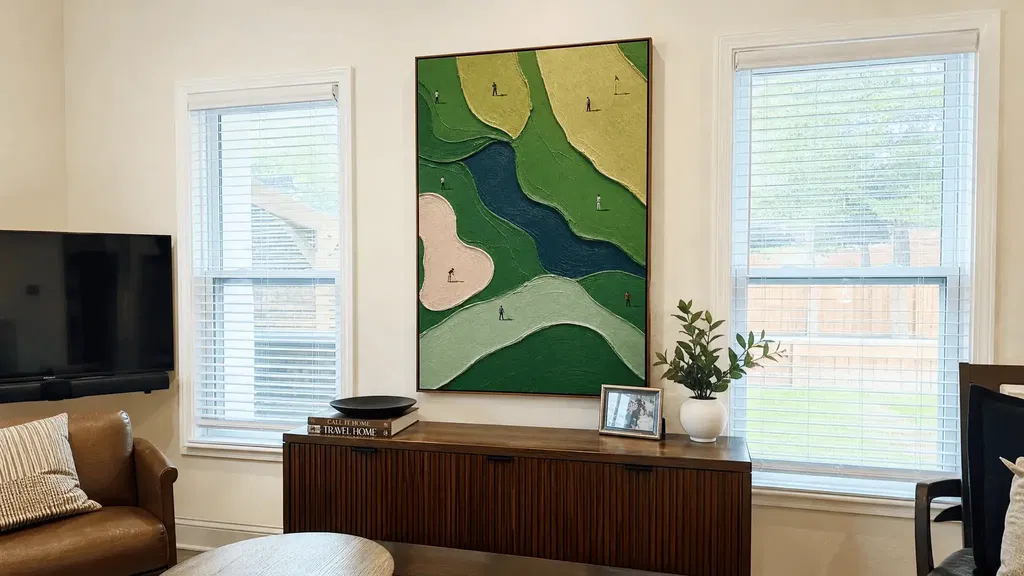
Choose art for new construction homes from the latest dimensioned plans and coordinated elevations—not from room photos alone. Before ordering, document finished-wall assumptions, furniture relationships, lighting and electrical locations, the mounting approach, the delivery route, and the plan revision. You can create a preliminary shortlist early; final approval should wait until the project team verifies the details that determine fit and installation.
Plan Art for New Construction Homes From Documented Drawings
The practical foundation for wall art planning for a new build is a room-by-room record that separates confirmed dimensions from provisional ones. Start with the latest floor plans, interior elevations, and site measurements. Then confirm changes with the builder or designer before treating a wall as ready for purchase approval.
For each candidate wall, record:

- Wall location and room function.
- Finished width and height, separate from rough-framing dimensions.
- Drywall, trim, paneling, openings, built-ins, doors, and windows that reduce the usable area.
- The furniture purpose below or near the wall, such as a sofa, bed, console, dining area, or open circulation zone.
- Candidate art orientation and complete displayed dimensions.
- Plan revision number, open questions, responsible reviewer, and final confirmation date.
Keep the shortlist provisional while drywall thickness, trim, furniture, or built-ins can still change. This is the core of pre-drywall art installation planning: shortlist early enough to coordinate the room, but do not treat preliminary drawings as proof that a particular piece will fit.
For broader selection context, see our guide to choosing modern art, but use the construction documents—not a general decorating rule—as the controlling record for this project.
Translate Wall Dimensions Into Art Scale and Placement
Turn the drawings into a candidate range by comparing the finished wall, furniture footprint, circulation, sightline, and complete artwork dimensions together. A composition that looks appropriately scaled on an elevation can still interfere with trim, a control, a walking path, or delivery access.
Read Finished Wall Dimensions From the Plans
Use finished dimensions rather than rough-framing dimensions for the first comparison. Account for trim, openings, built-ins, and adjacent circulation before deciding whether a horizontal, vertical, square, or grouped arrangement is realistic.
| Wall location | Finished width | Finished height | Openings or trim | Furniture relationship | Candidate orientation | Verified art dimensions |
|---|---|---|---|---|---|---|
| Example: living room | Confirm on latest elevation | Confirm on latest elevation | Record doors, windows, trim | Record furniture footprint | Horizontal, vertical, square, or grouping | Record complete displayed size |
Treat this as a working elevation, not a fit certificate. If the plan set has conflicting dimensions, pause the art decision and ask which revision controls.

Match Art Scale to the Furniture Plan
The furniture footprint and primary viewing position often matter as much as the empty wall. For each candidate, identify the furniture anchor, record its measured width, note side and walking clearances, review the main sightline, and mark the trigger for final furniture-plan approval.
- Compare the art's outside boundary with the furniture below it, including frame or edge details.
- Check nearby doors, windows, lamps, shelves, and neighboring objects.
- Review the approach and walking path rather than judging the wall in isolation.
- If sofa, bed, console, or case-good dimensions are not final, use the expected footprint only for a provisional shortlist.
Common proportion rules can help generate options, but they are flexible design prompts—not universal fit or hanging-height standards. For large art dimensions before construction, record the actual wall and furniture measurements first, then test candidate sizes against the elevation and sightline.
Choose One Statement Piece or a Grouping
A single statement piece and a grouping need separate records. For one work, document the complete displayed width, height, depth or projection where relevant, orientation, and packed dimensions. For several works, record the grouping's outside boundary, spacing, alignment, and total handling requirements—not just the dimensions of each individual piece.
The displayed composition and the transport form require different checks. Ask whether the work is framed, stretched, unframed, or shipped in another form, and confirm current specifications with the seller. A useful browsing path is black-and-white statement art, but the linked page does not confirm fit, weight, packaging, or availability for your project.
Coordinate Art With Lighting, Outlets, and Switches
To coordinate wall art with home lighting, review the art elevation beside the reflected-ceiling and electrical plans before locations are finalized. This can catch visual conflicts and access problems while the project team can still revise the layout; it does not guarantee glare-free or evenly distributed light.
Before the plans are finalized, mark:
- Recessed lights, track heads, sconces, and fixture direction.
- Windows, daylight paths, and likely reflections or shadows.
- Switches, outlets, thermostats, control panels, and other access points.
- The responsible builder, designer, or electrician for each unresolved conflict.
Mark the Lighting Relationship on the Room Plan
Compare the planned art boundary with daylight, recessed fixtures, track heads, sconces, and other light sources. Mark the likely direction of light and flag surface texture, shadows, reflections, or direct exposure for the designer, builder, or electrician to review under actual room conditions.
| Art location | Light or daylight source | Planned location | Possible visual issue | Adjustment owner | Approval status |
|---|---|---|---|---|---|
| Record wall and elevation | Window, recessed light, track, or sconce | Record fixture position and direction | Shadow, reflection, texture response, or unresolved conflict | Builder, designer, or electrician | Open, revised, or approved |
A resource on lighting techniques can provide general art-viewing context, but project professionals should resolve the actual fixture, surface, and daylight relationship.
Protect Access to Switches and Outlets
Mark switches, outlets, thermostats, control panels, and other devices on the same elevation as the complete art boundary. Review the elevation from left to right: openings, controls, receptacles, art edge and depth, furniture, and walking clearance.
- Do not approve a composition that hides a control whose access has not been reviewed.
- Include frame depth or other projection when checking device access.
- Assign each conflict to the responsible builder, designer, or electrician.
- Avoid code conclusions unless the project's jurisdiction and construction details have been reviewed by the appropriate professional.
Confirm Blocking, Studs, and Mounting Support
Before drywall covers the framing, give the project team the complete artwork and wall information so the builder or qualified installer can confirm the support and attachment approach. Blocking may be appropriate in some wall assemblies, but it is not an automatic requirement; the decision depends on the wall, the complete piece, the attachment method, and professional review.
Decide Whether Blocking Is Needed
Record the piece specifications, proposed wall, attachment method, confirmed studs or backing, possible services, responsible reviewer, and approval status. Do not treat drywall alone, an assumed stud, or a generic hardware rating as proof that an installation is suitable.
- Provide complete delivered-piece dimensions, weight, orientation, frame or stretcher details, and hardware information.
- Ask the builder or qualified installer to confirm the wall assembly, support, attachment points, and any need for blocking.
- Check for concealed services and record the review before drywall closes.
- Photograph or mark approved concealed support for the later installer.
The PNNL guidance on securely attaching framed art supports addressing the attachment plan before the wall is closed. Before selecting attachment points, also check studs and possible wall services; that general DIY guidance is a checklist prompt, not evidence of a universal load capacity. Have the builder or qualified installer verify the wall assembly, concealed services, attachment method, and complete delivered-piece weight.
Create an Installer-Ready Mounting Record
Use a version-controlled handoff that the installer can compare with the delivered piece:
- Attach the approved wall elevation.
- Add final art dimensions, weight, orientation, frame or stretcher details, and mounting hardware information.
- Map confirmed support and attachment points, along with service-location checks.
- Name the installer or reviewer responsible for the decision.
- Document the final check before drilling, including any concealed-support photo or markup.
If the delivered piece differs from the approved record, stop and recheck the plan rather than assuming the original support decision still applies. Our related structural stability guide is a reading path, not a substitute for project-specific verification.
Lock Delivery Access and Final Approval Before Drywall
Wall fit and delivery fit are separate tests. Before ordering art for new construction homes, obtain current packed dimensions and measure the complete route from the property entrance to the final room. Include doors, hallways, turns, stairs, elevators, and finished openings.
Use this final handoff:
- Attach the latest plans and confirm the revision date.
- Verify each wall elevation against finished dimensions, trim, openings, and built-ins.
- Overlay the approved furniture, lighting, and electrical information.
- Confirm the mounting-support review and responsible installer.
- Request current displayed and packed dimensions, weight, and delivery form from the seller.
- Measure the property entrance, doors, hallways, turns, stairs, elevators, and finished openings.
- Assign approval owners and record the final order trigger.
Only place the order when the latest plan, complete artwork specifications, support review, route check, and current retailer terms are recorded together. If you are browsing by format, canvas wall decor is a navigation option; it does not establish dimensions, weight, packaging, lead time, or mounting compatibility.
FAQs
When Should I Choose Art During a New-Build Process?
Shortlist art once usable wall elevations and a meaningful furniture footprint are available. Finalize the purchase after finished-condition assumptions, electrical locations, support, specifications, and the latest plan revision are reviewed.
Can I Plan Artwork From Architectural Drawings Before Drywall?
Yes. Drawings can support a preliminary orientation and size shortlist. Mark unresolved thickness, trim, openings, furniture, frame-depth, or clearance details as provisional, and set a review trigger for approval.
How Do I Plan Art When Furniture Dimensions Are Not Final?
Use the documented or expected furniture footprint for a provisional comparison. Rerun clearances, walking paths, and sightlines when the furniture is selected, and revise the art schedule if the footprint changes materially.
Does Heavy Wall Art Always Need Blocking?
No. The builder or qualified installer should decide based on the wall assembly, delivered-piece weight, attachment method, and confirmed support before drywall closes.
How Can I Check Whether Oversized Art Will Reach Its Final Room?
Request packed dimensions and the delivery form, then measure every door, hallway, turn, stair, elevator, and finished opening along the route. Confirm the measurements with the seller before scheduling delivery.