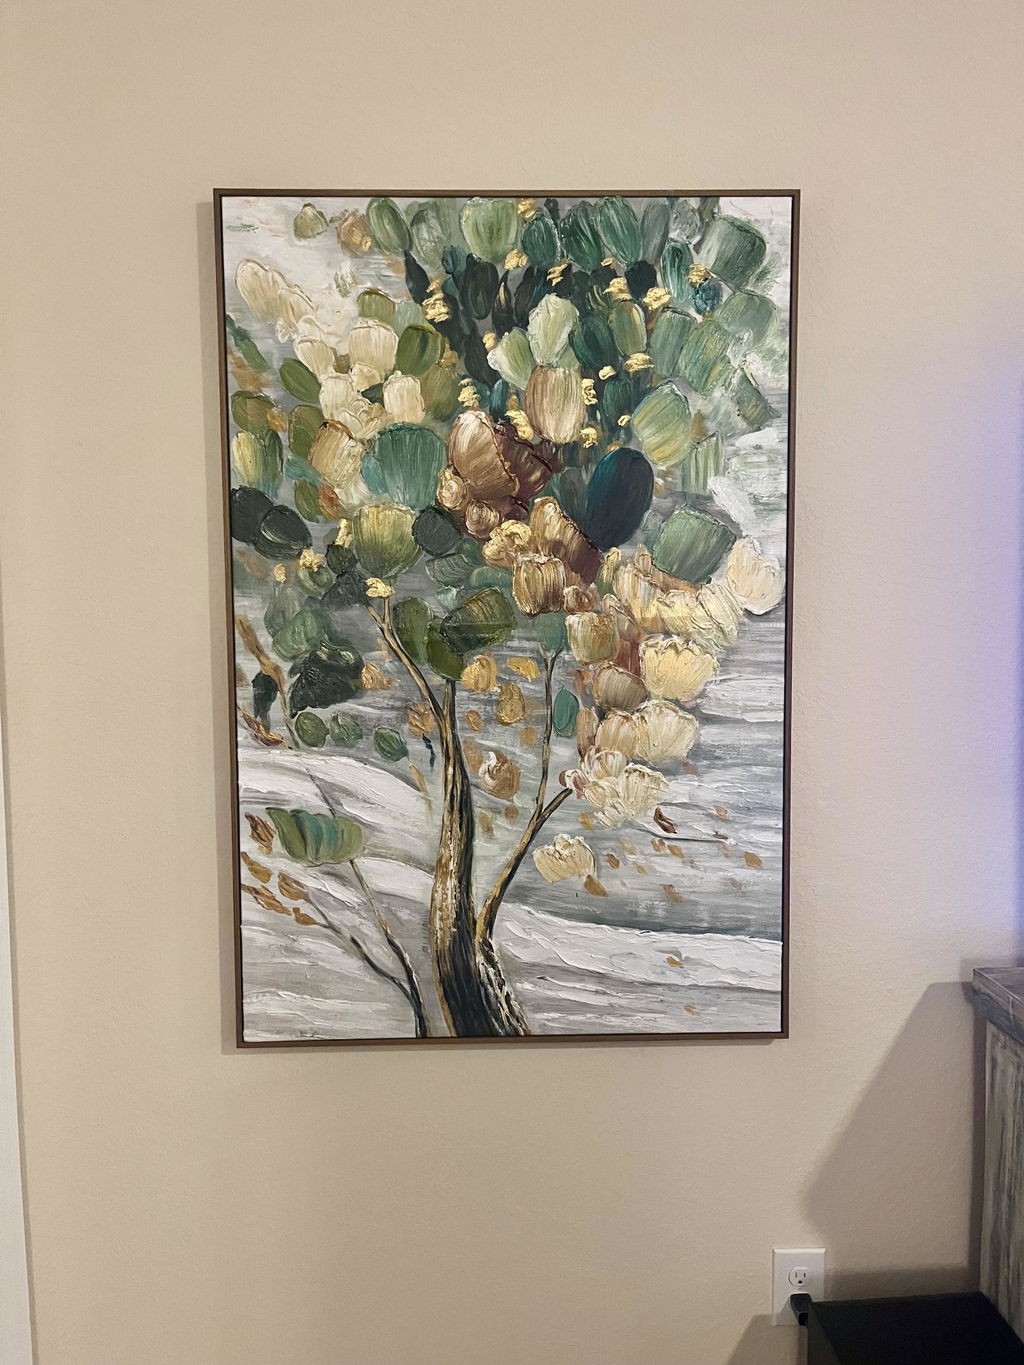
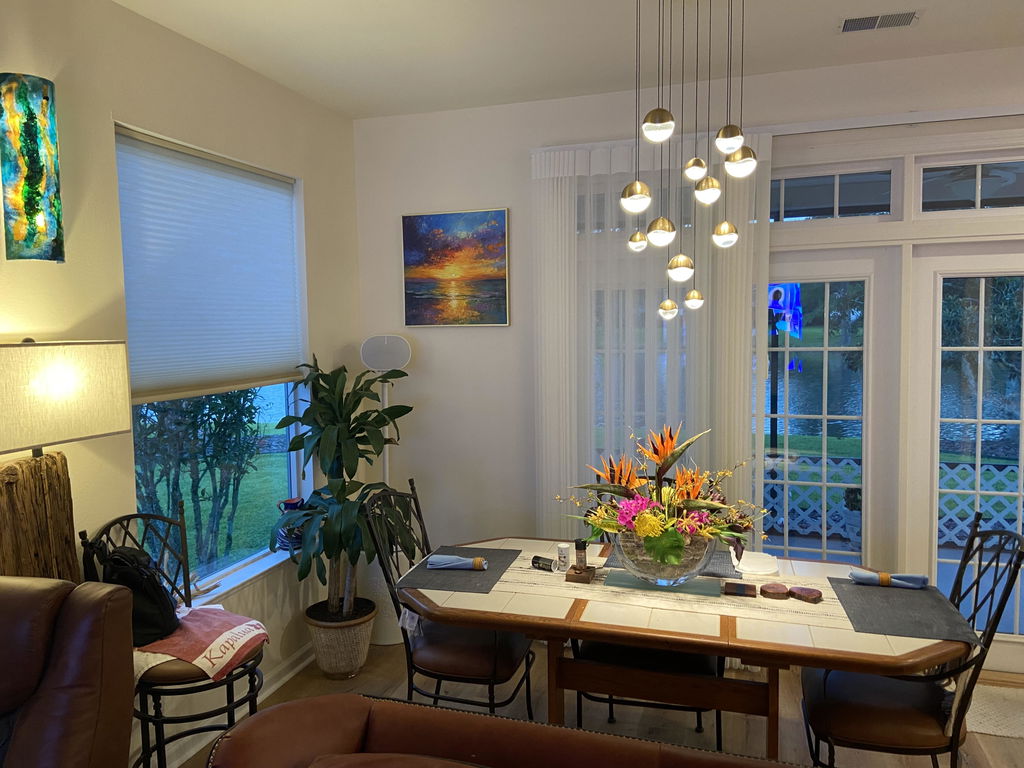
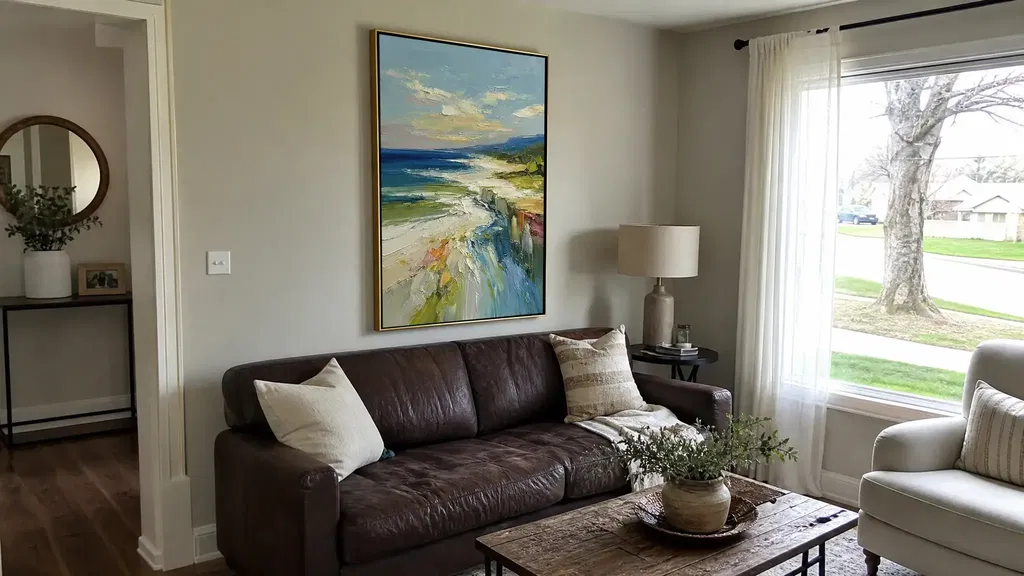
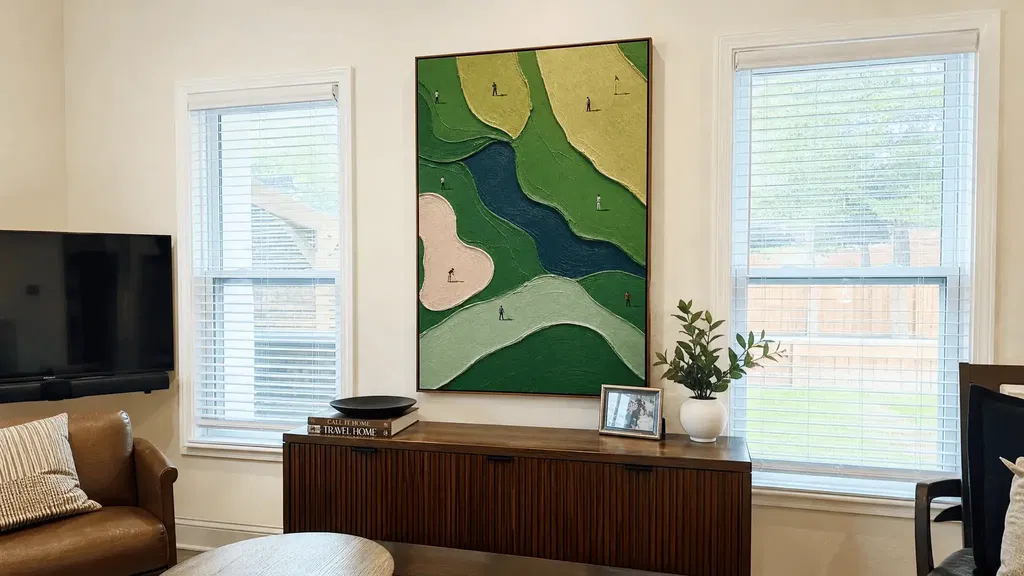
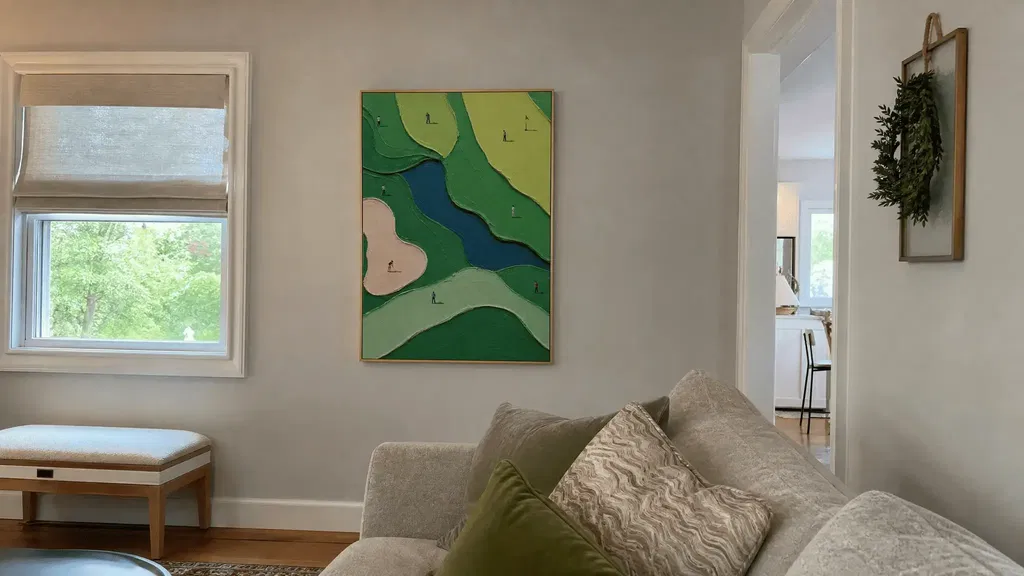
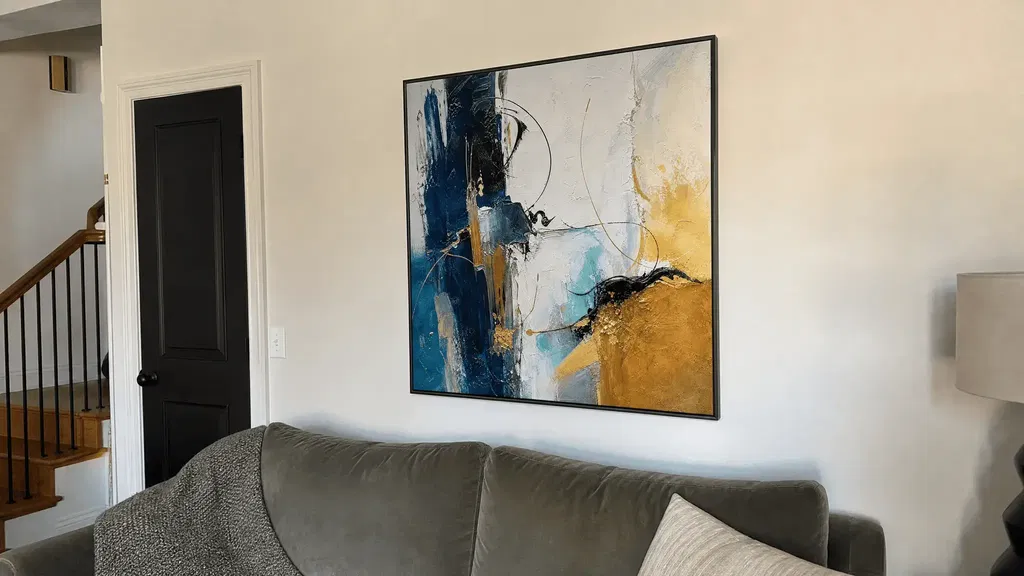
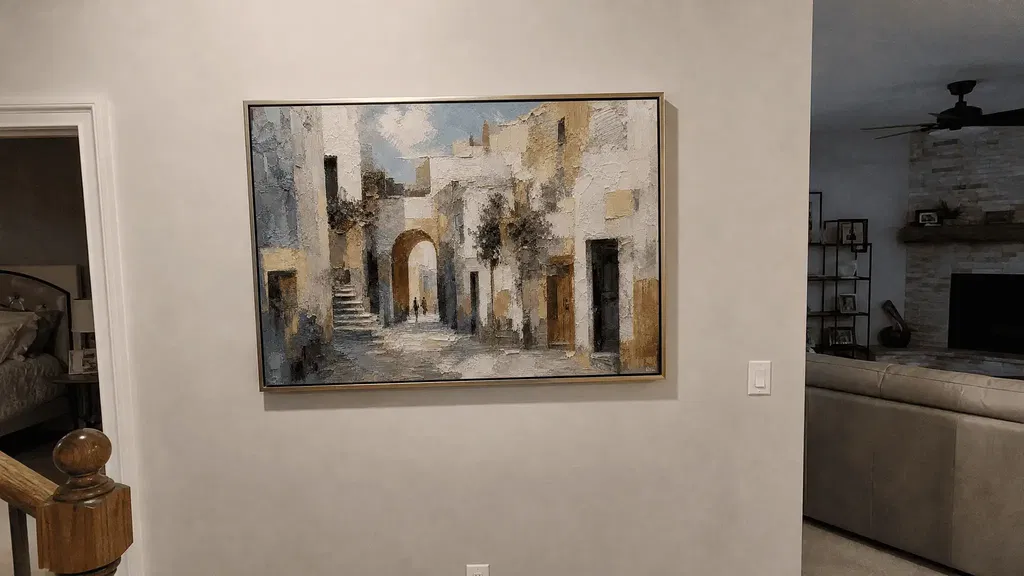
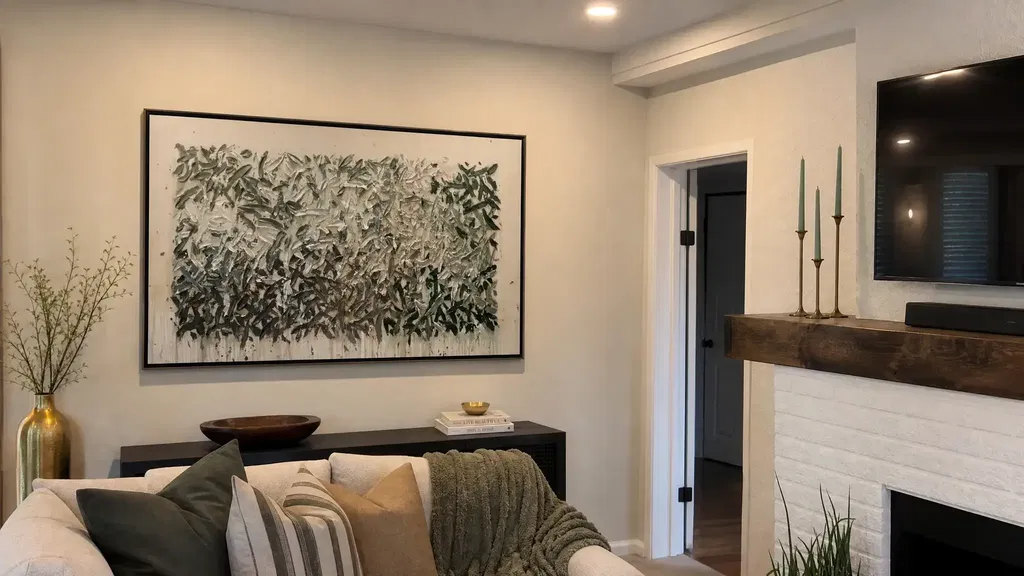
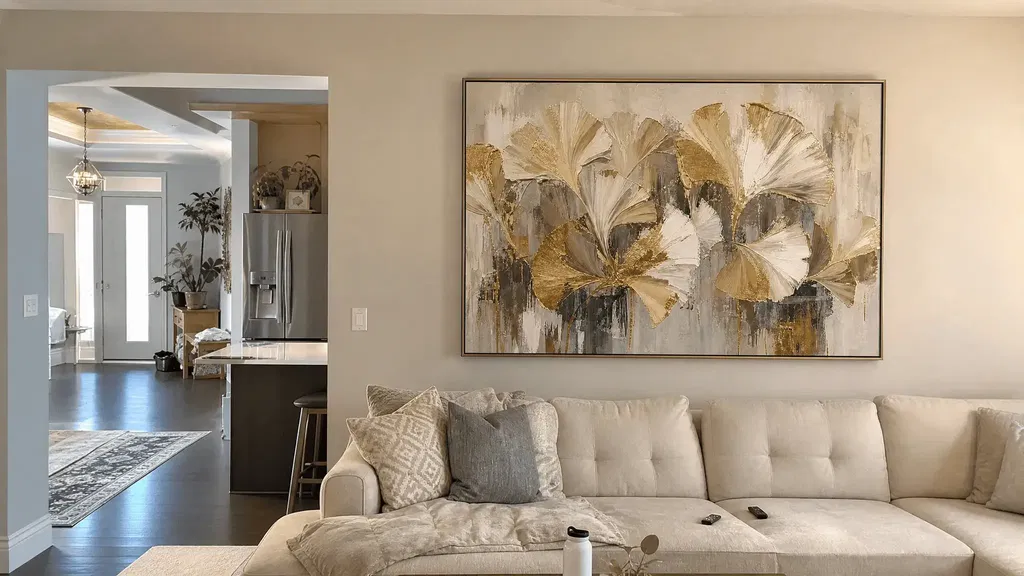
Textured art online is easiest to compare when you match each photo to a specific question: use a full front view for overall appearance, angled or raking light for visible relief, macro images for local detail, and edge or room views for context. No single image establishes exact depth, material, tactile feel, originality, or the frame configuration that will ship. Missing views lower confidence, but they do not prove that a piece is flat or highly dimensional.
Start With Photos That Show Surface Relief
A useful listing gives you several kinds of evidence instead of one dramatic beauty shot. Compare the role of each image, then separate visible cues from details that still require seller confirmation.
What Textured Art Online Photos Can Show
Photos can document visible ridges, highlights, shadow patterns, and where those features appear on the surface. They may help you compare how strongly relief reads in one listing with another, but they cannot independently confirm:
- the exact material or thickness;
- how the surface feels to the touch;
- whether the texture is consistent across the entire artwork; or
- originality, craftsmanship, or the final shipped configuration.
A raking-light explanation describes how a sharp-angle light source can emphasize surface topography through shadows. Treat that technique as a way to inspect visible variation—not as a depth measurement or authenticity test.

Front Views Versus Angled Surface Views
Front-facing and angled photographs answer different shopping questions. Diffused or evenly lit views are generally more useful for composition, color, and normal viewing context, while angled or raking-light views make surface relief and shadow behavior easier to inspect. Technical photography guidance also recommends changing the light direction when examining an artwork rather than treating one angle as a universal standard. Diffused light documents typical viewing conditions; raking light emphasizes surface features.
| Photo view | What it helps you judge | What it cannot establish alone |
|---|---|---|
| Straight-on full view | Composition, color, overall placement, and whether texture is visible at a normal view | Exact relief, material, or tactile feel |
| Diffused full view | General appearance without strong texture-emphasizing shadows | How raised passages respond to angled light |
| Three-quarter or low-angle view | Whether highlights and shadows follow visible surface changes | A precise thickness or universal comparison across listings |
| Raking-light view | Ridges, depressions, and other visible surface variation | Authenticity, originality, or the complete texture of the artwork |
| Edge or side view | Perimeter treatment and the relationship between the front and edge | Hidden construction or what is included in the shipment |
If you are learning how to compare texture in paintings, start by asking whether each listing supplies comparable types of views—not whether one seller uses the word “deep” or “heavy.”
Macro Details Without Losing Overall Context
A close-up is useful only when you can place it within the full artwork. Macro photography can make brushstrokes and surface detail easier to inspect, but the evidence remains local; read an enlargement alongside the complete work.
Use this quick check:
- Find a recognizable color block, line, figure, or corner in the full image.
- Match that location to the close-up rather than assuming it represents the center or the whole surface.
- Compare at least two identifiable areas if you want to know whether relief appears concentrated or distributed.
- Note whether the close-up uses the same light direction and a similar focus level as other listings.
For related vocabulary, impasto texture techniques can help you understand why different surface treatments may catch light differently. That background still does not turn a listing photo into proof of exact depth.
Separate Real Relief From Lighting and Camera Effects
A dramatic image can be a useful clue and still be a poor basis for ranking two artworks. Compare recognizable areas under normal and angled views, look for repeated surface behavior, and mark anything that depends on one unusually dark shadow or crisp crop as uncertain.
- Compare the same recognizable area under similar framing, and note the light direction, exposure, and crop.
- Treat glare, blown highlights, harsh edge contrast, low-resolution detail, and inconsistent lighting as reasons to lower confidence.
- Use dramatic shadows and crisp close-ups as clues, not measurements; raking light can reveal relief while also exaggerating ridges or reducing context.
Read Shadow Direction and Highlight Continuity
Check whether highlights and shadows appear to follow the same recognizable raised forms across more than one photograph. When a bright ridge remains visible in a normal view and creates a related shadow in angled light, you have stronger visual evidence of a surface feature than a single dark patch provides.
Raking light can deepen shadows around pronounced ridges and reduce surrounding context. That means the most dramatic close-up may emphasize a favorable passage or make relief look more pronounced than it feels in the full composition. Use it alongside a normal full view, not instead of one.

Do not convert shadow width or darkness into an estimate of thickness. The useful observation is narrower: “this area shows a repeatable highlight and shadow relationship under these photo conditions.”
Watch for Glare, Sharpening, and Compression
Image conditions may change how strongly texture appears on your device or in a listing crop. Glare may hide low-contrast detail; sharpening may make edges look unusually crisp; compression may soften small ridges; and a crop may remove the surrounding context that tells you how representative the detail is. These are cautious comparison warnings, not proven explanations for every difference.
When two listings were photographed under materially different conditions, do not rank apparent relief yet. Request comparable views or keep comparing.
Check Scale, Edges, and the Finished Frame
Room context and edge photos help you judge how textured wall art may read in the intended space, but they answer presentation questions rather than proving construction. Use stated dimensions and written configuration details first, then use photographs to add context.
| Evidence | Useful comparison | Remaining uncertainty |
|---|---|---|
| Stated dimensions | Whether width and height fit your intended wall | Whether the displayed piece matches the shipped configuration |
| Wall context | Approximate visual prominence at a familiar viewing distance | Perspective, staging, and lens effects |
| Nearby furniture | A rough sense of proportion in the room | Furniture distance and camera position |
| Edge photo | Perimeter treatment and visible front-to-side relationship | Hidden construction and packaging configuration |
| Frame photo | Whether a frame appears in that photographed setup | Whether the frame is included unless confirmed in writing |
Use Room Context to Judge Viewing Distance
A room image can show whether the artwork reads as a subtle surface from several feet away or as a prominent focal point in the staging. It can also help you think about the viewing distance from a sofa, entryway, or desk. Treat that image as approximate context, not a precise scale measurement: furniture, camera position, lens choices, and cropping may alter the impression of size.
Record the listed width and height beside the wall area where you plan to hang the piece. Do not estimate dimensions from pixels or assume that a styled room uses the exact configuration available for purchase.
Inspect Side Edges and Frame Details
Look for a full perimeter, a front-to-side relationship, and an edge that remains in focus. An edge view may show whether visible surface treatment appears to continue toward the perimeter, but it does not reveal hidden construction.
Use this inspection list:
- Is the entire edge visible, or does the crop hide a corner?
- Can you see whether the artwork is framed, wrapped, or shown without a frame?
- Does the edge detail belong to the same artwork and lighting setup as the full view?
- Is the photographed presentation the one the seller says will ship?
For examples of neutral textured wall art or an architectural impasto painting, use the listing as a starting point and check its current written details. Do not infer frame inclusion, dimensions, or edge construction from a styled product image alone.
Compare Scale References Consistently
Use the listed dimensions to compare each piece with your intended wall space. Room and furniture photos can show approximate prominence, but perspective and camera position affect that impression. Request a full-perimeter or side view when edge treatment or frame inclusion matters, and confirm the shipped configuration in writing.
Use a Consistent Comparison Scorecard
A qualitative checklist is more reliable than an invented texture rating. Use the same evidence categories for every listing, record observations separately from unknowns, and choose whether to proceed, ask, or keep comparing.
- Collect the evidence. For each listing, save the full front view, angled or side-light view, macro details, edge view, room context, stated dimensions, and frame information.
- Compare like with like. Match a full view to a full view and a recognizable macro area to the same kind of area in another listing. Note light direction, crop, exposure, and image quality.
- Record visible cues. Write observations such as “raised-looking highlight repeats along this line” or “shadow appears only in the angled crop.” Avoid turning those observations into a depth claim.
- Record unknowns separately. Examples include “no side view,” “frame status unclear,” “close-up location cannot be identified,” or “light direction differs.”
- Choose the next action. Proceed when the details that matter to your purchase are answered. Ask when one or two material details remain open. Keep comparing when the listing lacks core evidence or cannot provide comparable views.
- Check purchase terms. Before checkout, review the specific seller’s shipping, returns, and warranty terms. Photo completeness does not replace those conditions.
This method helps you compare texture in art photos without letting one dramatic image decide the purchase. A complete photo set improves comparison quality; it still cannot replace a physical inspection or independently verify originality.
Ask the Seller Before You Add to Cart
When the listing leaves a meaningful question open, send a focused message rather than asking only whether the piece is “very textured.” Seller replies are useful listing information, but they remain seller-provided information rather than independent verification.
Ask for:
- a full artwork photo in ordinary light;
- an angled or raking-light view that shows the whole piece or a clearly identified section;
- a close-up tied to a recognizable location in the full image;
- a side-edge photo with the edge in focus and enough of the front visible to show the relationship;
- the areas where the surface is most raised, and whether relief is concentrated or distributed;
- a written description of whether the visible surface is raised paint, another treatment, or a combination;
- the exact listed width and height, edge finish, and framed or unframed presentation; and
- written confirmation that the photographed configuration is the one that will ship.
You can also ask: “Could you send comparable photos of the same area under normal and angled light?” That request makes the evidence easier to compare than a new, unidentifiable dramatic close-up. After the reply, list what remains unknown, then review shipping, returns, and warranty terms before adding the artwork to your cart. If the seller cannot supply the evidence that matters most to your decision, keep comparing rather than filling the gap with assumptions.
FAQs
These questions address practical uncertainties that may remain after you review a listing’s photos.
Can a Phone Screen Make Textured Art Look Flatter Than It Is?
It may. Screen size, brightness, viewing angle, glare, and image scaling can change how subtle relief reads. Open the original image and ask for a comparable lower-angle photo if the difference matters. Treat the device impression as a viewing condition, not a measurement.
How Can You Compare Impasto Depth When Listings Use Different Camera Angles?
You cannot reliably rank mismatched angles alone. Request similarly framed areas and comparable light direction before making a cautious visual comparison. If those conditions are unavailable, compare the listings by evidence completeness instead of declaring one deeper.
Should Textured Art Have Visible Relief in Every Close-Up Photo?
No. Relief may vary by passage, finish, lighting, and focus, so one smooth crop is not decisive. Ask the seller to identify the most raised sections and provide close-ups from recognizable areas before drawing a conclusion.
What Extra Photo Helps Confirm Whether a Frame Is Included?
Request a full-perimeter or back-and-side photo, plus written confirmation of the shipped configuration. A styled room image may show a frame without clarifying whether it belongs to the artwork or is included. Ask for framed outside dimensions separately from artwork dimensions when wall fit matters.
When comparing textured art online, choose the listing whose evidence answers the questions that matter for your space and budget. Request missing photos, keep unknowns visible, and verify shipping, returns, and warranty terms before checkout.