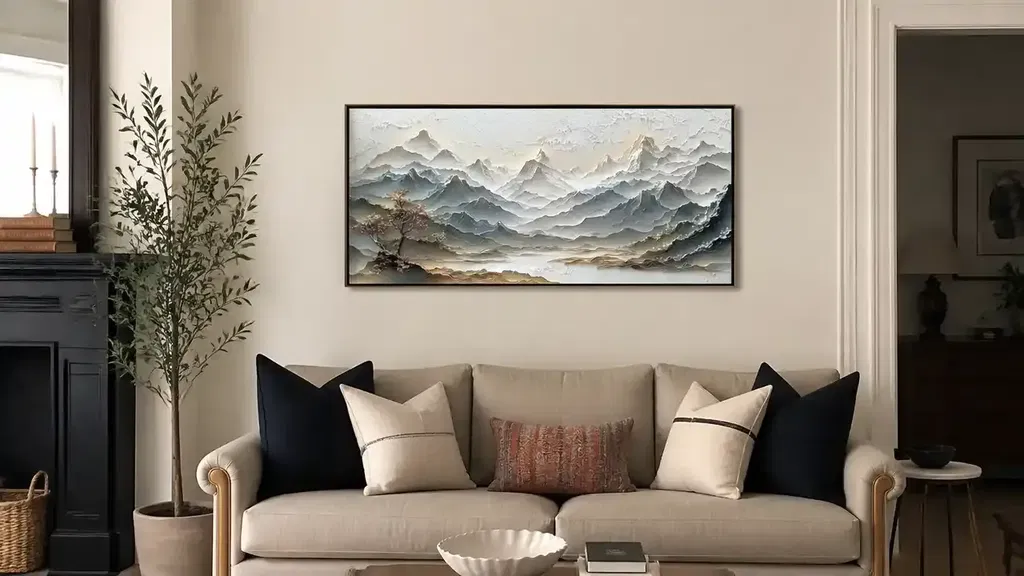
To hang canvas paintings safely without damaging your walls, the most effective solutions are weight-rated adhesive strips for lightweight pieces and minimal-damage push hooks for heavier artwork. For pieces under 16 pounds, adhesive strips provide a hole-free mount, while push hooks for pieces up to 50 pounds leave only a pin-sized entry point that is easily filled or ignored. For a completely contact-free approach, leaning your art on a shelf or mantel is the safest option for both the wall and the painting.
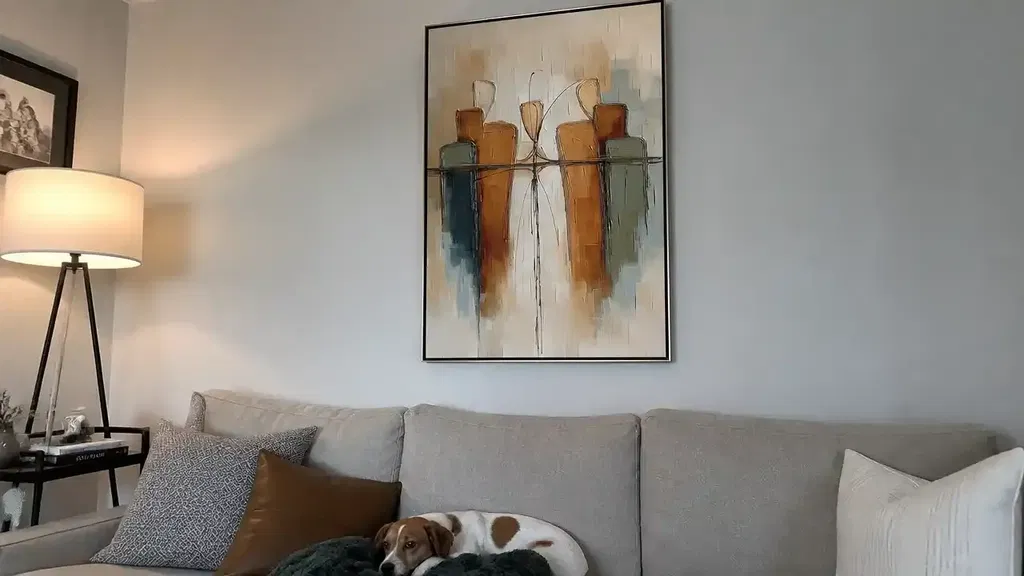
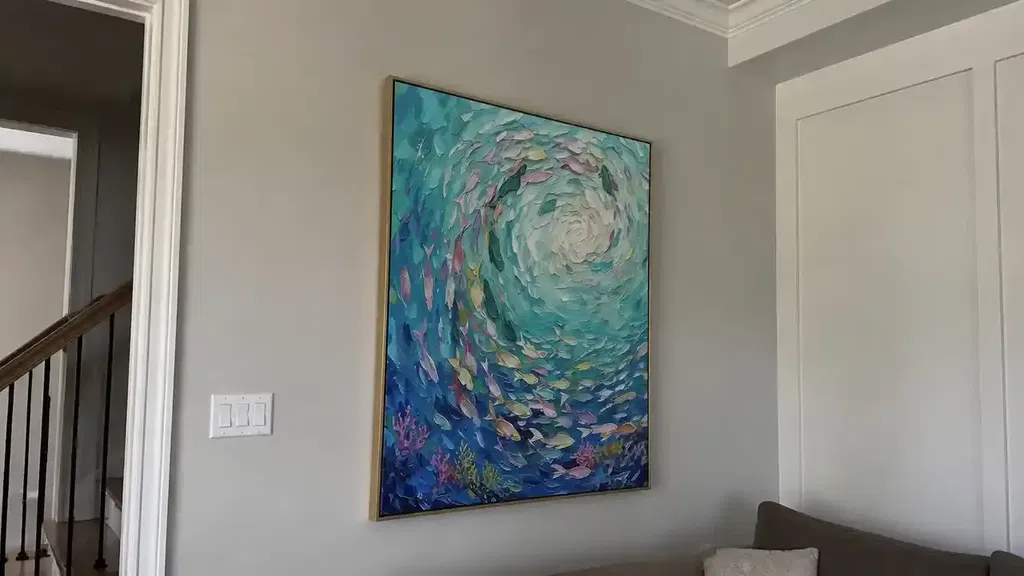
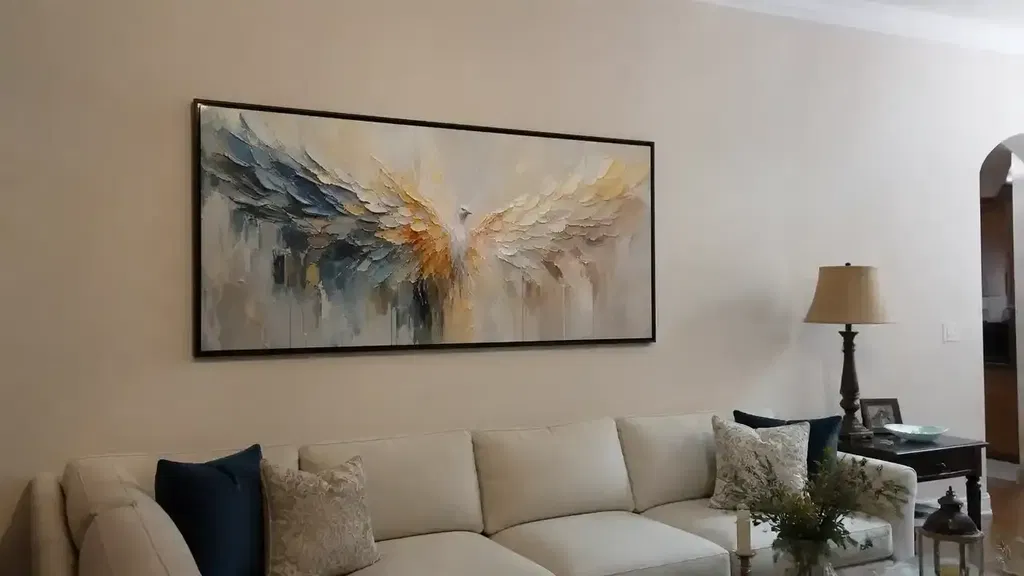
Hanging a large abstract painting or a delicate oil paint on canvas should not require a permanent sacrifice of your wall's surface. Whether you are a renter concerned about a security deposit or a homeowner who prefers a pristine finish, understanding the mechanics of modern hanging hardware is essential. This guide provides professional-grade strategies to secure your collection while maintaining the integrity of your interior surfaces.
Comparing the Best Methods for Damage-Free Canvas Hanging
Selecting the right hardware depends entirely on the weight of the canvas and the material of your wall. Most modern canvases are relatively light compared to framed glass pieces, but larger formats require more robust support to prevent wall-attachment failure, which can lead to canvas tears or frame damage.
Adhesive strips are the gold standard for zero-hole installation, but they have strict limitations regarding wall texture and paint type. In contrast, push hooks use a curved design to distribute weight behind the drywall, requiring only a tiny hole that is far less invasive than a traditional nail and anchor system.
Weight Limit and Surface Comparison Table
| Method | Max Weight Limit | Best Wall Type | Damage Level |
|---|---|---|---|
| Adhesive Strips | Up to 16 lbs | Smooth Drywall / Painted Wood | Zero Holes (If removed correctly) |
| Push Hooks | 20 – 50 lbs | Drywall / Plaster | Pin-sized hole (0.5mm) |
| Adhesive Hooks | 5 – 8 lbs | Smooth Surfaces | Zero Holes |
| Leaning / Easel | No Limit | Any | Zero Contact |
How to Prepare Your Wall Surface for Perfect Adhesion
The most common reason for adhesive failure is poor surface preparation. Many homeowners mistakenly use household glass cleaners or multi-surface sprays, which often contain oils or silicone that leave a residue. This residue prevents the adhesive from forming a molecular bond with the wall, leading to a fallen painting.
To ensure your canvas wall art stays secure, you must use a cleaning agent that leaves zero residue. Pure isopropyl alcohol (rubbing alcohol) is the industry standard for this task. It breaks down oils from fingerprints and removes dust without softening the paint.
Wall Preparation Checklist
- Check Paint Cure Time: If you have recently painted your walls, wait at least 30 days before applying adhesives. Fresh paint continues to "outgas," which will weaken the bond.
- Clean the Target Area: Wipe the specific spot where the hardware will go with a clean cloth soaked in rubbing alcohol.
- Avoid Detergents: Do not use soap, water, or citrus-based cleaners.
- Let It Dry: Allow the alcohol to evaporate completely (usually 60 seconds) before applying the strip.
- Verify Texture: Ensure the wall is smooth. Adhesives generally fail on heavy orange-peel textures or brick because there isn't enough surface-to-surface contact.

Using Adhesive Strips for Lightweight Canvas Wall Art
Adhesive strips are ideal for small to medium abstract art pieces that have a flat back or a solid wooden stretcher bar. These strips work on a hook-and-loop system, allowing you to click the art into place and remove it for cleaning or leveling.
However, a common mistake is applying the art immediately. For the strongest bond, the adhesive needs time to "cure" to the wall. This chemical process ensures that the weight of the canvas doesn't pull the strip away before the bond is set.
Step-by-Step Guide for Adhesive Installation
- Prep the Frame: If the canvas is unframed, apply the strips directly to the wooden stretcher bars. If it has a wire back, you cannot use strips; you must use adhesive-backed hooks instead.
- Apply to Frame: Press the strips onto the back of the canvas first. Space them evenly—usually two at the top corners and two at the bottom for stability.
- Mount to Wall: Press the canvas firmly against the prepared wall for 30 seconds.
- The Secret Step: Remove the canvas by pulling from the bottom, leaving the strips on the wall. Press the wall-side strips again with your thumb for another 30 seconds.
- Wait One Hour: This is the most critical step. Let the strips sit on the wall without the weight of the art for at least 60 minutes.
- Click into Place: Reattach the canvas by aligning the strips and pressing until you hear a click.
Mounting Heavy Abstract Art with Minimal-Damage Push Hooks
When your modern wall art exceeds 16 pounds, adhesive strips become a safety risk. For these larger pieces, minimal-damage push hooks (often marketed as "claws") are the preferred alternative. These hooks are designed with thin, high-strength steel tines that push directly into drywall without the need for a hammer or drill.
Because they rely on the structural integrity of the drywall, they are incredibly stable. According to the Smithsonian, large panels or canvases should be carried by two people to avoid structural stress, and the same care should be taken during installation to ensure the hook is centered and the weight is distributed evenly.

Protecting Your Paint with Wall Bumpers and Frame Pads
Even if your hanging hardware is perfect, the bottom edge of the canvas can cause damage. Over time, vibrations in the home (from footsteps or doors closing) cause the wooden frame to rub against the wall. This friction results in scuff marks or "ghosting" on the paint.
Applying wall bumpers is a simple preventive conservation measure. These small pads create a buffer of air behind the painting. This is particularly important because vibration can contribute to paint loss and mechanical stress over long periods. Additionally, air circulation prevents the build-up of dust and moisture behind the frame.
Bumper Comparison: Felt vs. Rubber
| Feature | Felt Pads | Rubber / Silicone Bumpers |
|---|---|---|
| Grip | Low (Allows easy leveling) | High (Grips wall to prevent sliding) |
| Breathability | High | Low |
| Best For | Heavy frames that need to breathe | Light canvases in high-traffic areas |
Safe Removal: How to Take Down Art Without Peeling Paint
The moment of highest risk for your wall isn't the installation—it is the removal. If you pull an adhesive strip away from the wall at a 90-degree angle, you will almost certainly take a chunk of drywall paper or paint with it.
For adhesive strips, the "stretch-and-release" technique is mandatory. You must pull the tab straight down, parallel to the wall. This stretches the adhesive polymers, causing them to release their grip without vertical tension on the paint. You may need to stretch the strip up to 15 inches before it fully detaches.
No-Hang Display Ideas for Modern Wall Art and Rentals
Sometimes, the safest way to hang a painting is not to hang it at all. In modern and bohemian interior design, the "leaning" aesthetic has become a sophisticated alternative. This approach is ideal for renters who are prohibited from using any wall hardware or for owners of exceptionally large canvas paintings that present structural challenges.
Safety Warning: When leaning art, always ensure the base of the frame is secured. Use a small piece of non-slip rug padding or a museum-grade adhesive putty at the contact point between the frame and the floor/shelf. This prevents the painting from sliding out and crashing down, which can cause significant frame and canvas damage.
Final Tips for How to Hang Canvas Paintings Safely Without Damaging the Wall
To successfully protect your home and your collection, you must match your hardware to the environment. Start by assessing the weight of your canvas wall art and the texture of your walls. If the piece is light, a properly cured adhesive strip is your best friend. If it is a heavier large abstract painting, a precision push hook offers security with negligible impact.
Furthermore, never overlook the long-term effects of display. As the Library of Congress notes, light damage is cumulative and irreversible; always avoid hanging your paintings in direct sunlight or near heat sources like radiators. By combining the right hardware with wall bumpers and proper cleaning techniques, you can ensure that your art remains a beautiful addition to your home without leaving a lasting mark on your property.
Important Safety Notice
This article provides general guidance only. Always follow the manufacturer's instructions for any hanging hardware, adhere to applicable local building requirements, and use appropriate safety practices. For installations involving heavy structural loads, ceiling mounts, or unique wall materials like asbestos-containing plaster, consult a qualified professional. Improperly secured artwork can fall, causing injury or property damage.
FAQs
How long should I wait after applying adhesive strips before hanging the canvas?
You should wait at least one hour after applying the strips to the wall before reattaching the canvas. This allows the adhesive to cure and form a permanent bond.
Do adhesive strips work on textured walls or wallpaper?
Generally, no. Adhesive strips require a smooth, flat surface to create a vacuum-like bond. Textured walls allow air to get behind the strip, causing it to fail. For wallpaper, the adhesive may tear the paper upon removal.
What is a D-ring hook and is it safe for walls?
A D-ring is a metal loop attached to the back of the frame. It is very safe for the art but should be paired with minimal-damage push hooks and wall bumpers to prevent the metal from scratching the wall surface.