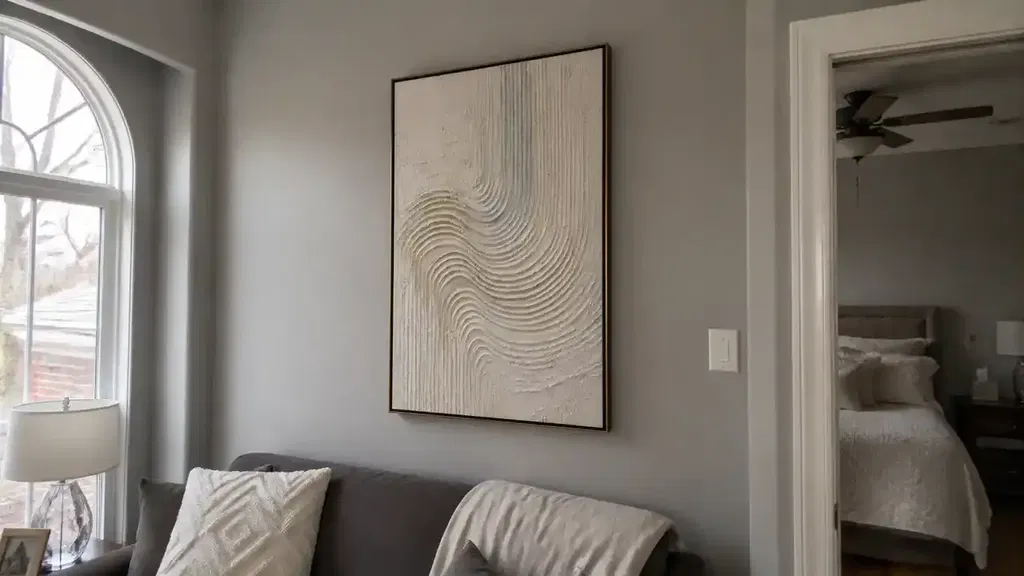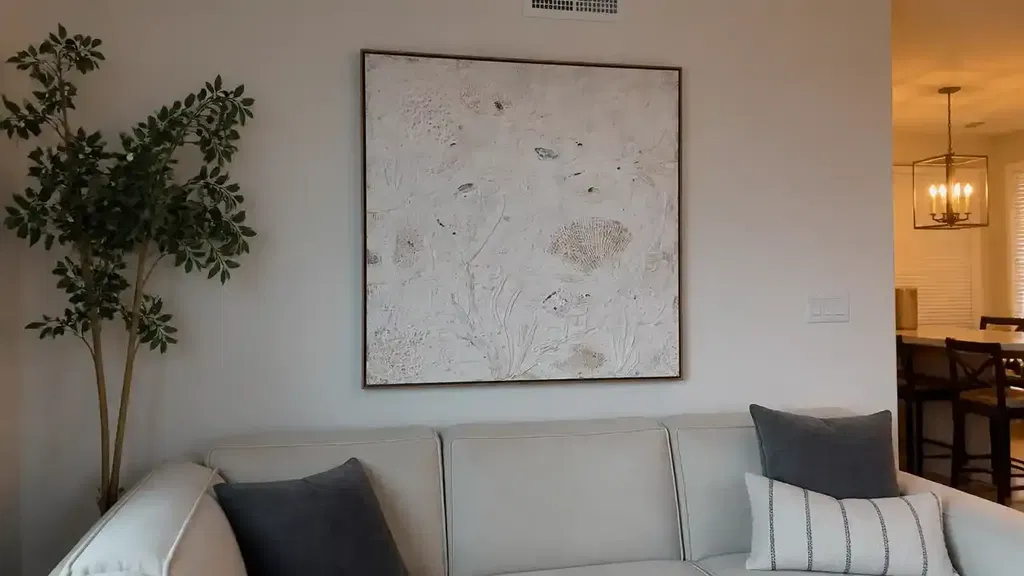
The Shift Toward Authentic Artistry
In recent years, the global art market has undergone a significant structural shift. While high-end auction sales for purely financial art assets plummeted 44% in 2024, according to Marketplace, there is a burgeoning return to "real application value." Homeowners are increasingly moving away from overpriced vanity pieces and mass-produced digital prints in favor of custom, hand-painted works that carry what University of Chicago researchers call an "essential identity"—a soul and presence that digital replicas and NFTs simply cannot replicate (UChicago Research).
However, acquiring a 100% human-made oil painting comes with a unique set of responsibilities. Unlike AI-generated prints, which consumers value 62% lower than authentic human art (Columbia University Study), a real oil painting is a living, breathing chemical entity. It doesn't just "dry"; it cures through a complex process of oxidation. For the new collector, the most pressing question is often the simplest: Is it safe to touch?
The "Fingernail Test" is the industry-standard heuristic used by conservators and collectors alike to verify if a painting is ready for framing, cleaning, or hanging. But performed incorrectly, this test can damage the very investment you seek to protect.
The Science of the "Dry" Oil Film
To understand why we test, we must understand what is happening on the canvas. Unlike water-based acrylics, which dry through simple evaporation and "coalescence" (JustPaint - Golden Artist Colors), oil paints cure. The linseed oil binder reacts with oxygen in the air, creating a cross-linked polymer network.
This process is notoriously slow and non-linear. A painting may feel "tack-free" to a light touch within days, but the subsurface layers can remain liquid for months. According to research on drying oil oxidation, this "differential drying" is the primary cause of surface cracking if a painting is varnished or framed too early.
The Drying Timeline: A Heuristic Guide
| Layer Thickness | Typical Surface Dry (Tack-Free) | Curing Time for Handling | Safe for Final Varnish |
|---|---|---|---|
| Thin Glazes | 2–5 Days | 2–3 Weeks | 6 Months |
| Standard Brushwork | 5–10 Days | 4–6 Weeks | 6–12 Months |
| Heavy Impasto | 2–4 Weeks | 3–6 Months | 18–24 Months |
Logic Summary: These ranges are estimated based on standard professional studio observations and ASTM D1640 mechanical testing standards. Actual times vary significantly based on pigment type, humidity, and the specific binder used.

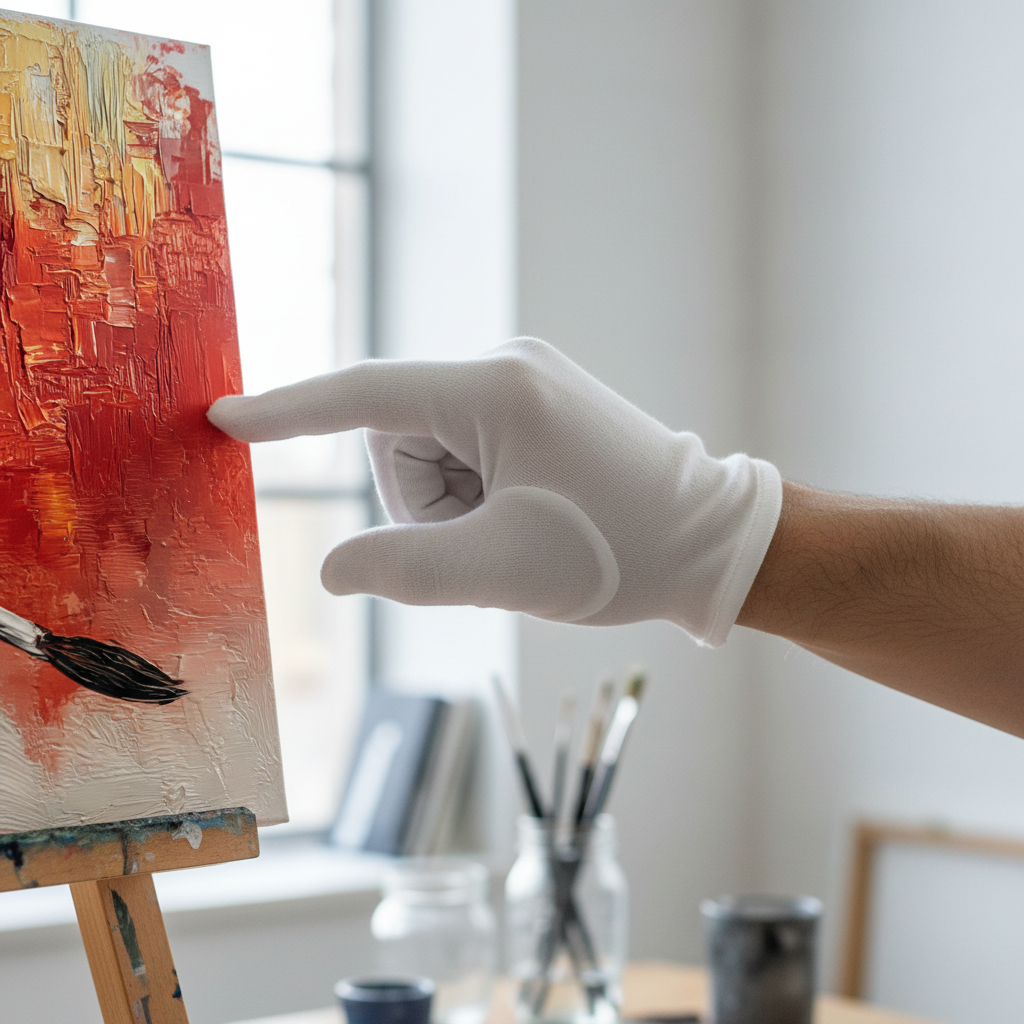
How to Perform the Fingernail Test Safely
The fingernail test is not a test of strength; it is a test of resistance. Seasoned professionals develop a "calibrated touch" that assesses the stability of the oil film without indenting it.
Step 1: Choose the "Sacrificial" Area
Never test the center of the composition. Even if the paint feels dry, you may leave a micro-indentation that disrupts the patina over time. Instead, locate an inconspicuous corner or the very edge of the canvas that will eventually be covered by a frame. Professional conservators often suggest testing on "sacrificial" edges to avoid disrupting the chemical changes occurring in the main visual field (Natural Pigments).
Step 2: The Vertical Pressure Method
Using your thumbnail, apply a very slight, vertical pressure to the paint film. Do not "dig" or "scrape." You are looking for a sensation of firm resistance, similar to pressing against a piece of hard rubber.
- The "Fail" Signal: If the nail leaves even a slight, ghost-like impression, or if the surface feels "spongy," the subsurface polymerization is incomplete.
- The "Pass" Signal: The nail should slide off the surface without leaving any mark or feeling any "grab."
Step 3: The Scent Check (The Heuristic Backup)
If you are unsure about the tactile feedback, use your nose. Linseed oil has a distinct, nutty aroma during the oxidation process. If the painting still carries a noticeable scent when you bring your nose close to the surface, the chemical reaction is still highly active. In this state, the painting is definitely not ready for framing or varnishing, regardless of how "dry" the surface feels to the touch.
Common Pitfalls and "Gotchas"
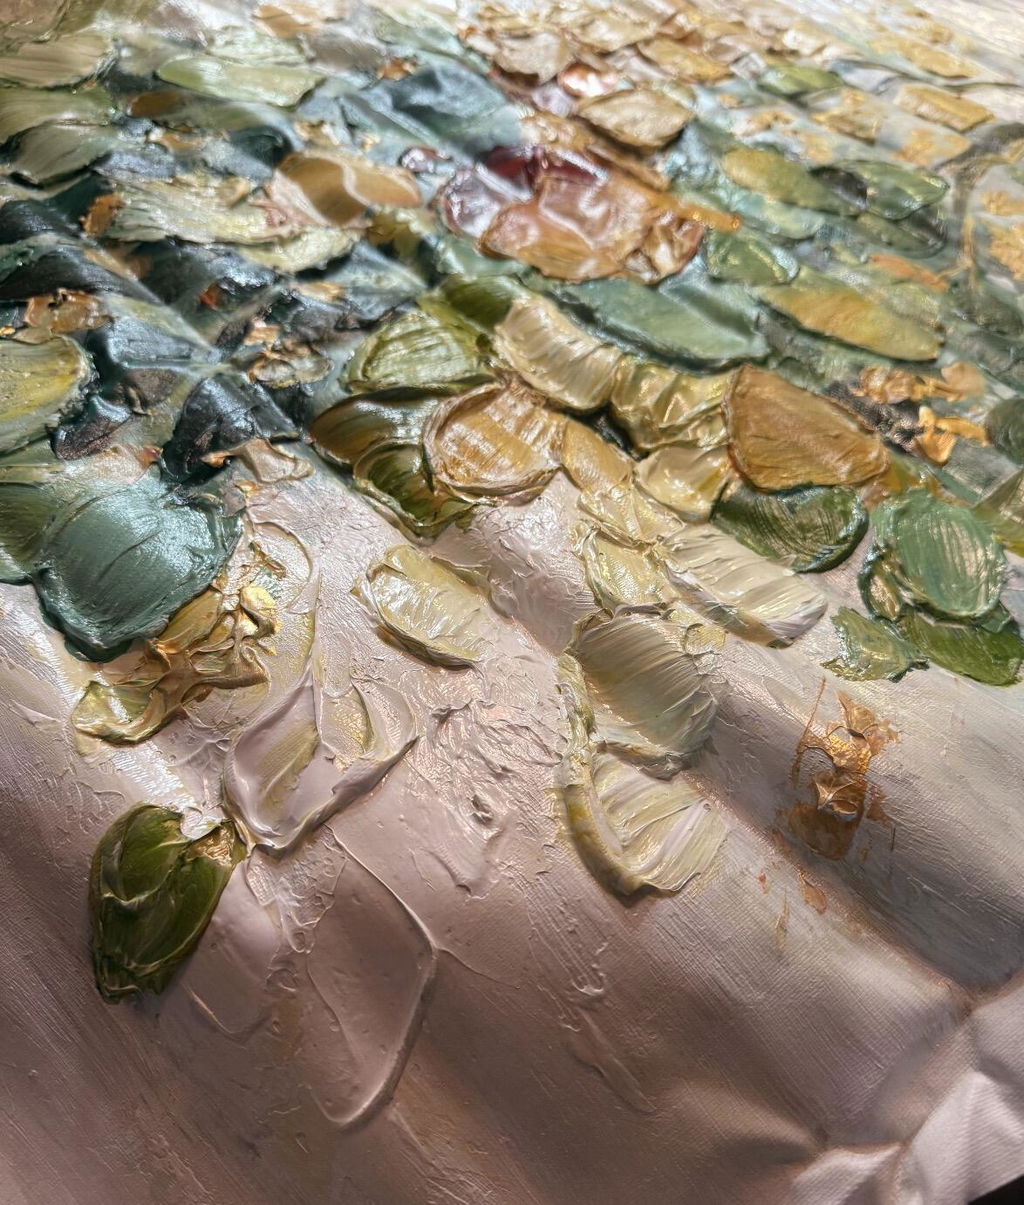
One of the most frequent mistakes novices make is testing too aggressively in thick impasto areas. Because oil paint dries from the top down, a "skin" forms over the surface. Pressing too hard on a thick glob of paint can rupture this skin, exposing wet paint underneath and permanently ruining the texture.
Furthermore, human nail strength is not a universal constant. Research suggests that individual nail hardness can vary by 300–500%, making a subjective test inherently inconsistent (ASTM D1640 Analysis). If you have particularly sharp or hard nails, you must be even more cautious.
The Danger of Premature Varnishing
Applying a final varnish before the oil film is fully cured is the leading cause of long-term conservation issues. Varnish acts as an oxygen barrier; if applied too early, it can stop the curing process of the underlying layers, leading to a "wrinkled" surface or catastrophic delamination as the paint tries to expand and contract beneath the rigid varnish layer.

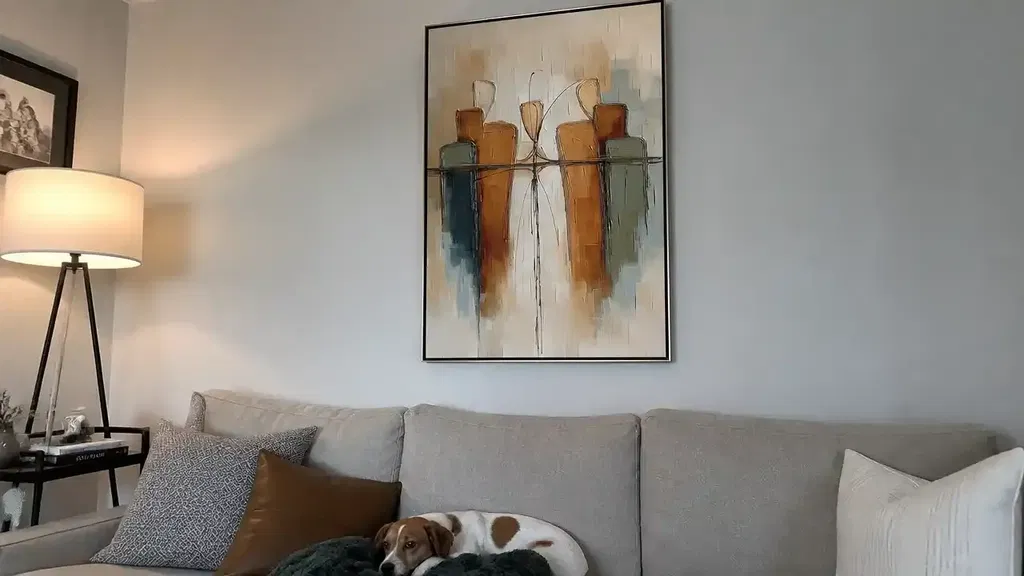
Why Pigment Quality and Safety Matter
When verifying the readiness of your art, you are also interacting with its chemical makeup. High-quality hand-painted art often uses traditional pigments that require careful handling.
For instance, titanium dioxide dominates 90% of the white pigment market today because of its chemical inertness (NCBI), having largely replaced the highly toxic lead white. However, many professional-grade "cadmium" reds and yellows—prized for their vibrance—contain cadmium compounds which the International Agency for Research on Cancer (IARC) classifies as Group 1 carcinogens.
While these pigments are safe once locked in a cured oil matrix, handling "wet" or "tacky" paint increases the risk of dermal exposure. This is why ensuring your art is properly cured is not just a matter of aesthetics—it is a matter of household safety.
Environmental Health and VOCs
Indoor air quality is a significant concern for homeowners. The EPA warns that indoor air pollution can be more concentrated than outdoor pollution (EPA IAQ Report). Fortunately, once an oil painting has moved past the initial "off-gassing" phase (usually the first 28 days), VOC emissions plummet significantly (Aalto University Experiment). Performing the fingernail test and the "scent check" helps confirm that the most volatile phase of drying has passed, making the artwork safe for enclosed living spaces.
The Value of the Investment
Why go through the trouble of testing and waiting? Because the ROI on authentic, hand-painted art extends beyond simple decoration.
- Property Value: Neighborhoods with high "art" geo-tags see greater relative house price gains, according to the Royal Society.
- Psychological Well-being: 73% of patients in clinical settings report significant mood improvements when exposed to environmental artworks (UPenn Review).
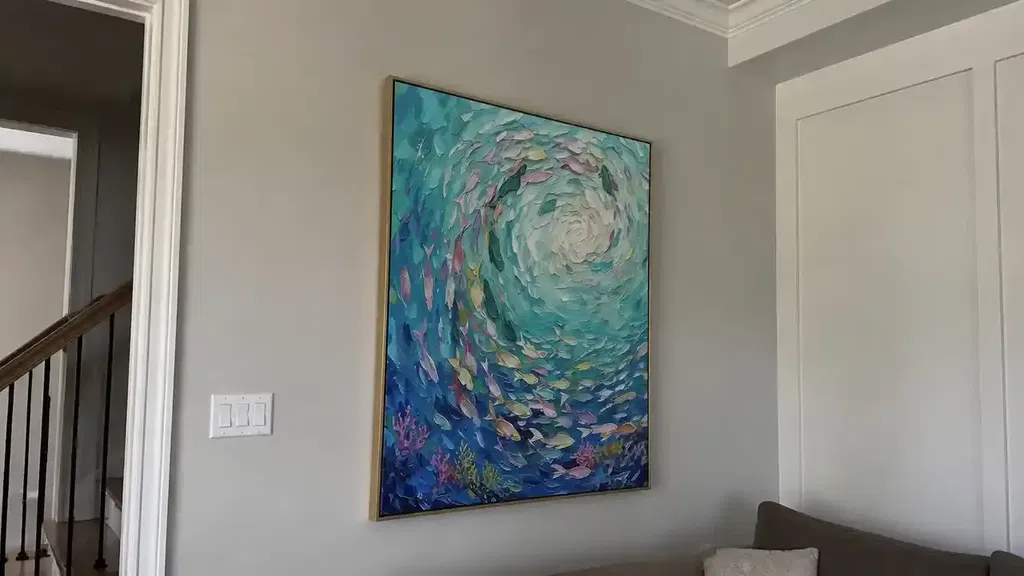
- Biophilic Benefits: Nature-themed murals and oil paintings produce stress-reduction effects in the brain similar to being outdoors (University of Central Arkansas).
By ensuring your art is properly cured before handling, you are preserving the "microtopography"—the millimeter-scale texture—that optical microprofilometry proves is crucial to the aesthetic and tactile fruition of the work.
Summary Checklist for Homeowners
Before you move, frame, or clean your new oil painting, run through this professional verification protocol:
- Check the Calendar: Has it been at least 3 weeks for thin layers or 8 weeks for thick impasto?
- The Scent Check: Does it still smell like a fresh art studio? If yes, wait.
- The Edge Test: Perform a gentle fingernail test on an inconspicuous edge.
- The Visual Inspection: Look for "sinking in" or dull patches, which may indicate the oil is still migrating and absorbing into the substrate.
Handling oil art requires a blend of patience and technical awareness. By respecting the chemical timeline of the medium, you ensure that your investment remains a vibrant, healthy, and valuable part of your home for decades to come.
YMYL Disclaimer: This article is for informational purposes only and does not constitute professional conservation, medical, or safety advice. Certain pigments in oil paints contain heavy metals; always wash hands after handling uncured artwork and keep art supplies out of reach of children. For high-value art restoration, consult a certified member of the American Institute for Conservation (AIC).