Choosing the right art for your home is more than an aesthetic impulse; it is a calculation of scale, material science, and spatial design. Whether you are investing in luxury framed wall art or selecting a modern abstract art piece to anchor a room, following a standardized technical checklist ensures that your investment is visually balanced and physically preserved.
Before diving into the mathematical rules of sizing or the chemistry of glazing, you need a high-level overview of the requirements for a professional-grade installation. The following checklist serves as your immediate guide for evaluating any piece of framed art before purchase.
The Essential Framed Wall Art Checklist
To ensure your wall art meets professional standards for both design and preservation, verify these five critical categories:
- The 2/3 Rule (Scale): Does the piece cover 60% to 75% of the width of the furniture it sits above?
- The 58-Inch Rule (Height): Is the center of the artwork planned for exactly 58 inches from the floor (eye level)?
- Glazing Specifications: Does the frame use UV-filtering acrylic for safety and protection, or standard glass for scratch resistance?
- Preservation Materials: Are you using acid-free, alpha-cellulose, or rag matting to prevent yellowing over time?
- Hardware Capacity: Are the pre-installed D-rings or French cleats rated for the specific weight of the frame and glazing?
By checking these boxes, you avoid the most common mistakes: hanging art too high, choosing frames that are too small for the room, or exposing delicate pigments to irreversible light damage.
How to Calculate the Perfect Art Size Using the 2/3 Rule
Scale is the most common point of failure in interior design. A small piece on a large wall looks accidental, while a massive frame over a delicate console table feels claustrophobic. The industry standard for visual balance is the "2/3 Rule."
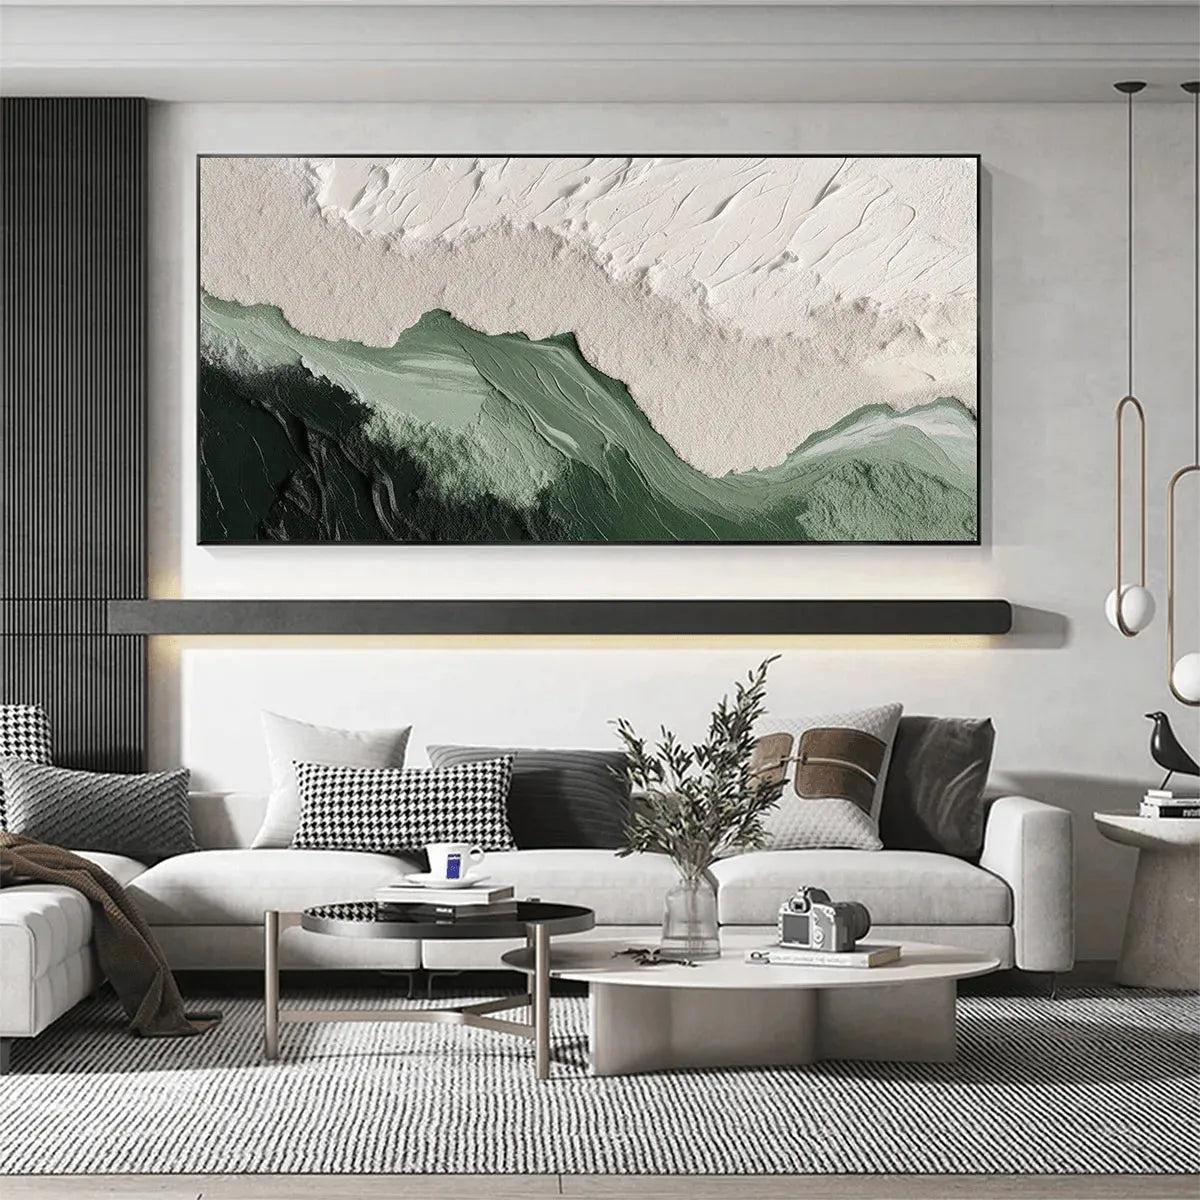
This rule dictates that when hanging art above furniture—such as a sofa, a headboard, or a sideboard—the width of the art (or a grouping of art) should be approximately two-thirds to three-quarters the width of the furniture below. This creates a cohesive vertical "anchor" that connects the art to the room's architecture. For instance, if you are hanging a large landscape artwork above a 90-inch sofa, you should aim for a total frame width of 60 to 67 inches.
Recommended Art Widths by Furniture Size
| Furniture Item | Furniture Width (Avg) | Ideal Art Width (60-75%) |
|---|---|---|
| Sofa (3-Seater) | 84" - 96" | 50" - 72" |
| Queen Bed Headboard | 60" | 36" - 45" |
| King Bed Headboard | 76" | 45" - 57" |
| Console / Sideboard | 60" - 72" | 36" - 54" |
| Office Desk | 48" - 60" | 28" - 45" |
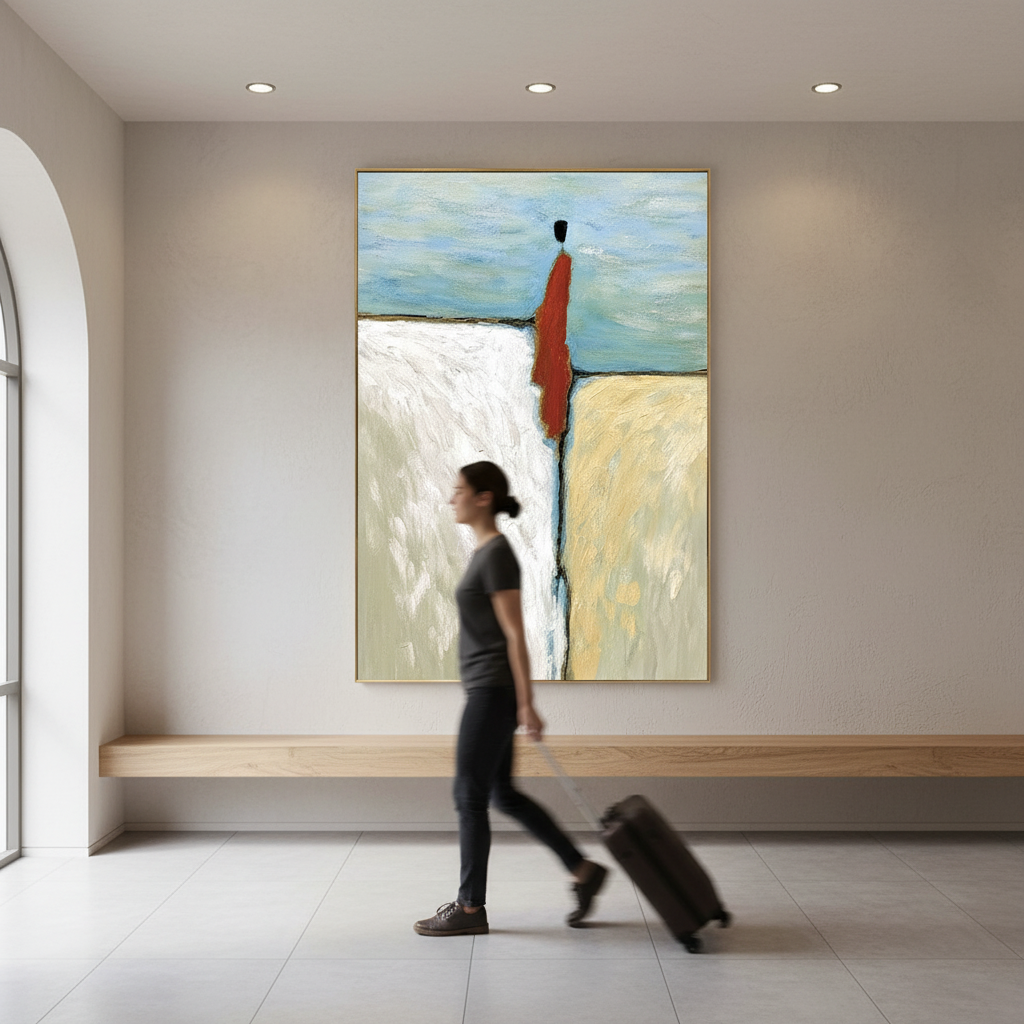
When choosing between vertical and horizontal orientations, consider the ceiling height. Horizontal pieces (landscape) help widen a room, whereas vertical pieces (portrait) draw the eye upward, making a standard 8-foot ceiling feel taller. For high-ceilinged entries, a vertical landscape canvas wall art piece can fill the void without requiring excessive width.

Professional Placement Standards and the Museum Height Rule
Once the size is determined, placement height is the next technical hurdle. Many homeowners hang art far too high, creating a "floating" effect that disconnects the piece from the furniture. Professionals follow the "Museum Height" rule: the center of the artwork should be 58 inches from the floor.
This 58-inch standard represents the average human eye level and ensures a consistent horizon line throughout your home, even if the pieces vary in size. To calculate your mounting point, follow these steps:
- Measure 58 inches up from the floor and mark the wall (this is your center point).
- Measure the height of the frame and divide by two.
- Measure the distance from the top of the frame to the hanging hardware (the "drop").
- Subtract the drop from the half-height to find how far above your 58-inch mark the hook should go.
When anchoring art above furniture, the gap between the bottom of the frame and the top of the furniture should be between 6 and 10 inches. This gap is tight enough to create a visual connection but wide enough to prevent the art from feeling crowded by lamps or decor on the surface below.
Choosing the Right Glazing: Glass vs Acrylic
Glazing is the protective layer that sits between the artwork and the environment. While traditionalists often prefer glass, modern interior design frequently utilizes acrylic (Plexiglass) for several functional reasons, especially for large landscape artwork.
Glazing Comparison Table
| Feature | Standard Glass | Non-Glare Glass | Acrylic (Plexiglass) |
|---|---|---|---|
| Weight | Heavy | Heavy | Lightweight (Half of glass) |
| Safety | Fragile; Shatters | Fragile; Shatters | Shatter-resistant |
| Clarity | High | Diffused/Matte | Very High |
| UV Protection | Minimal (unless coated) | Varies | Excellent (UV-filters available) |
| Best Use | Small/Medium frames | Rooms with many windows | Oversized art; high-traffic areas |
For oversized pieces, acrylic is often mandatory. Falling damage often results from aged hanging hardware or wall-attachment failure; using lightweight acrylic significantly reduces the load on your fasteners and limits the damage if a piece is accidentally knocked. Furthermore, in high-traffic areas like hallways or children's rooms, acrylic is the safer choice because it will not shatter into sharp shards upon impact.
Preservation Essentials: Acid-Free Matting and UV Protection
If you are purchasing a framed abstract wall art piece that includes a paper border, the quality of that matting is vital for longevity. Standard wood-pulp mats contain lignin, which creates an acidic environment that causes "mat burn"—a permanent yellow or brown stain on the edges of the artwork.
To prevent this, ensure your checklist specifies acid-free or alpha-cellulose matting. According to the Library of Congress, preservation framing requires stable materials and UV-filtering glazing to prevent irreversible fading and embrittlement.
The Role of UV Protection
Light damage is cumulative and irreversible. Even a few hours of indirect sunlight daily can bleach the pigments in a modern abstract art piece over several years. High-end frames utilize UV-filtering glazing that blocks up to 99% of harmful ultraviolet rays. Additionally, we recommend the use of a backing board. A backing board can reduce exposure to dust, pollutants, and short-term humidity changes, acting as a secondary shield for the artwork's substrate.

Coordinating Frame Finishes and Colors with Your Decor
The frame is the bridge between the art and the architecture. Choosing the right finish depends on the dominant colors of the room and the style of the furniture.
- Natural Wood Profiles: Best for Scandinavian, Mid-Century Modern, or Wabi-Sabi styles. Oak and walnut add warmth and organic texture to a space.
- Metal Profiles (Black/Silver/Gold): Ideal for industrial or ultra-modern spaces. A thin black metal frame provides a "gallery" look that doesn't distract from the art.
- The 60-30-10 Rule: Use your art to reinforce your room's color palette. 60% of the room should be the primary color (walls/rugs), 30% a secondary color (upholstery), and 10% an accent color. Your artwork is often the best place to introduce that 10% accent color.
For a cohesive look, don't feel obligated to match every frame finish in a room. Mixing wood and metal can add depth, provided the "weight" of the frames (their thickness) remains consistent to maintain a sense of order.
Ensuring Secure Installation with Professional Hanging Hardware
A common mistake is relying on a single nail for a heavy frame. For high-traffic areas or oversized pieces, professional-grade hardware is a necessity.
Secure Hardware Checklist:
- D-Rings: These should be screwed into the back of the frame, not nailed. They provide a secure point for wire or direct wall hooks.
- French Cleats: The gold standard for heavy or oversized art. A metal bracket on the wall interlocks with a bracket on the frame, distributing weight evenly and ensuring the art hangs perfectly level and flush against the wall.
- Wall Anchors: Never hang a heavy frame into just drywall. Use a stud finder to locate wood supports, or use heavy-duty toggle bolts rated for at least double the weight of the frame.
In hallways or entryways where people may brush against the art, French cleats are particularly effective because they prevent the piece from shifting or being knocked off-kilter.
Conclusion: Your Framed Wall Art Buying Checklist
Completing your home with the perfect artwork requires a balance of aesthetic vision and technical precision. By utilizing this Framed Wall Art Buying Checklist: Size, Style, Color, Frame Finish and Placement, you ensure that your selections are proportionate to your furniture, safely glazed for your environment, and protected against the cumulative effects of light and humidity.
Remember that the best design starts with the math of the 2/3 rule and ends with the security of professional hardware. Whether you are hanging a single luxury framed wall art piece or a complex gallery wall, these standards will help you create a space that feels curated, intentional, and enduring.
FAQs
How high should I hang art above a sofa or headboard?
Ideally, the bottom of the frame should sit 6 to 10 inches above the top of the furniture to create a visual connection while allowing space for decor.
How do I prevent my art from fading?
To prevent fading, use UV-protective glazing (blocking up to 99% of UV rays) and avoid hanging art in direct sunlight.
What is the best frame material for high-traffic areas?
Acrylic (Plexiglass) is recommended for high-traffic areas because it is shatter-resistant and significantly lighter than glass, reducing the risk of injury if the piece is bumped.
Does all wall art need a mat board?
While not strictly required, a mat board provides a necessary air gap between the art and the glazing, which helps prevent moisture buildup and sticking, particularly for works on paper.
Leave a comment
This site is protected by hCaptcha and the hCaptcha Privacy Policy and Terms of Service apply.