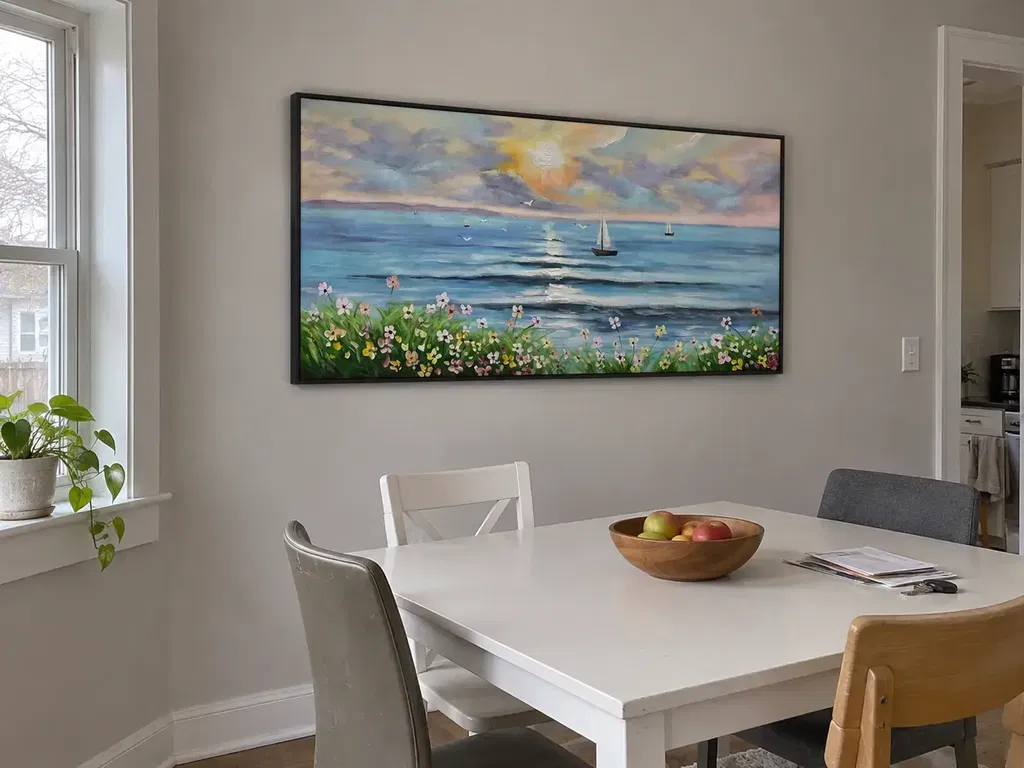
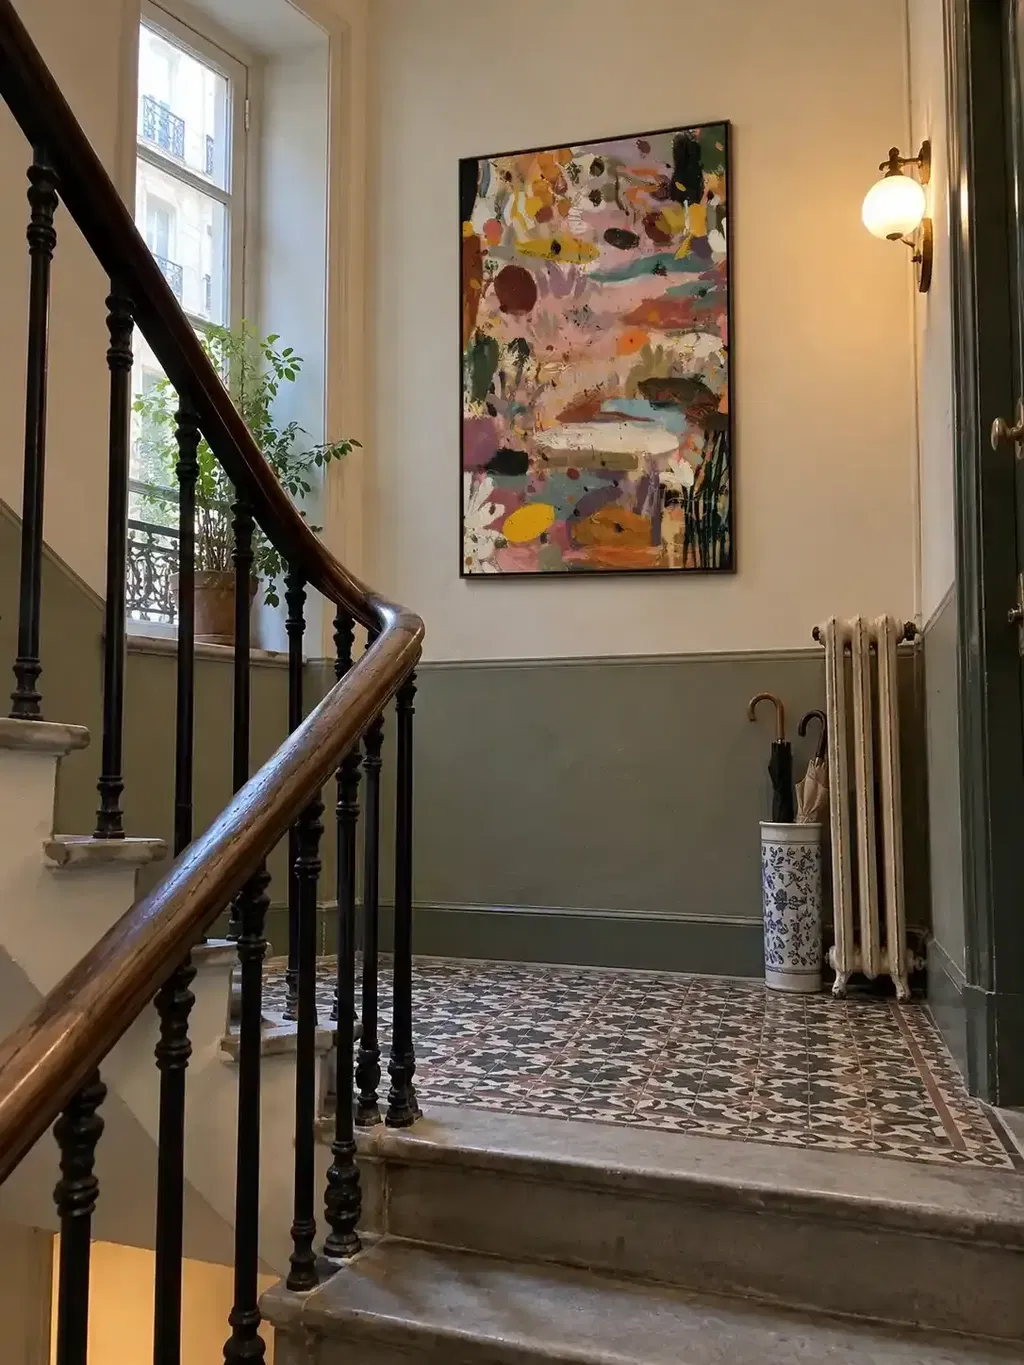
Before you climb anything to hang large format modern art, decide whether this installation is actually ready to plan. That means documenting the artwork's real installed weight and rear attachment points, identifying the wall's construction, and confirming you can reach the wall from a stable, properly supported position.
If any of those three factors are unknown, the next step is getting verified technical data rather than setting up a ladder. This guide covers two distinct wall types: a wall that follows a staircase gradient and a flat wall in a high-ceiling room. They require different sightline treatments, so never apply stair-gradient stepping math to a flat high wall or vice versa.
1. Decide Whether the Stairwell Installation Is Ready to Plan
The shortest safe path runs in one direction only: document the artwork and wall first, classify the geometry, verify the load path, confirm elevated access, and only then mark and install. Skipping ahead to hardware or climbing equipment before these facts are known leads to avoidable structural failures or fall injuries.

Record the Artwork and Wall Facts
Before doing anything else, gather:
- The artwork's actual width, height, and depth, plus its real installed weight (not just a listed shipping weight).
- Whether it is framed, stretched, or a rolled canvas, and where its rear attachment points sit.
- The wall's construction: drywall over studs, solid masonry, hollow block, or an unverified cavity that requires inspection.
- Any obstruction along the intended path, such as a handrail bracket, landing return, or HVAC register.
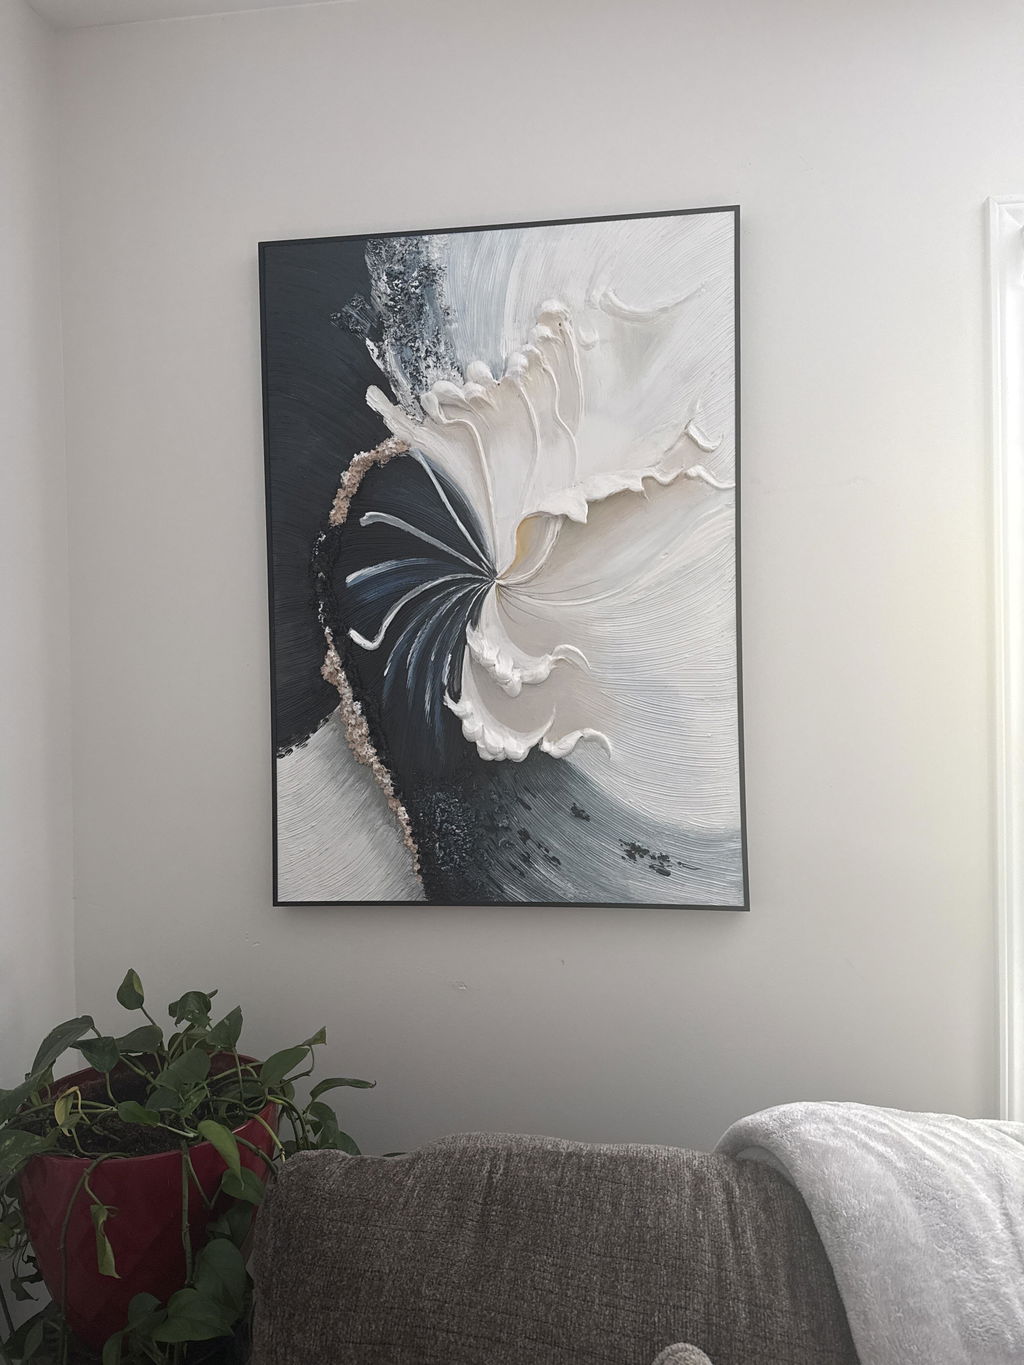
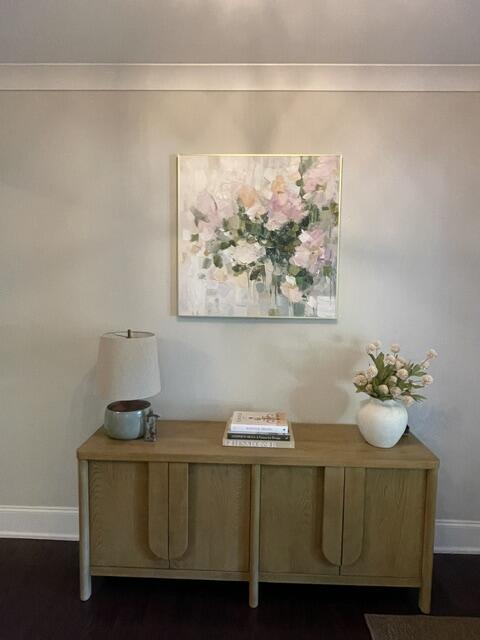
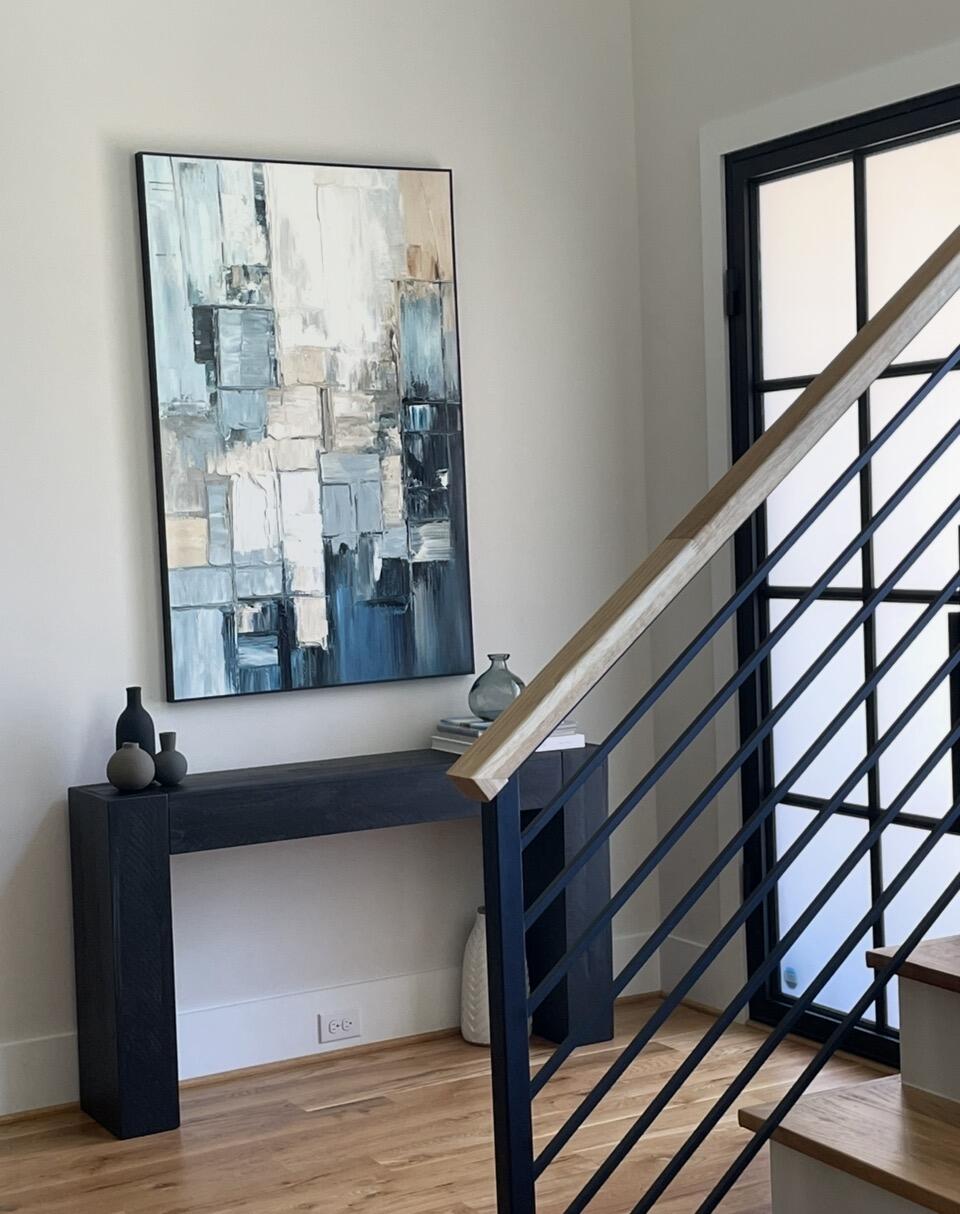
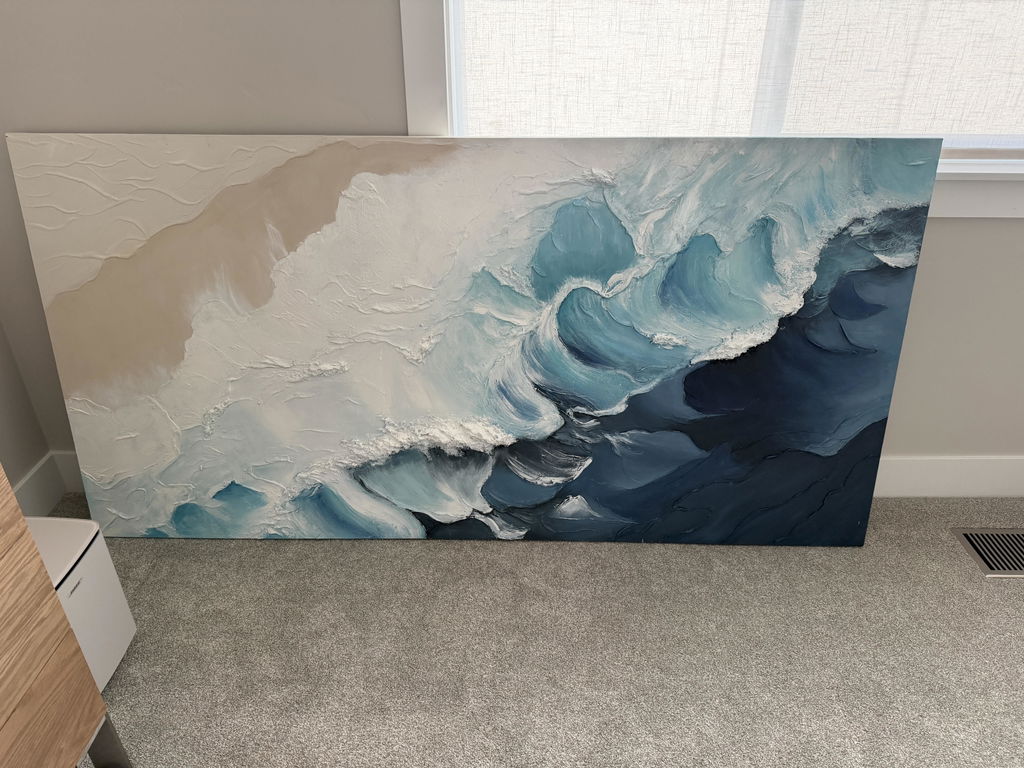
A large piece like our textured abstract canvas is available in several sizes and formats, but listed dimensions and medium describe the aesthetic object, not its total hanging weight or anchor demands. That distinction matters for every large-format installation you plan.
Make the DIY or Professional Call
Proceed to layout and marking only when you know the artwork's total mass and attachment positions, the wall's internal framing or masonry type, the stair geometry, and that you can position yourself safely to work. If you are missing any of those, or you cannot reach the working zone without overreaching or improvising a platform, stop immediately and hire a qualified installer.
2. Calculate and Mark a Sightline Along the Stair Gradient
A stair-following wall needs marks that step upward with the staircase, not a single horizontal centerline copied from a level room. You build this layout from measured coordinates rather than a memorized rule of thumb.
Define the Reference Line and Variables
Pick an origin point on the wall near the bottom of the stair run and measure all distances in consistent inches. Call the horizontal distance along the wall "x" and the vertical height above your floor or baseline "y." Decide whether your reference line tracks the stair tread nosings or a custom sightline between two chosen viewing points, such as standing eye height at the bottom and top landings.
Calculate and Transfer the Marks
Measure two known points along your chosen reference line: an origin point (x0, y0) and a second point further along the wall (x1, y1). The slope of your line is rise divided by run: m = (y1 − y0) / (x1 − x0). As an illustrative measurement model, if a reader measures an origin height of 40 inches (x0 = 0) and a second point 64 inches high at 120 inches along the wall (x1 = 120), the slope is m = 0.2 inches of rise per inch of run. Using the linear relation y = y0 + m(x − x0), the elevation at x = 60 inches calculates to y = 52 inches. These values serve strictly as an illustrative example for reader-supplied measurements.
- Mark your origin and at least one additional reference point on the wall using a laser level and measuring tape.
- Calculate the target elevation at each artwork coordinate using the slope relation.
- Adjust each mark for the artwork's center point, outer frame perimeter, and rear hanger vertical offset.
- Transfer marks only from a fully supported, stable access position, never by leaning across stair treads.
- Verify the full physical dimensions against your wall marks before drilling.
A flat double-height wall does not follow this stepped calculation; it uses a single level viewing reference line across the wall width.
3. Verify the Wall, Load Path, and Anchor System
No single anchor type or capacity applies across every wall, so hardware selection must follow documented substrate conditions rather than artwork dimensions or framing style.
Match the Load Path to the Real Substrate
| Substrate or condition | Required verification | Decision or escalation |
|---|---|---|
| Drywall over wood/metal studs | Locate structural stud centers or solid blocking behind each attachment point | Anchor directly into structural framing; escalate if no framing aligns with attachment points |
| Solid masonry or concrete | Confirm base material is sound, uncracked, and clear of embedded utilities | Use mechanical or chemical anchors rated for solid masonry per technical data |
| Hollow masonry (CMU) | Confirm cell wall thickness and whether cores are grout-filled or hollow | Follow manufacturer technical instructions for CMU; escalate if core condition is unverified |
| Unknown or concealed construction | Open a physical inspection point or obtain professional testing | Do not install until framing and core materials are verified |
Verify the Exact Attachment System
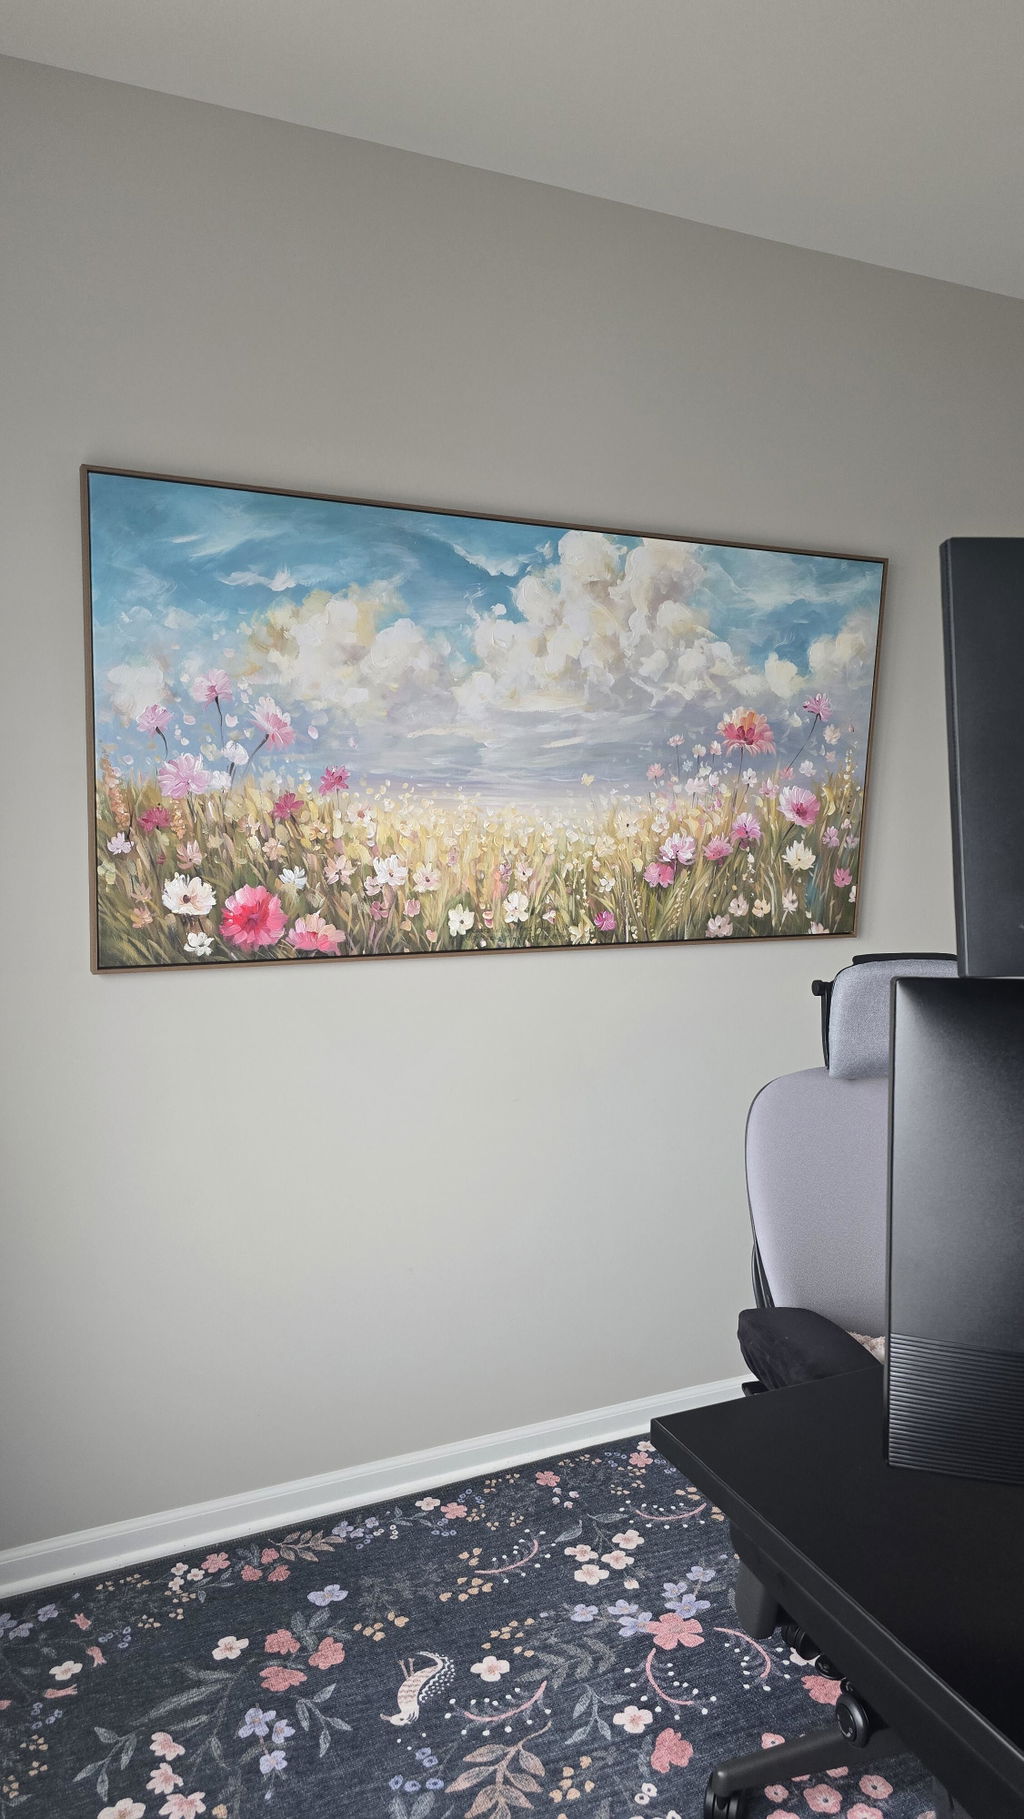
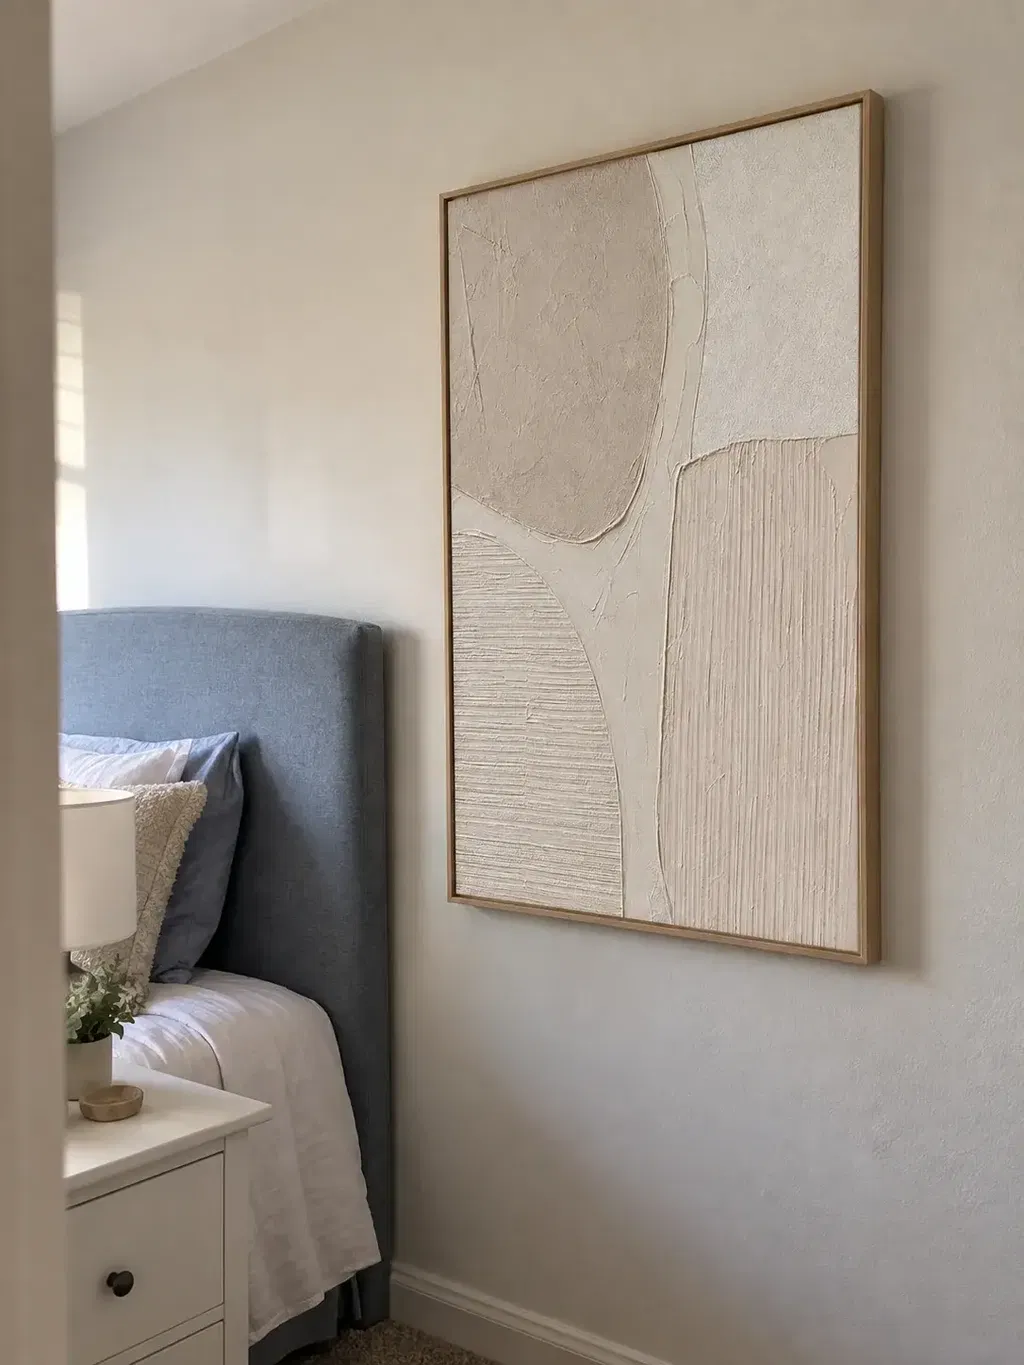
Before selecting fasteners, verify the artwork's actual installed weight including frame and hardware, the shear and tension load vectors on the wall, attachment point spacing, and edge distances from wall openings or corners. A particular medium or framing style, such as the vertical format seen on our figurative landscape painting, does not establish structural load capacity on its own. When anchoring large format modern art, check the exact technical data sheet from the fastener manufacturer for minimum embedment depth and spacing. If the substrate, internal framing, or hardware rating cannot be confirmed with technical data, hand the project to a qualified installer.
4. Plan Elevated Access Without Improvising
Access equipment selection depends on whether the setup delivers stable footing and an uncompromised working stance, not merely whether you can touch the wall at full stretch. Select equipment that keeps you within a supported center of gravity before lifting any art.
Choose Access by Working Position, Not Reach Alone
- Use an extension or stepladder only when all feet rest on level, solid surfaces and you can keep three points of contact without leaning over the rails.
- Escalate to an adjustable stairwell scaffold or dedicated work platform whenever tread drop-offs or high voids prevent level ladder positioning.
- Never move access equipment while someone is standing on it, and never walk a ladder sideways to reach another anchor point.
- If stair width, landing turns, or ceiling heights prevent a stable base, stop and hire a professional crew with appropriate staging.
Inspect the Setup Before Moving the Artwork
Following OSHA ladder and scaffold guidance, ladders require firm, level footing, fully locked spreaders, and three points of contact, while scaffolds require plumb assembly, complete guardrails, sound mudsills or base plates, and inspection by a competent person prior to use. Never place a portable ladder on top of a scaffold platform to gain extra height. When assessing mechanical access like a scissor lift in high-ceiling spaces, OSHA scaffold interpretations note that in construction contexts fall protection is required above 10 feet and equipment must be inspected before operation. While residential art installation is not a construction site, this inspection discipline and fall-protection threshold highlight the severe risks of high-void work. Always secure the ground zone below the platform from household traffic.
5. Install, Align, and Secure the Artwork
Once the wall substrate, sightline coordinates, anchor hardware, and elevated platform are verified, proceed through a controlled execution sequence. Completing tasks out of order risks damaging the artwork or falling from height.
Stage the Marks, People, and Equipment
- Complete the dry layout and re-verify all anchor marks, frame margins, and clearances before bringing the artwork to height.
- Position at least two capable handlers for any oversized piece to maintain balance and control during transfer.
- Clear the staging floor, stairs, and platform deck of stray tools, cords, and packaging materials.
- Keep the artwork resting on a padded, secure ground support until the access staging is unmanned and ready for the lift.
Attach, Align, and Secure
- Install the verified wall anchors into the substrate strictly following manufacturer torque, hole diameter, and embedment instructions.
- Lift the artwork in a coordinated multi-person transfer and engage the rear brackets or hardware onto the anchors.
- Check and adjust alignment against your calculated sightline marks while standing securely on the designated work platform.
- View the piece from multiple landing and stair perspectives to confirm proper visual pitch along the gradient.
- Stop immediately and support the piece if hardware fails to seat cleanly, if the wall demonstrates movement, or if handlers lose physical control.
6. Perform the Final Pass/Fail Inspection
Never leave an installation unattended at height until every mechanical and visual check has passed. Treat this inspection as a strict go/no-go safety gate.

Verify that the artwork sits accurately on the intended sightline marks and presents an unobstructed perimeter from both upper and lower stair landings. Test every attachment bracket to confirm full physical engagement, ensuring the frame does not rock, slide, or pull away from the wall plane under gentle handling. Remove staging equipment, scaffolding, and protective floor drop cloths only after structural stability is confirmed. If any bracket exhibits play, if an anchor loosens, or if leveling shifts, take the artwork down immediately and resolve the underlying substrate or hardware issue before remounting.
FAQs
How does hanging on a flat high wall differ from a stair gradient?
A flat high-ceiling wall uses a single horizontal reference line rather than a stepped gradient formula. Because viewer distance remains relatively uniform from the floor, you establish a primary viewing centerline and keep the artwork level across its horizontal axis. However, the requirement to verify internal wall framing, select substrate-matched anchors with technical data sheets, and assemble stable scaffolding or platform access remains identical to stairwell installations.
Can an ordinary stepladder be set on stair treads for art installation?
Never place a standard stepladder or extension ladder directly onto stair treads. Standard ladders require level, planar footing to prevent tipping; placing them on stepped surfaces causes severe lateral instability. For stairwells, use an adjustable stair-rated ladder with independent telescoping leg levelers or an engineered stairwell scaffolding tower that provides a plumb, level work deck.
What should I do if stud locations do not match the artwork's mounting brackets?
If structural wall studs do not align with the artwork's rear brackets, do not rely on standard drywall hollow-wall anchors for heavy pieces. Instead, install a solid structural ledger or horizontal plywood backing strip securely fastened across multiple studs, then mount the artwork hardware directly to that reinforced backing. Alternatively, consult a structural professional to open the wall and install horizontal wood blocking between the existing framing members.