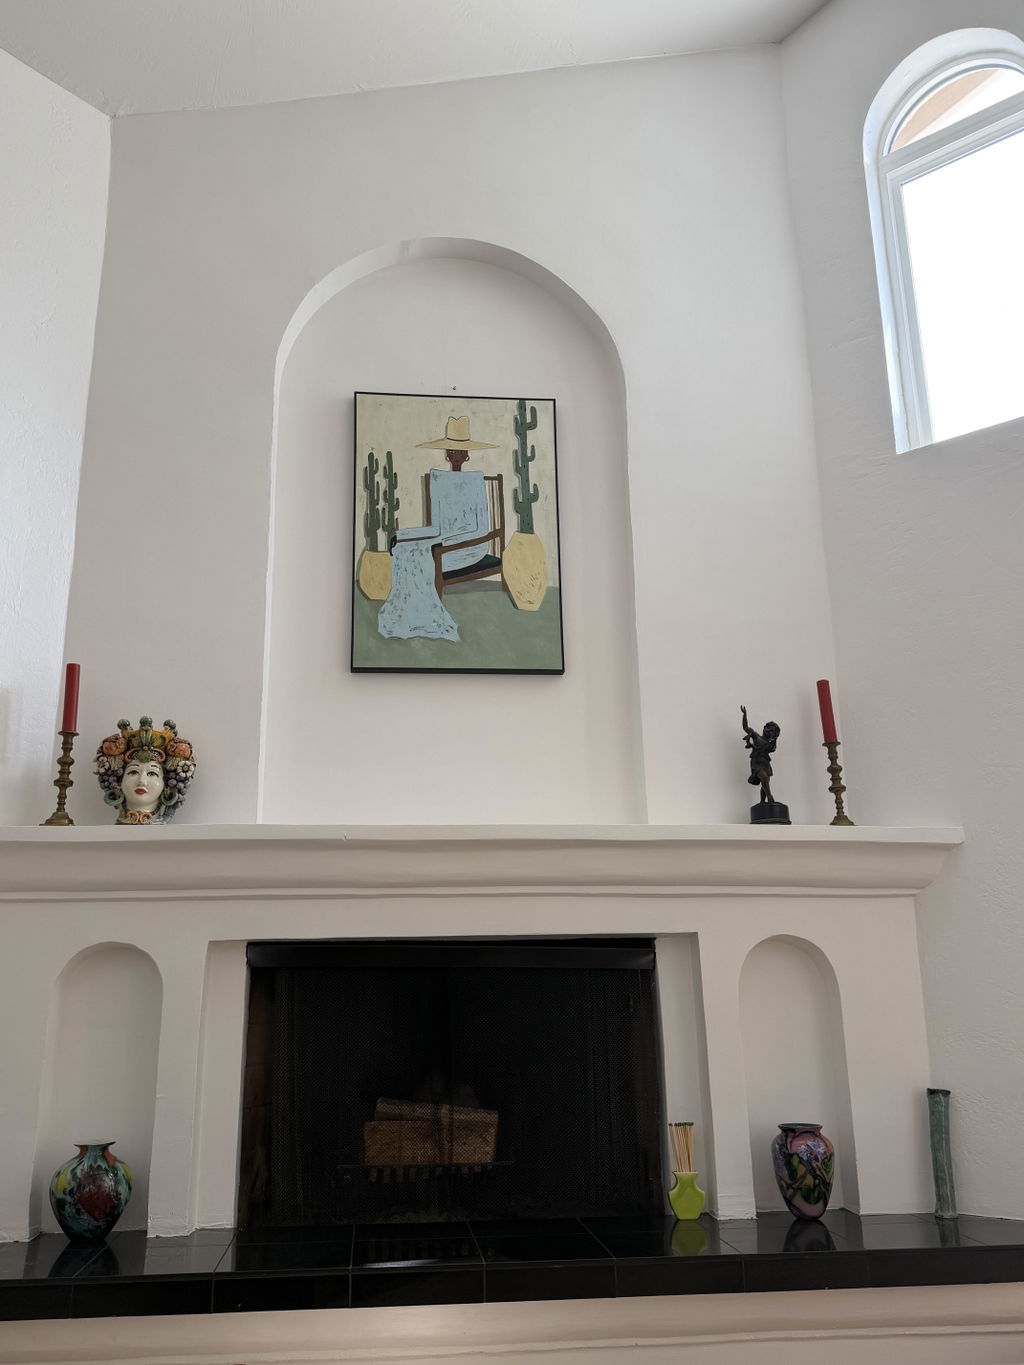
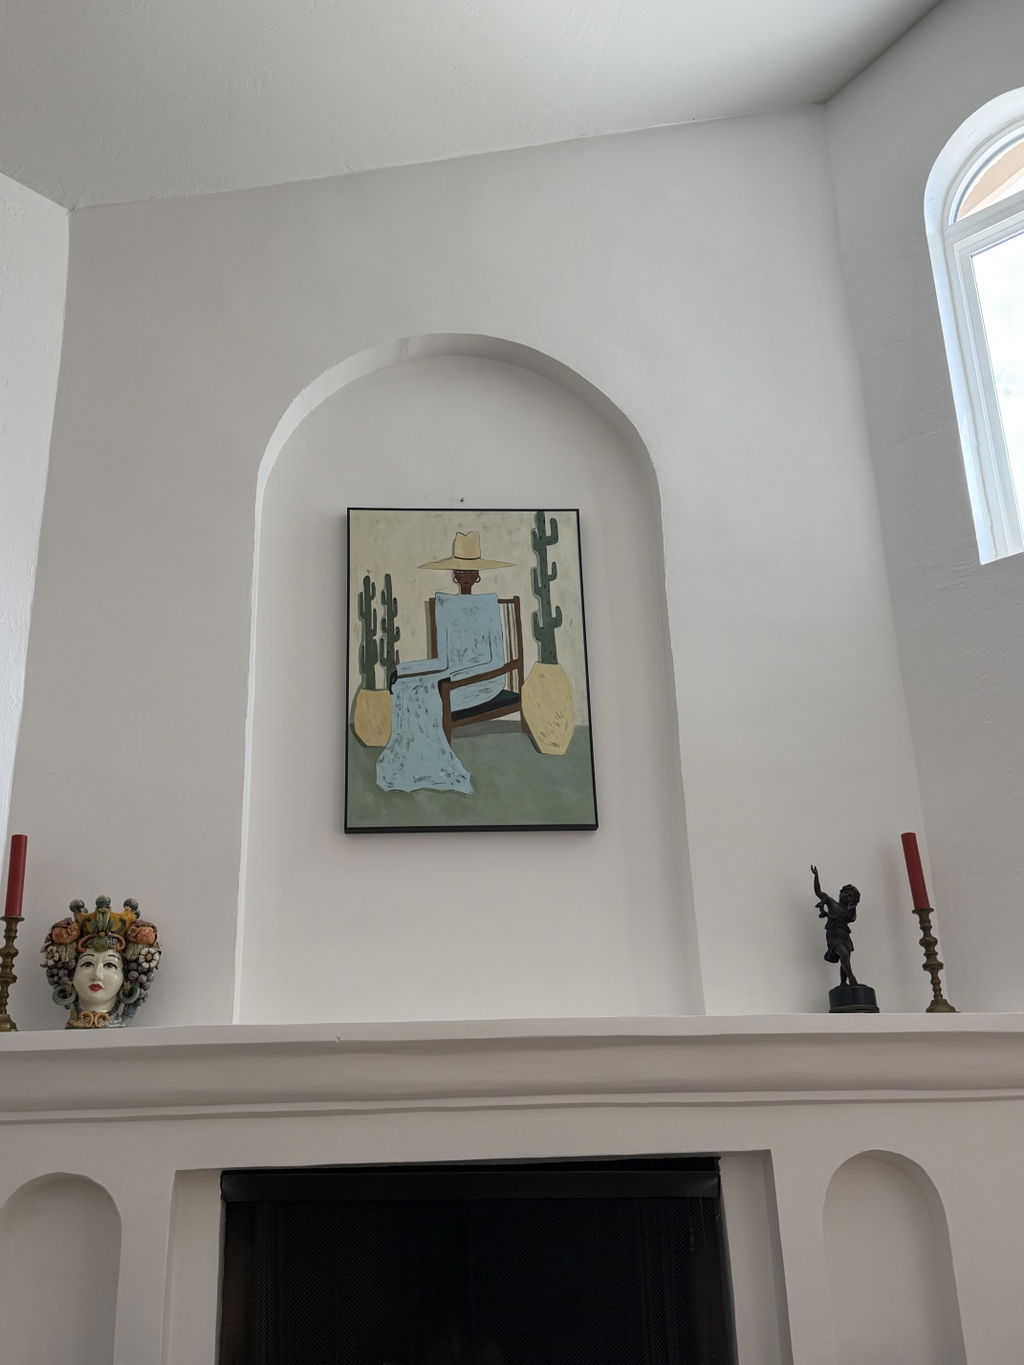
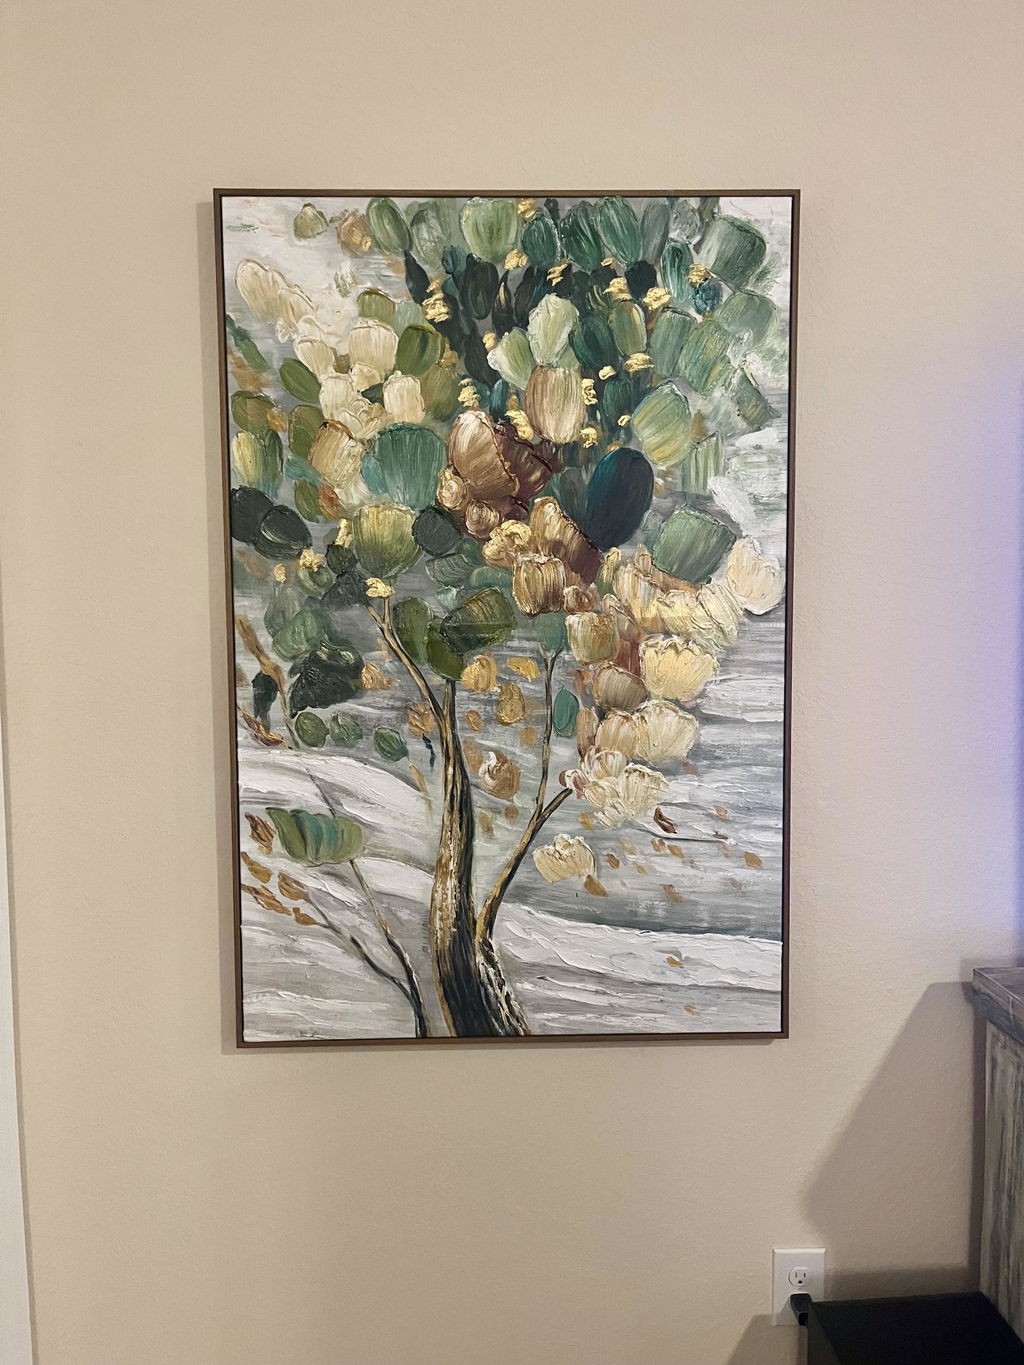
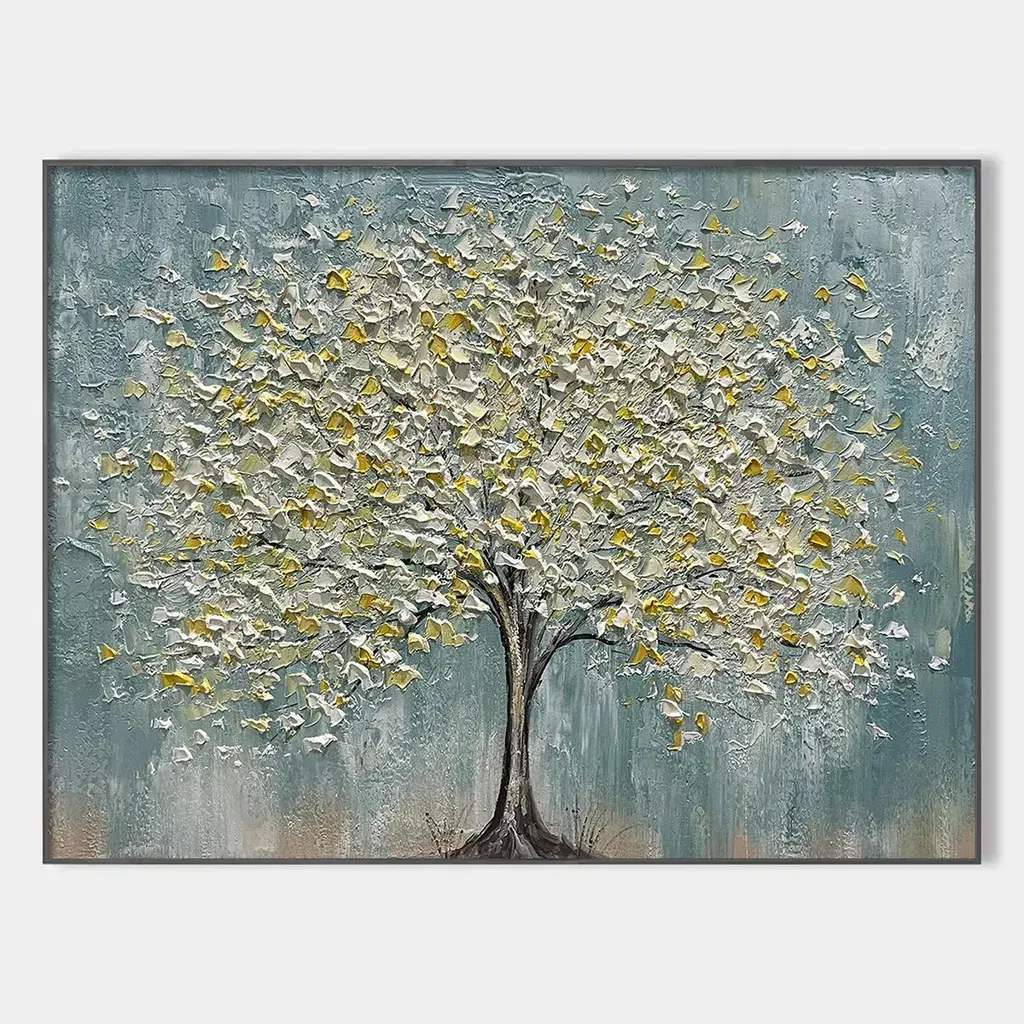
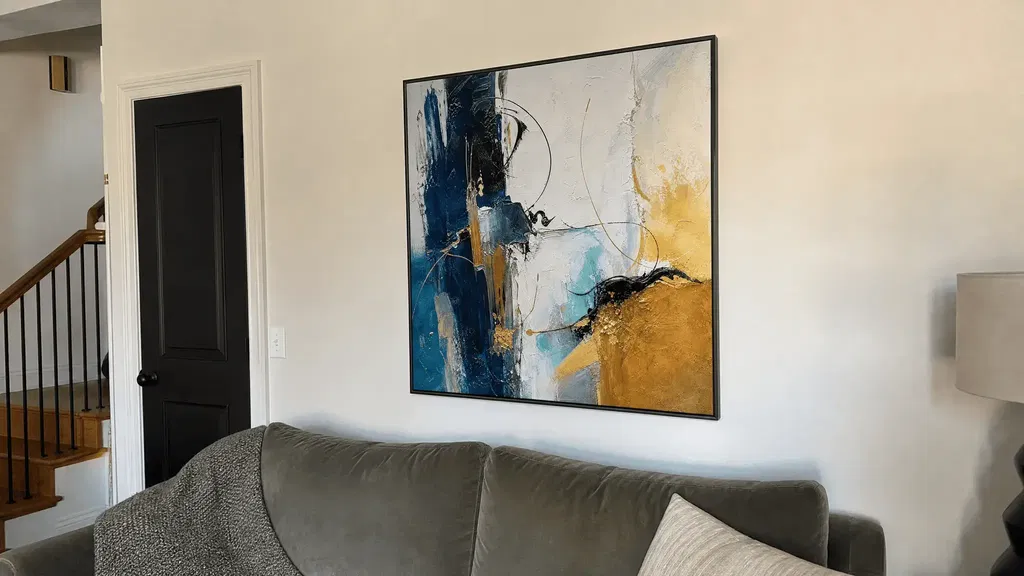
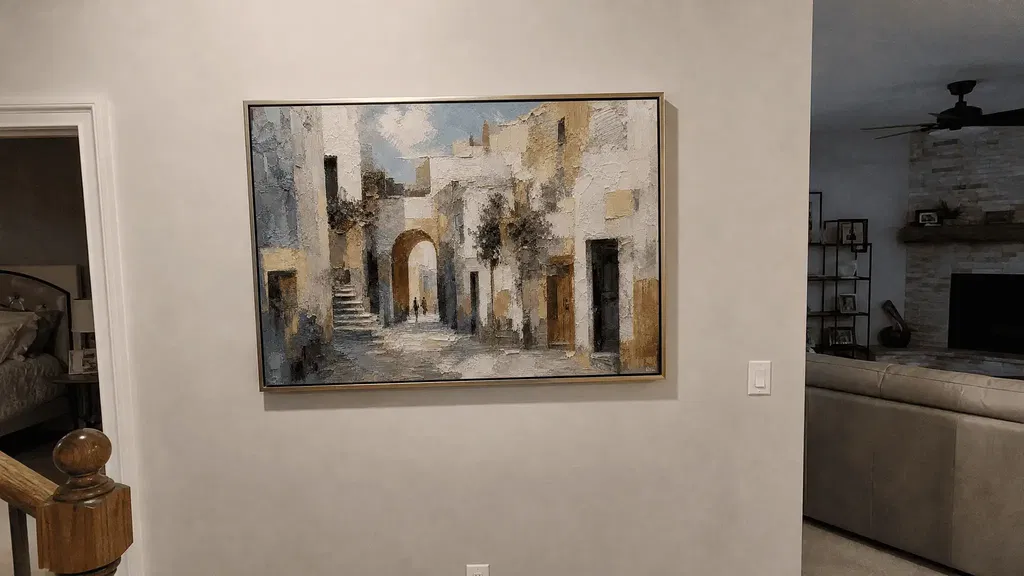
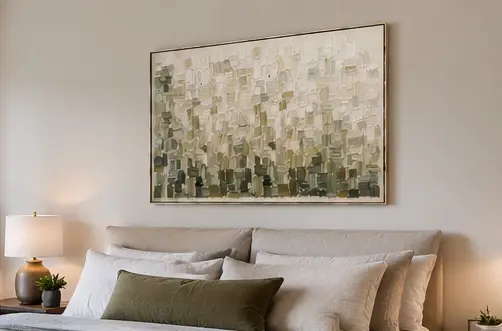
The best wall art for a staircase is the format that fits the usable wall area, stays readable from the stairs and landing, and works with the available light. A single vertical piece often suits a narrow, uninterrupted wall; stacked art can add height in stages; and a coordinated multi-piece arrangement can work when the wall run has enough room for a unified footprint. There is no universal size or rule requiring artwork to follow the stair angle.
Start by measuring the open wall rather than the entire architectural wall. Then compare the format options, tape out the full footprint, review it from the main sightlines, and verify the live product page for exact dimensions, orientation, finish, configuration, and hanging details.
Start With the Staircase Wall's Shape
Before browsing staircase wall art ideas, establish what the wall can actually hold. The usable height, usable width, wall run, landing width, and fixed architectural boundaries should determine the first format you consider.
Measure the Usable Wall Area
Measure the open area left after accounting for the railing, trim, doors, switches, corners, and landing breaks. The artwork footprint includes the space between pieces in a set, so measure the full arrangement—not just the canvas or frame.
- Identify every fixed boundary that could limit the composition, including the rail, baseboards, crown molding, door casing, switches, and nearby openings.
- Record the usable height and width of the uninterrupted area. If the wall changes shape, note each section separately rather than treating the entire stairwell as one rectangle.
- Photograph or sketch the wall, write the measurements directly on the image, and mark the main viewing positions. This gives you a reference when comparing a single piece with a group.
Avoid relying on a universal inch range for staircase art. A piece that fills a tall, narrow section may crowd a rail on one wall and look undersized on another, even when the architectural height is similar.

Read the Wall Run and Landing
A long, continuous wall run can support a composition that develops across the wall, while a short landing wall usually calls for a more contained footprint. The key question is whether the artwork has one uninterrupted field or must negotiate a corner, landing break, railing, or another visual division.
Record where the art will be seen straight on and where it will be seen at an angle. A composition that looks complete from the landing may feel disconnected from the bottom approach, so include the stair run and any adjacent room that overlooks the wall. If width is limited, begin by testing a single vertical piece or a compact stacked arrangement. If the wall continues around a landing, compare that option with a coordinated group rather than assuming more pieces are automatically better.
Compare Three Formats for Staircase Wall Art
The best format responds to the wall's shape and viewing angles—not to a fixed staircase decorating rule. Use one vertical piece for a contained focal point, stacked art for staged height, or a coordinated multi-piece composition when the wall run can support one unified group.
| Format | Best wall shape | Visual effect | Sightline behavior | Spacing complexity | Purchase check |
|---|---|---|---|---|---|
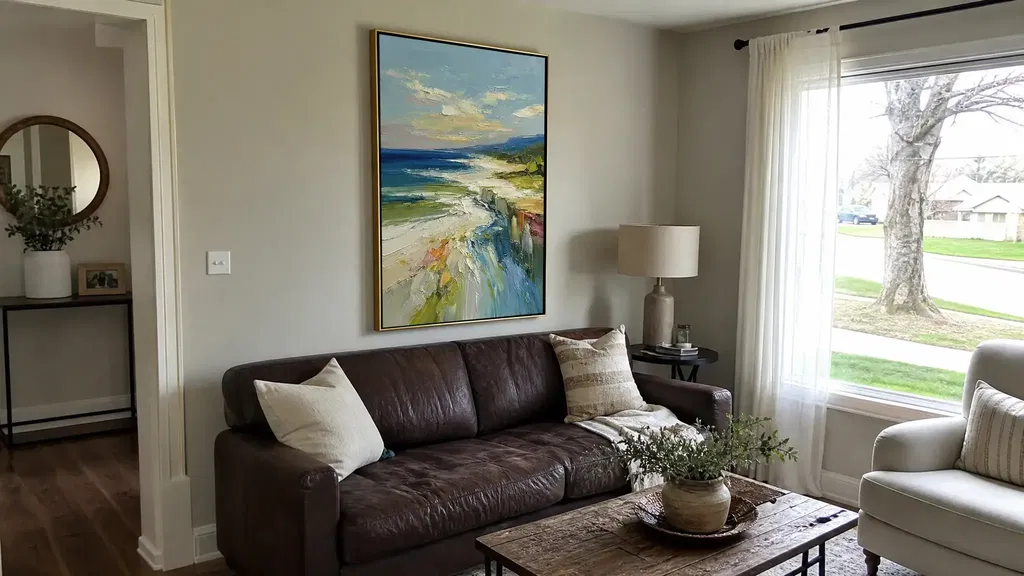
| Single vertical piece | A narrow, tall, uninterrupted section | Creates one clear focal point with a simple footprint | Usually easier to read while moving, provided it remains visible from the approach and landing | Low; the piece itself is the main footprint | Check the exact height, width, orientation, and how the frame or edges relate to the rail and trim. Browse large vertical art only after measuring the wall. |
| Stacked arrangement | A wall that needs vertical rhythm but cannot comfortably hold one dominant piece | Builds height in separate stages and can feel lighter than one oversized work | The full stack must read as one composition from more than one angle | Medium; the gaps and combined outer edges matter as much as each piece | Confirm the number of pieces, individual dimensions, total footprint, and whether the selected set is intended to be read vertically. |
| Coordinated multi-piece composition | A broader wall run or a wall with repeated divisions that can support a unified group | Adds rhythm, movement, or a wider visual presence | More vulnerable to awkward gaps, rail crowding, or lost pieces from an oblique view | High; judge the outside boundary and internal spacing together | Verify the exact configuration and orientation on the product page. You can compare canvas wall art as a category, but the category name does not establish staircase fit. |
A stepped or diagonal group can echo the stair direction when the wall, rail, and sightlines support it. It is only one styling option; staircase gallery wall guidance likewise treats stepped alignment as an option rather than a universal rule. A level or contained grouping may be more coherent on a landing or broad wall section. Conversely, a panoramic piece is not automatically the answer for a long run if it becomes hard to read from the stairs or collides with a boundary.

For a tall, narrow stairwell, vertical paintings for stairway walls are a sensible starting category because their orientation can match the available shape. For a broader landing, compare that approach with a contained horizontal piece or a coordinated group rather than selecting based on orientation alone.
Balance Sightlines, Lighting, and Placement
Staircase artwork is viewed while people move, not from one centered position. Test the complete arrangement against the rail, trim, landing, and available light before treating the placement as ready. Picture-hanging guidance from the Holburne Museum also recommends judging artwork in relation to architectural boundaries and considering directional or frame-mounted lighting as an option.
Test the Main Sightlines
Use paper or removable tape to mark the outside edge of a single piece or the complete footprint of a set. This is a planning test, not a guarantee of the final appearance. A staircase mockup workflow can help you catch proportion and spacing problems before mounting.
- From the bottom approach, check whether the artwork is visible as a complete focal point or disappears behind the stair geometry.
- From the middle of the stair run, look for a group that feels too high, too low, or crowded by the rail.
- From the nearest landing, check whether the composition feels contained or leaves an unexplained gap around the architectural boundaries.
- From an adjacent room or upper-level view, check whether the outer edges and spacing still make sense from an angle.
Record the first issue at each position instead of trying to solve everything from one viewpoint. If the mockup crowds the rail, breaks apart at an angle, or looks incomplete from the approach, change the footprint or format before shopping.
Check Natural and Installed Light
Review the wall at more than one time of day and with existing fixtures switched on. A stairwell may look balanced in daylight but lose darker areas in the evening, or a surface may show more texture or reflection when light hits it from the side.
Consider how the finish responds to the actual light direction. Texture, dark colors, and reflective surfaces can read differently from the bottom step, landing, and adjacent room. If important areas remain in shadow, directional or frame-mounted lighting is an option to investigate, but it should not be treated as a requirement or a guarantee of glare-free viewing. Confirm that any lighting or installation choice is appropriate for the selected product and your home before proceeding.
When comparing the best art for a stairwell wall, favor the option that remains legible from the most important approach and does not compete with the rail, trim, or nearby light source. A dramatic finish is less useful if the composition loses its structure whenever the stairwell light changes.
Make the Final Format Choice at the Wall
Use the wall itself as the final decision tool. Choose the simplest format that fits the complete usable footprint, stays coherent from the main sightlines, and remains visually legible under the available light.
- Mark the usable area. Tape the open height and width, including the outer boundary of every piece and the spaces between pieces. Leave out areas blocked by rails, trim, doors, switches, or landings.
- Compare the formats. Test a single vertical piece, a stacked arrangement, and a coordinated multi-piece group at the same wall location. Decide whether you want one focal point, staged vertical rhythm, or a broader unified composition.
- Test sightlines and light. Review the mockup from the bottom approach, stair run, landing, and adjacent room. Check it in natural light and with current fixtures on. Stop and reconsider if it crowds the rail, disappears at an angle, or leaves an unintended gap.
- Verify before buying. On the live product page, confirm the actual dimensions, orientation, finish, number of pieces, configuration, and included or required hanging details. If your test points toward a taller focal piece, browse extra large artwork as a navigation path, then check the specific item rather than assuming the collection label proves fit.
This process also helps when shopping for large wall art for staircase walls. Browse by the format your wall can support, but treat every product page as a separate verification step because a category or set label does not reveal the complete footprint by itself.
FAQs
Use the questions below to narrow the format, placement, and finish that make sense for your space. Before buying, compare the shortlisted option with your taped mockup and the product page’s specifications.
What size art works on a staircase wall?
Measure the open area after excluding railings, trim, doors, and switches. Tape the full footprint and check it from the bottom approach and landing.
Should artwork follow the stairs?
Not automatically. Compare a stepped group with a level or contained layout from the stair run; choose the one that avoids crowding and remains coherent from key angles.
Can I use landscape art?
Yes, if the wall section supports its horizontal footprint and it remains readable from the stairs and nearby rooms.
Is canvas or framed art better?
Neither is universally better. Check reflection, texture, edge treatment, and compatibility with the room's daylight and fixtures on the specific product page.
How do I avoid a crowded gallery wall?
Treat the pieces and gaps as one footprint. If the group disappears at an important angle, crowds the rail, or leaves an unintended gap, reduce or rework it before mounting.