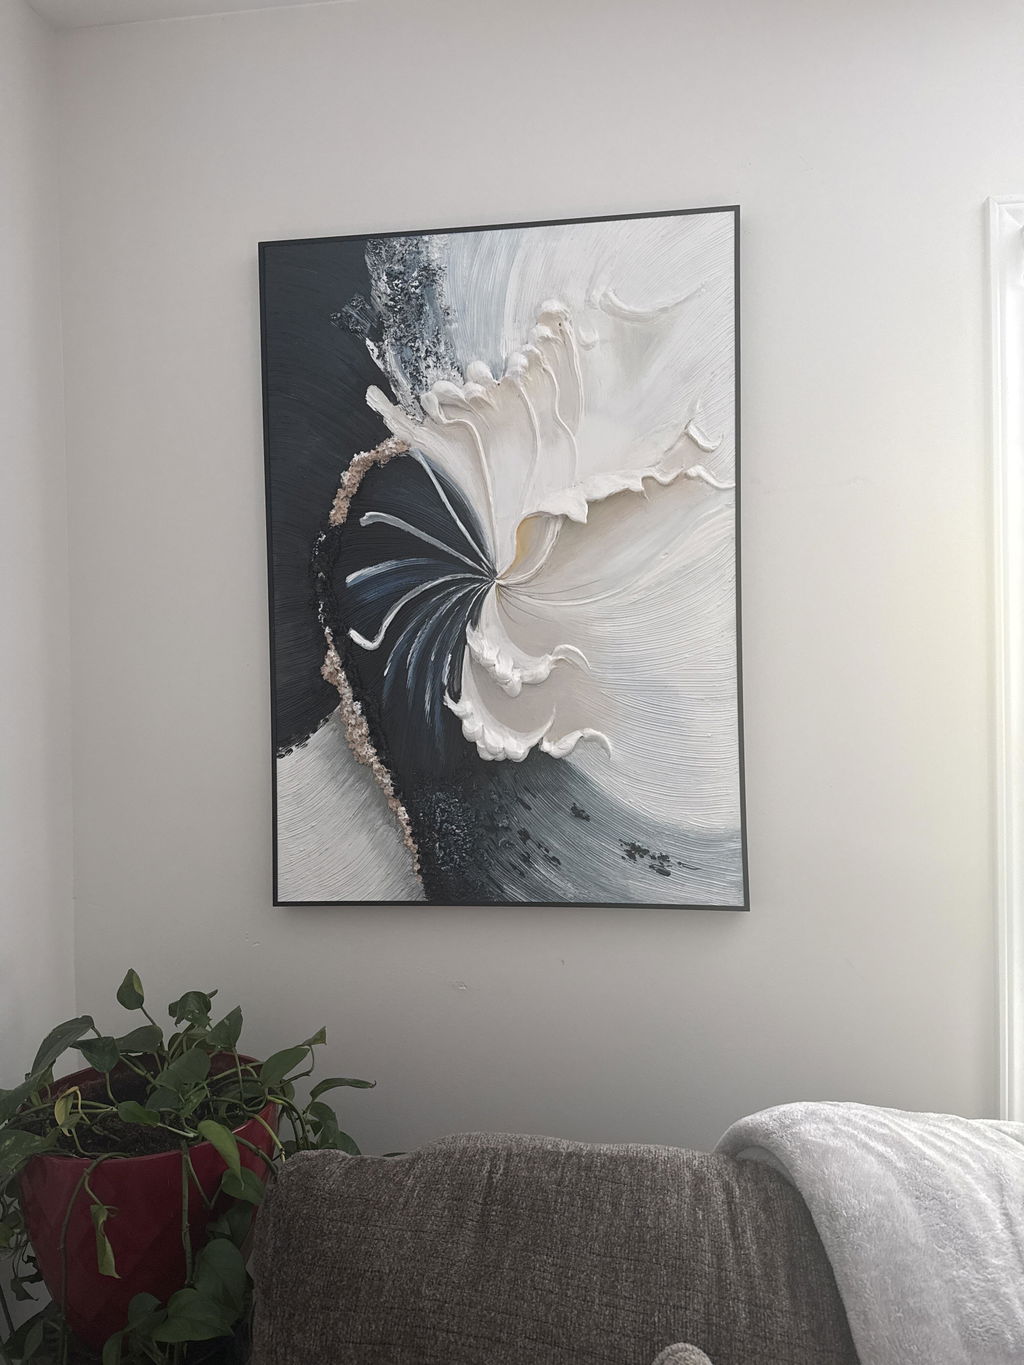
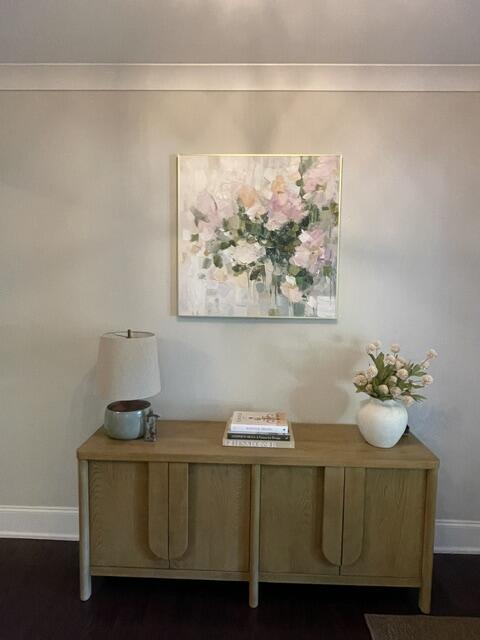
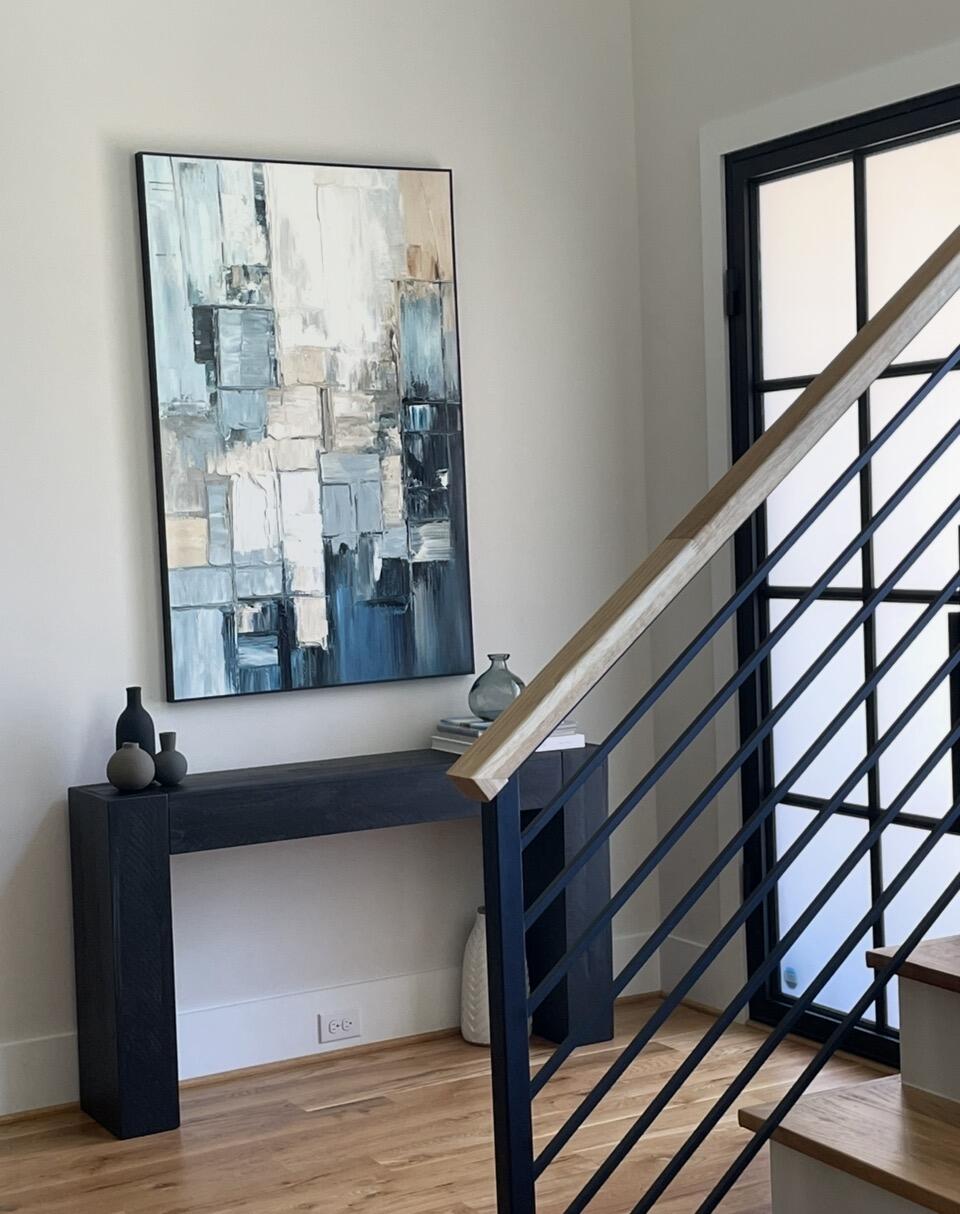
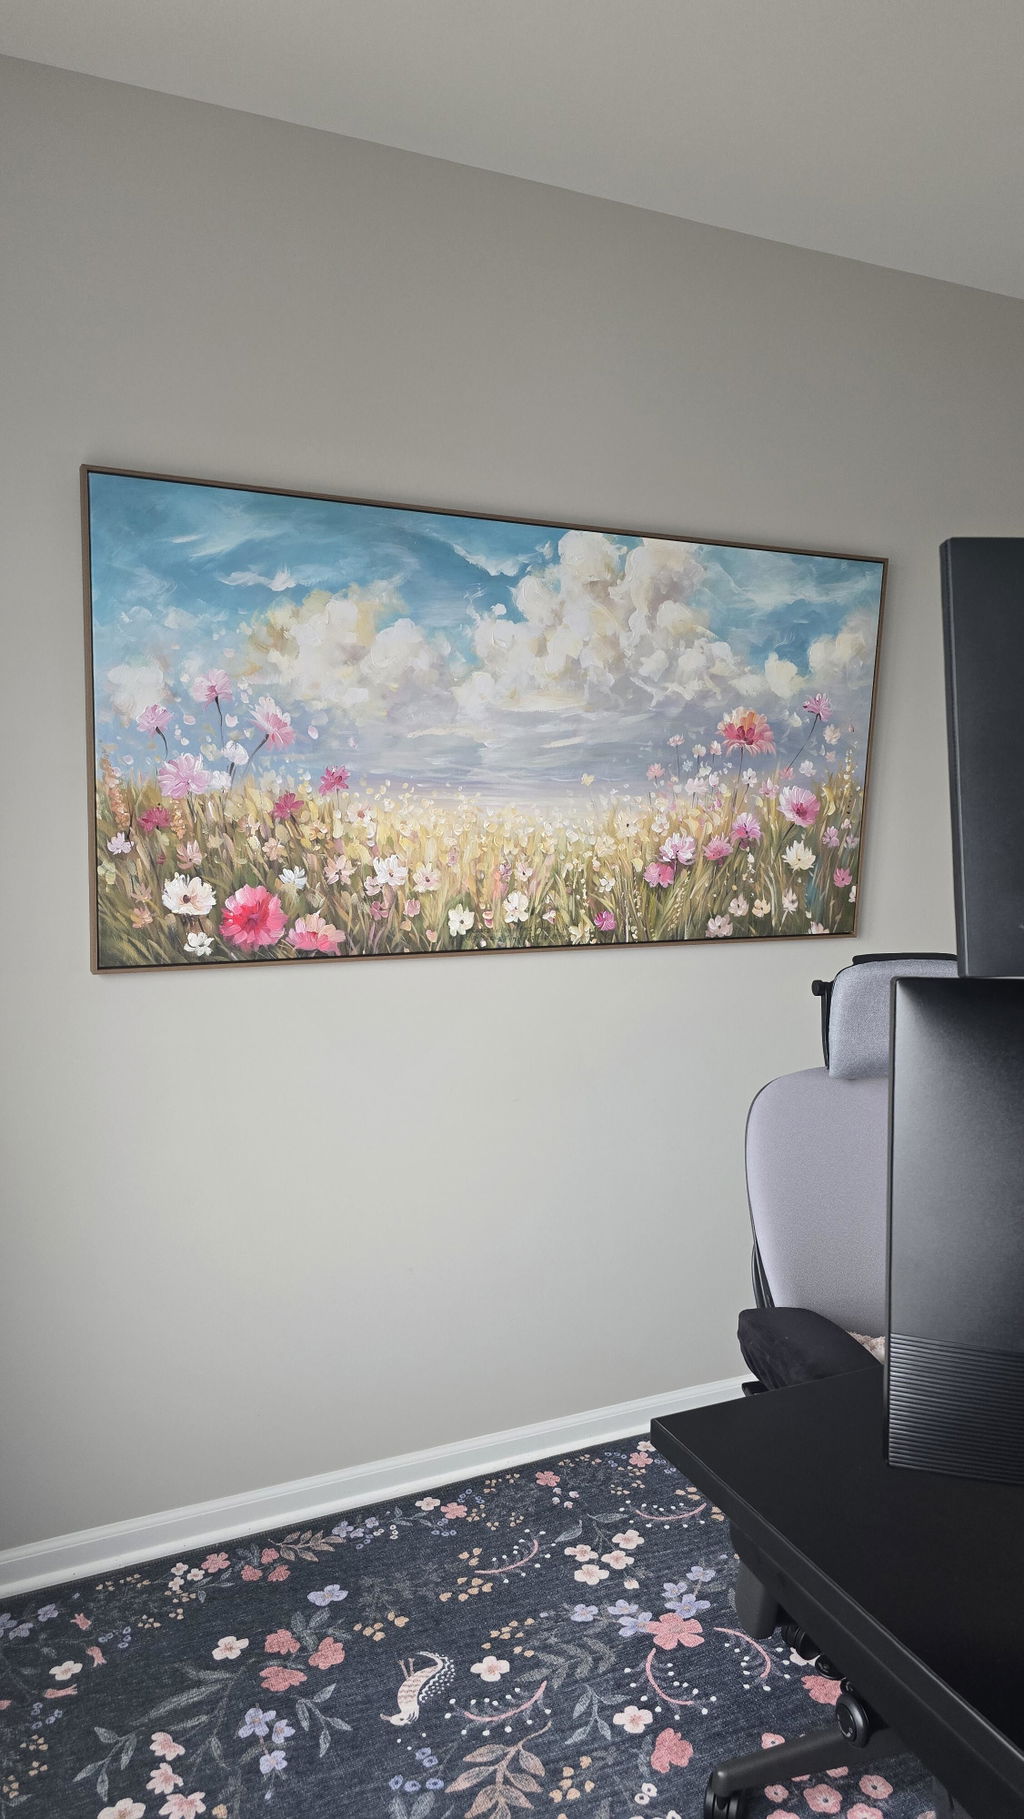
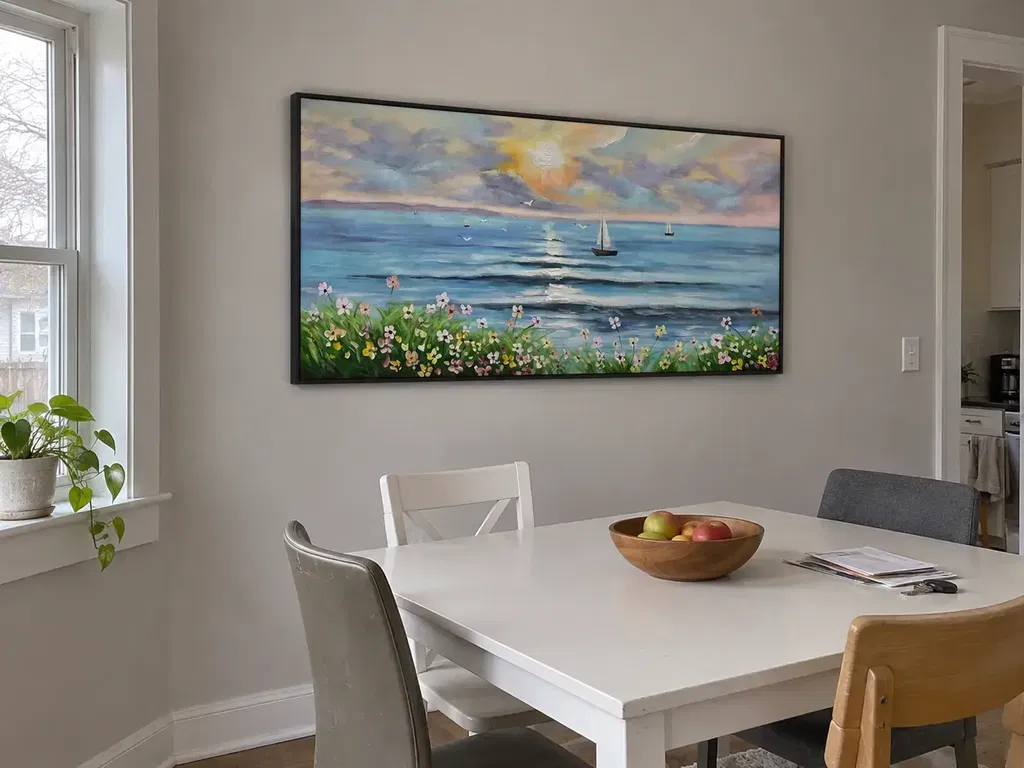
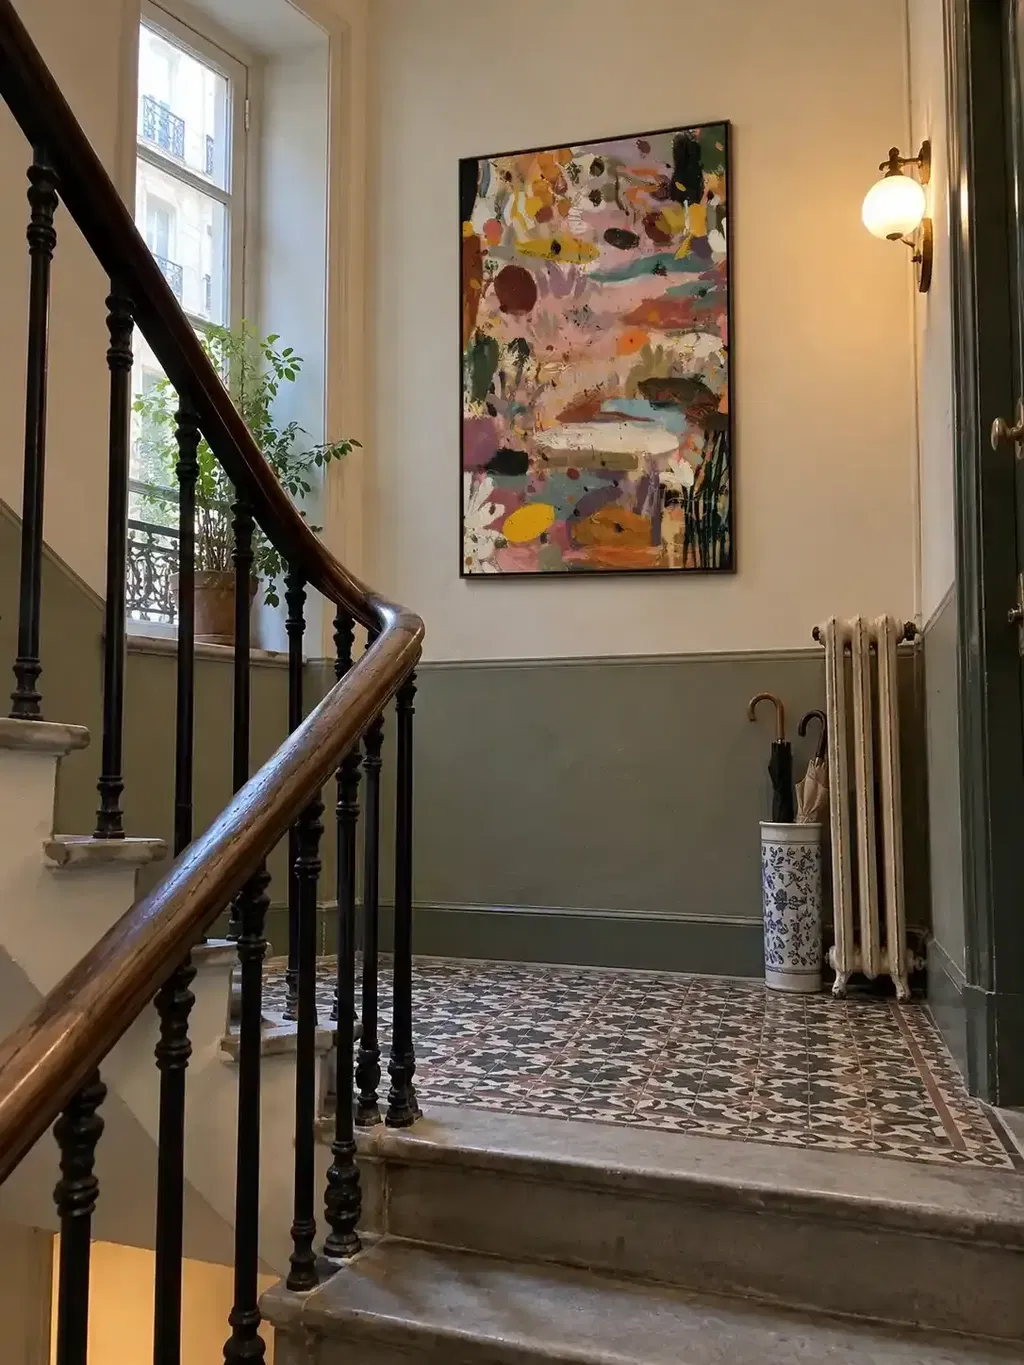
The Vitality of the Taut Surface: Why Canvas Tension Matters
Owning a hand-painted oil painting is more than a decorative choice; it is an investment in human expression and structural craftsmanship. Recent shifts in the global landscape suggest a profound return to these authentic values. While high-end auction sales for financial art assets plummeted 44% in 2024, according to Marketplace, collectors are increasingly prioritizing "real application value"—art that lives and breathes within a home. Furthermore, research from Columbia University confirms that consumers value human-created art 62% higher than AI-generated alternatives.
However, the "essential identity" of a hand-painted canvas—as described by University of Chicago research—is physically tied to its structural integrity. Unlike flat digital prints, an oil painting is a three-dimensional object composed of organic materials: linen or cotton fibers, rabbit-skin glue or gesso sizing, and layers of polymerized oil. These materials are hygroscopic, meaning they expand and contract with environmental humidity. Over time, this movement can lead to the "sagging canvas" syndrome—unsightly ripples, waves, or a general loss of that crisp, professional drum-like tension.
Maintaining this tension is not merely about aesthetics; it is about preventing the catastrophic binder separation and paint cracking that occurs when a flexible paint film is forced to move with a loose substrate. This guide provides a definitive, hands-on approach to using stretcher keys—the small wooden wedges tucked into the corners of your frame—to restore your artwork’s structural health.
The Science of Substrate Instability
To understand why your canvas has lost its "snap," we must look at the microscopic behavior of the materials. According to ResearchGate data on the ageing of commercial paints, acrylic pigments can swell by over 7% in high humidity, while oil binders can experience mass loss and melting under thermal stress.
When the canvas fibers (the "support") and the paint layers (the "film") react differently to the environment, the bond between them is stressed. If the canvas becomes too loose, the paint film—which becomes more brittle as it ages—cannot support its own weight and may begin to flake.
Logic Summary: The Tension-Decay Model Our analysis of canvas longevity assumes that structural failure begins when the substrate tension drops below the minimum threshold required to support the weight of the impasto layers. This model is based on common conservation heuristics regarding material fatigue.
Parameter Value/Range Unit Rationale Optimal Tension 8–12 N/cm² Standard conservation baseline (IG3) Critical Slack < 5 N/cm² Point where surface rippling becomes visible Relative Humidity 45–55 % Ideal stability range (IG5) Temp Stability 18–22 °C Prevents binder separation Fiber Memory High N/A Limits the number of safe adjustments

Identifying the Problem: The Sound and Sight Test
Before reaching for a hammer, you must accurately diagnose the state of your canvas. Visual inspection is often deceptive. A canvas may look flat under gallery lighting but reveal deep "corner draws" or waves when viewed under raking light (light hitting the surface from a sharp side angle).
In our experience handling thousands of hand-painted works, the Sound Test is the most reliable diagnostic tool for a DIY collector.
- The Tap: Lightly flick or tap the center of the canvas with your finger.
- The Result: A properly tensioned canvas will emit a crisp, resonant, drum-like sound. A loose canvas will sound dull, flat, or "thuddy."
- The Feel: If the canvas feels "spongy" or stays indented for a split second after a light touch, the tension has dropped below the safe threshold.
When to Adjust vs. When to Call a Pro
Not every loose canvas should be fixed at home. If you notice any of the following, DIY adjustment may cause more harm than good:
- Fully Inserted Keys: If the wooden keys are already hammered all the way into the slots, the stretcher bar has reached its maximum expansion.
- Cracked Paint at the Corners: If the paint film is already brittle and showing signs of "spider-web" cracking near the stretcher joints, expanding the frame will likely tear the paint.
- Warped Wood: If the stretcher bars themselves are bowing inward or twisting, keying will not fix the underlying structural failure.
Step-by-Step Guide: Using Stretcher Keys Correctly
Stretcher keys (also known as "corner wedges") are small, triangular pieces of wood. Most high-quality, hand-painted art—such as the works we curate—comes equipped with these keys already tucked into the interior slots of the corners. Their purpose is simple: when driven deeper into the slot, they force the mitered joint of the stretcher bar to open slightly, increasing the outer dimensions of the frame and pulling the canvas tighter.
Phase 1: Preparation and Safety
Ensure your workspace is clean. Lay the painting face-down on a clean, soft surface (like a towel or a piece of acid-free foam).
Safety Note: If you are working with older paintings, be aware of pigment toxicity. According to the International Agency for Research on Cancer (IARC), cadmium compounds often found in traditional oil paints are Group 1 carcinogens. Avoid creating dust or touching the paint surface excessively.
Phase 2: The Keying Sequence
- Check for Obstructions: Ensure no staples or nails are blocking the mitered joint from opening.
- Insert the Keys: If the keys are missing, you can purchase them from an art supply store. Each corner typically requires two keys.
- The Hammering Technique: Use a small, lightweight tack hammer. Tap the keys gently. You are looking for a "nudge," not a forceful strike.
- The Balanced Approach: Never tighten just one corner. Work in a "cross" pattern—top left, bottom right, top right, bottom left. This ensures the tension is distributed evenly and prevents the frame from becoming "out of square."

Phase 3: The 24-Hour Settlement Rule
The most common mistake DIYers make is trying to achieve "perfect" tension in a single session. According to Conservation-Wiki, canvas fibers have "memory" and suffer from stress fatigue.
- The Heuristic: Apply only enough pressure to see a slight improvement.
- The Interval: Wait 24 hours between adjustments. This allows the fibers to settle and the tension to equalize across the surface.
- The Limit: Heavier, thicker canvases (common in high-texture impasto work) require slightly looser tension than lightweight ones to prevent corner splitting.
Methodology Note: This "Gradual Adjustment" protocol is a heuristic derived from museum conservation standards. It is designed to minimize the risk of "permanent fiber deformation," which occurs when tension exceeds the elastic limit of the linen or cotton.
The Risks of Over-Tensioning
While a loose canvas is a problem, an over-tightened canvas is a disaster. Professional conservators warn that exceeding 15–20 N/cm² of tension can create new cracks by applying unnatural stress to the paint layers (IG3).
If you over-tighten:
- Corner Tearing: The canvas may rip along the sharp edges of the stretcher bar.
- Structural Warping: The wooden bars may bow inward under the immense pressure, creating a "waisted" appearance.
- Paint Delamination: The bond between the paint and the primer may fail, causing the artwork to literally peel off the support.
Environmental Stability: The Ultimate Fix
Adjusting keys is a reactive measure. The proactive measure is controlling the environment. As noted by Princeton University EHS, environmental fluctuations are the primary driver of material decay.
Museums maintain a strict 45–55% Relative Humidity (RH). In a home environment, even a small investment in a humidifier or dehumidifier can extend the life of your art by decades. Stable environments allow tension adjustments to remain effective for 5–10 years, whereas uncontrolled homes may require adjustments every 12 months (IG5).
Beyond tension, consider the air quality. The EPA warns that indoor air pollution can be more damaging than outdoor air. Choosing art created with low-VOC (Volatile Organic Compound) materials is a prerequisite for long-term preservation and health.
Preservation as a Cultural and Economic Asset
Maintaining the tension of your canvas is an act of stewardship. High-quality hand-painted murals and canvases are recognized by academia as "non-renewable cultural heritage" (PMC). They drive emotional well-being—with University of Pennsylvania research showing a 73% improvement in mood for those viewing art—and they even boost property values. A study by the Royal Society found that neighborhoods with higher "art density" saw significant relative house price gains.
By mastering the simple skill of tension adjustment, you are not just "fixing a frame"; you are protecting a piece of human history and a significant financial asset.

Summary Checklist for DIY Tensioning
| Step | Action | Key Indicator |
|---|---|---|
| 1. Diagnose | Perform the Sound Test. | Dull thud = needs adjustment. |
| 2. Inspect | Check corners and existing keys. | Cracks or fully inserted keys = stop. |
| 3. Prepare | Lay face-down on a soft, clean surface. | Avoid pigment dust contact. |
| 4. Key | Tap keys in a cross pattern. | Gentle nudges only. |
| 5. Settle | Wait 24 hours. | Allow fibers to find equilibrium. |
| 6. Re-test | Check sound and visual flatness. | Repeat if necessary, up to 3 times. |
Disclaimer: This article is for informational purposes only. Handling art materials involves exposure to pigments and solvents that may carry health risks. Always work in a well-ventilated area and consult a professional conservator for high-value or antique works. This guide does not constitute professional conservation or medical advice.
Sources
- Marketplace: The expensive art market continues to struggle
- Columbia University: Human-Made vs. AI Art Study
- Conservation-Wiki: Stretchers and Strainers
- EPA: Indoor Air Quality and Low-VOC Paints
- WHO: Scoping Review on Arts and Health
- Royal Society: Quantifying the link between art and property prices