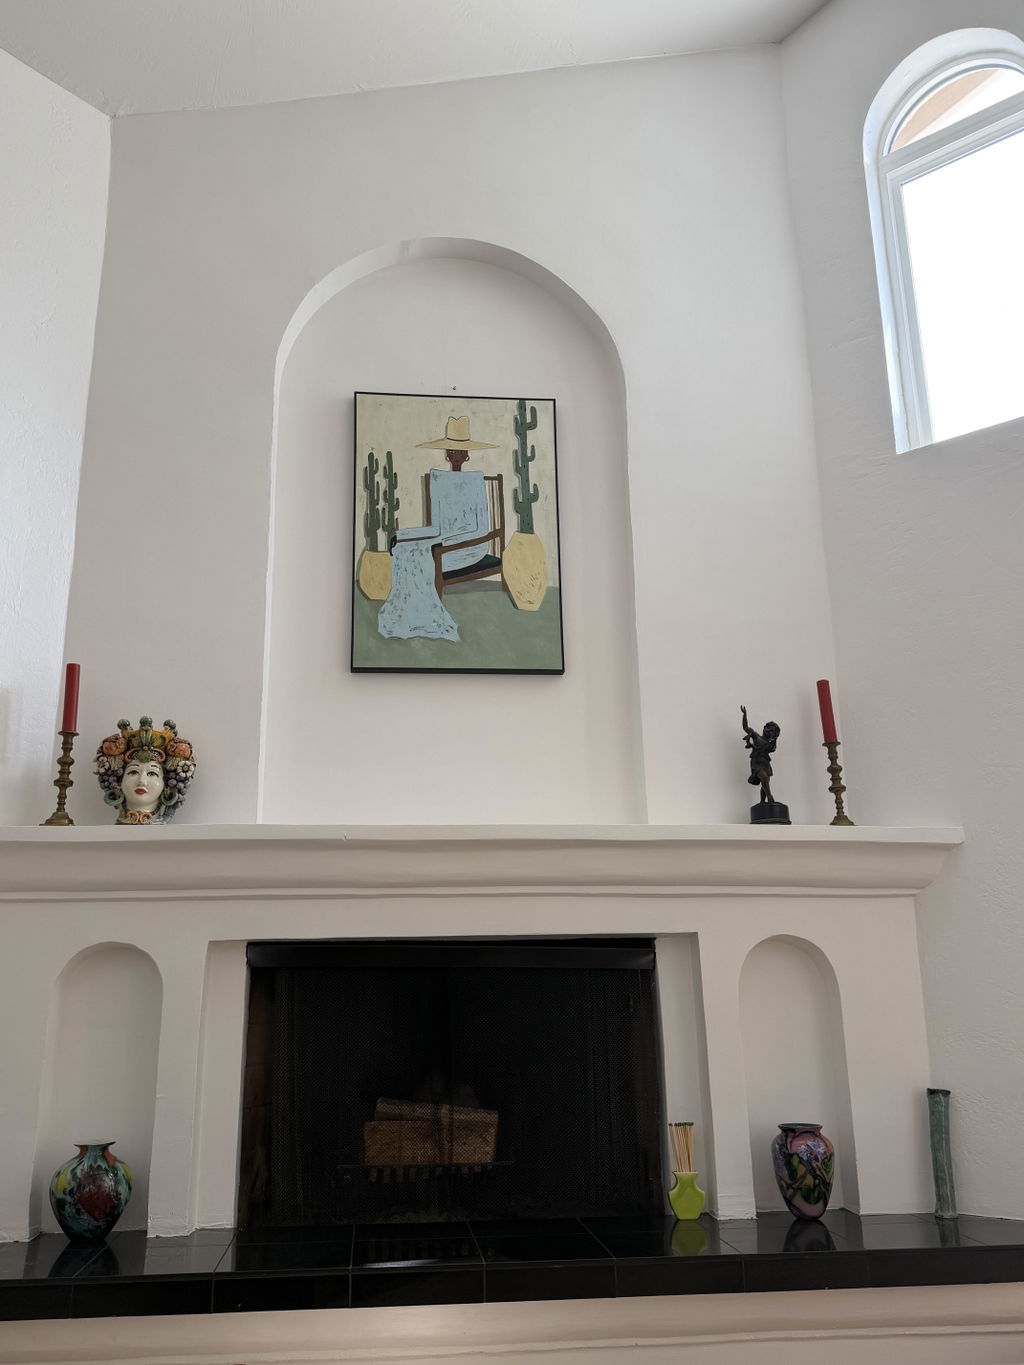
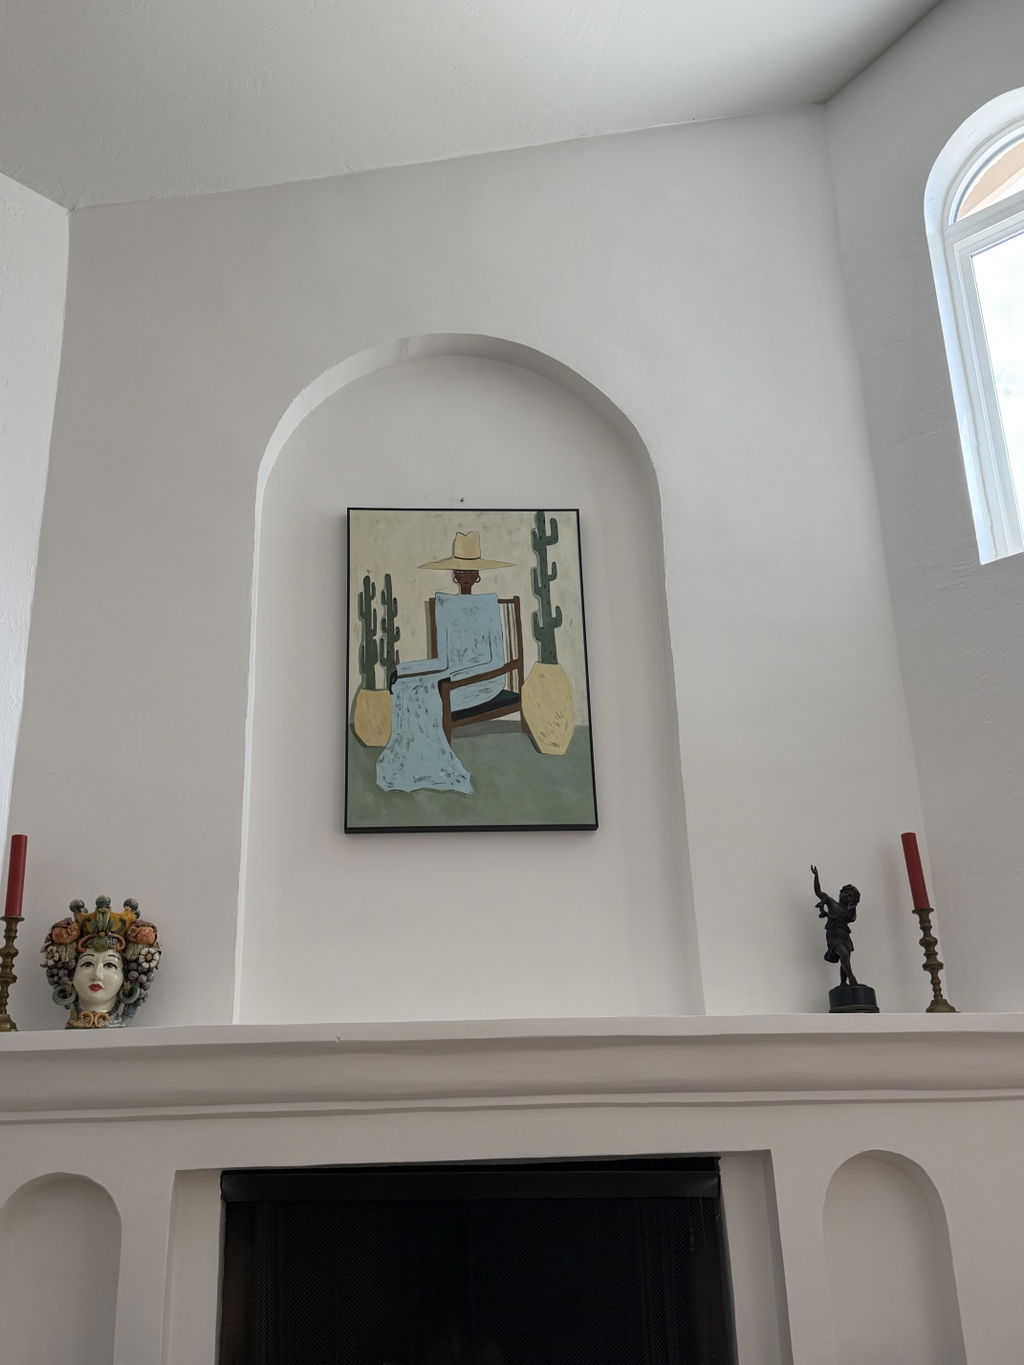
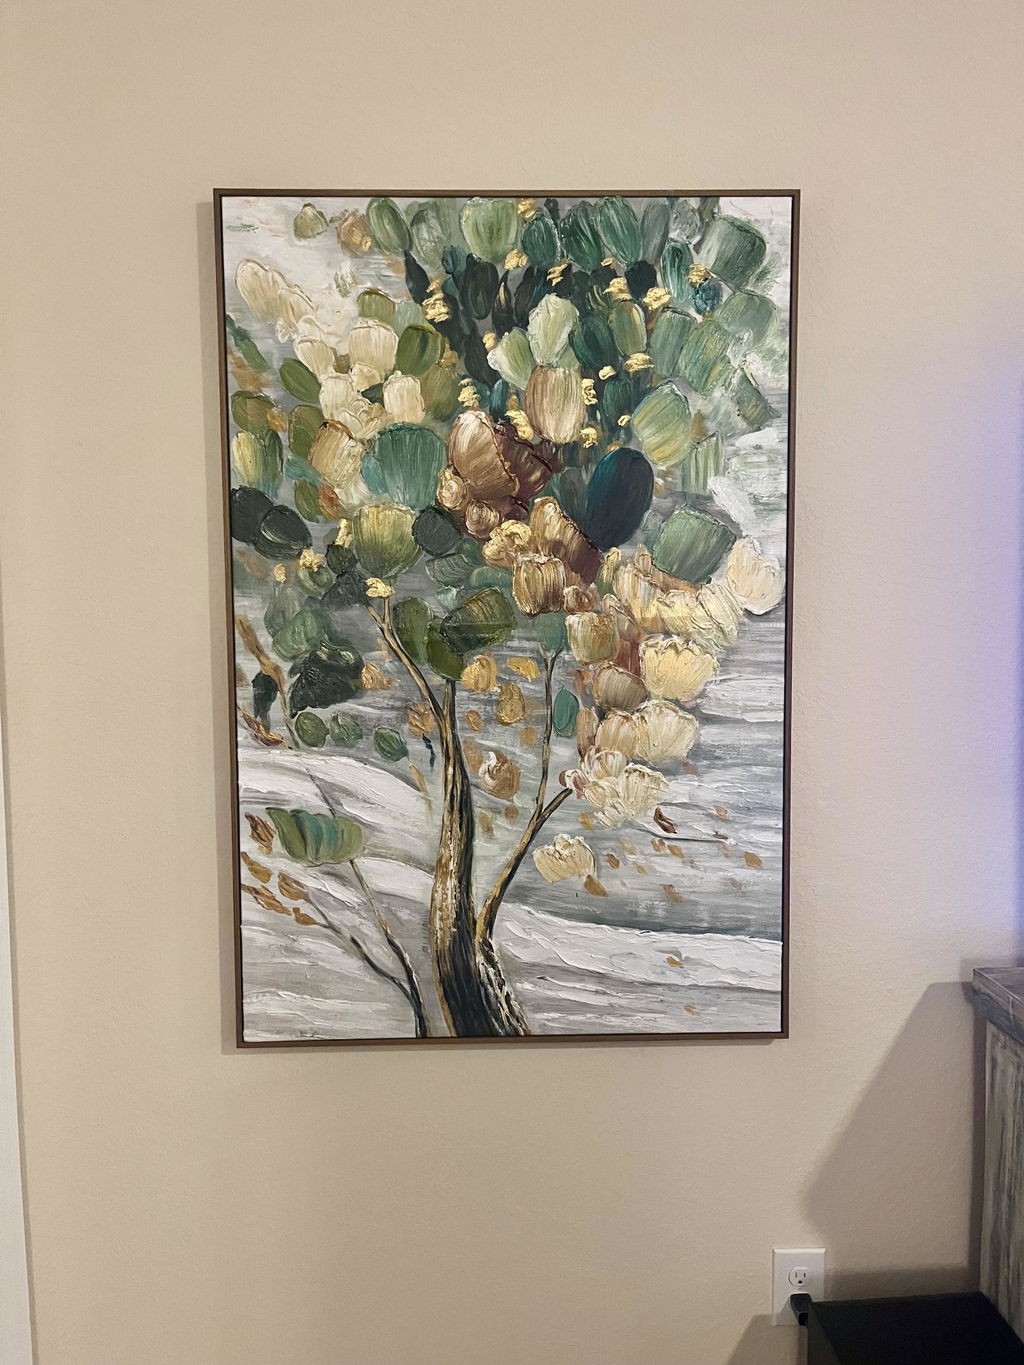
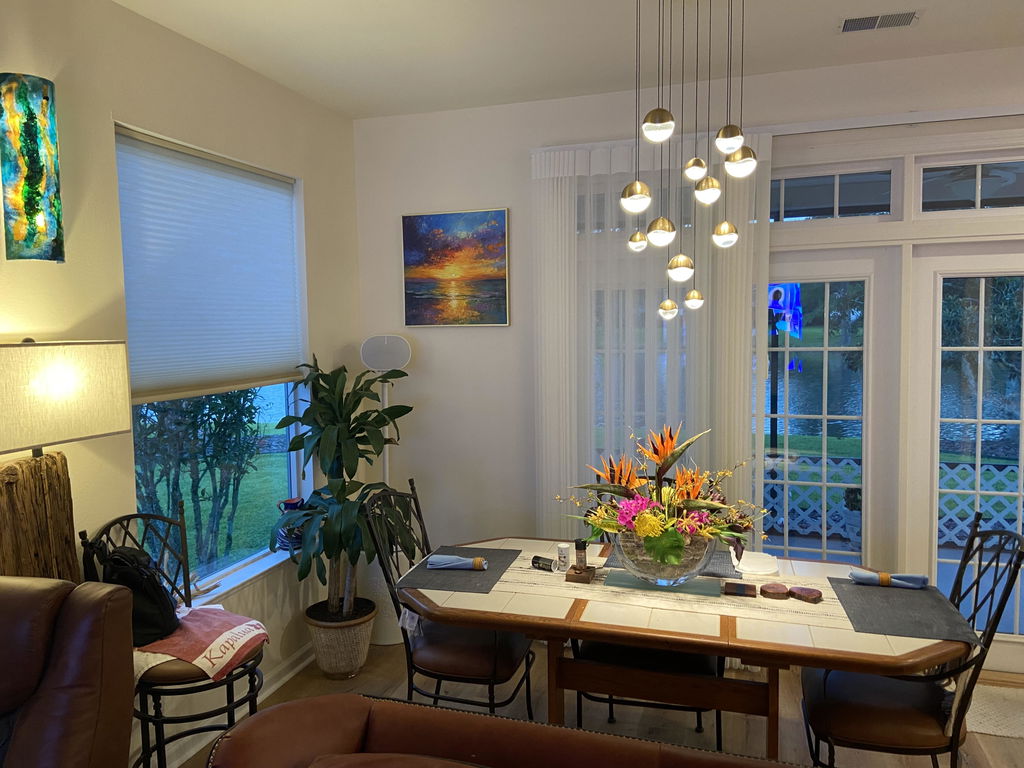
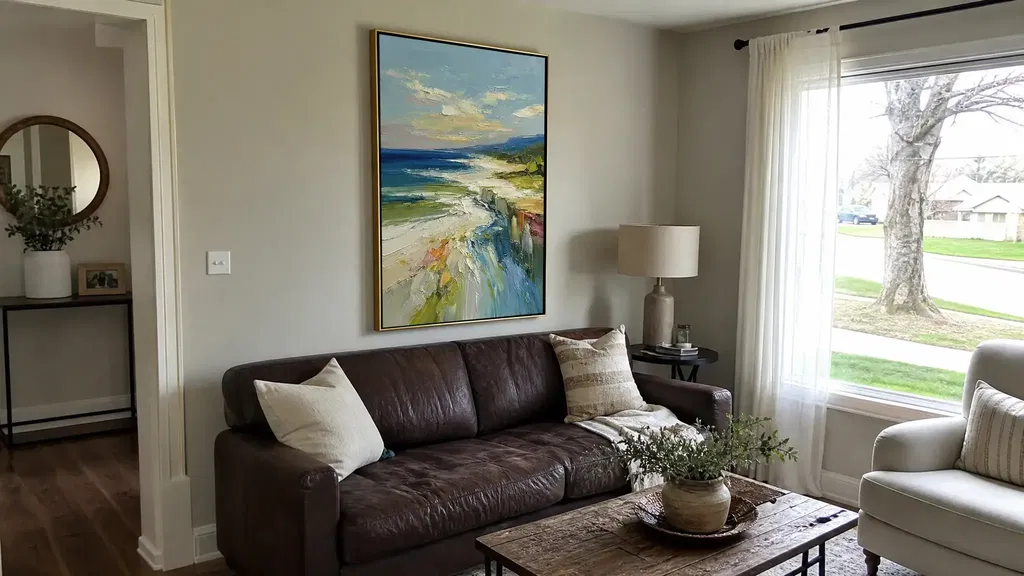
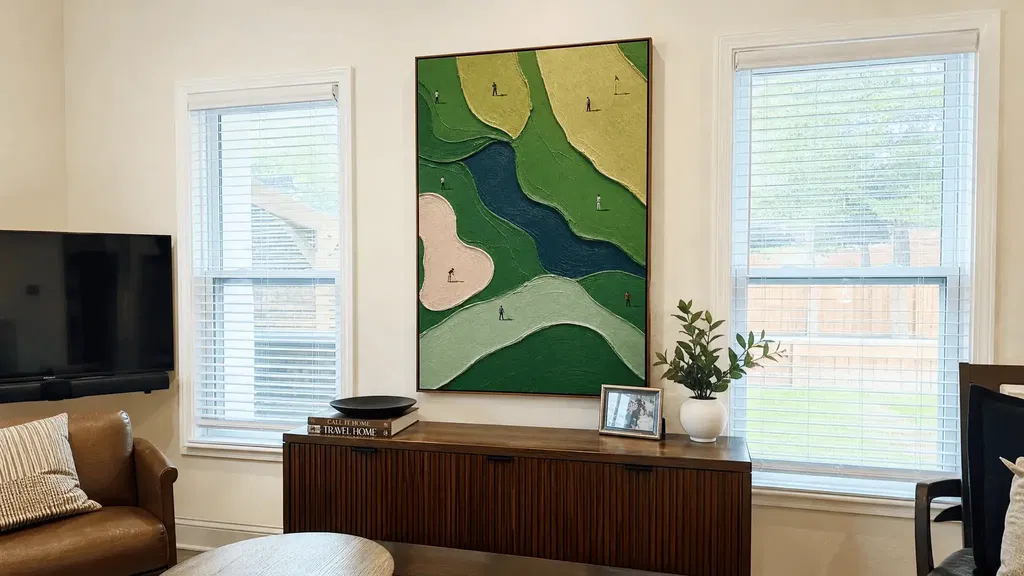
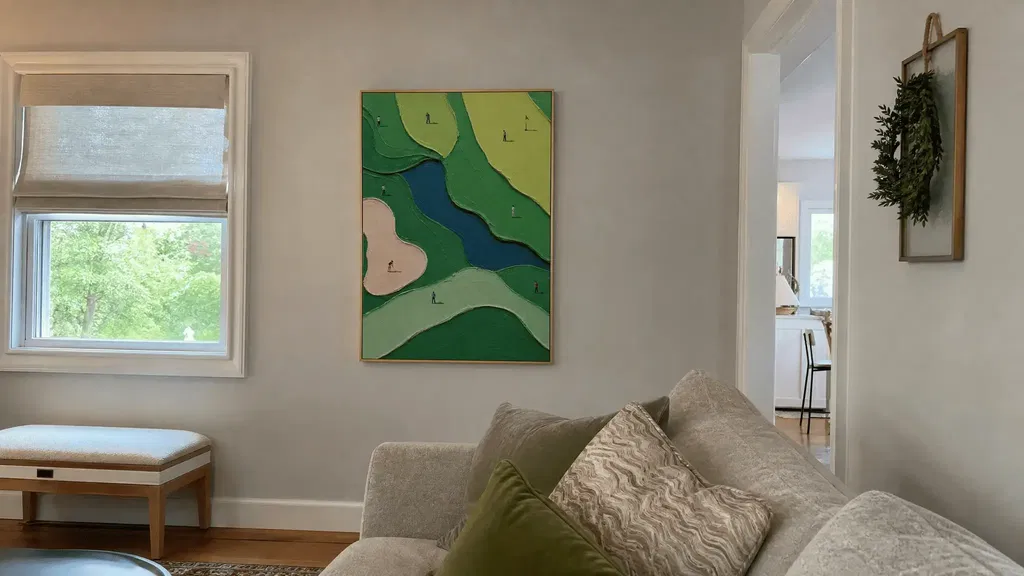
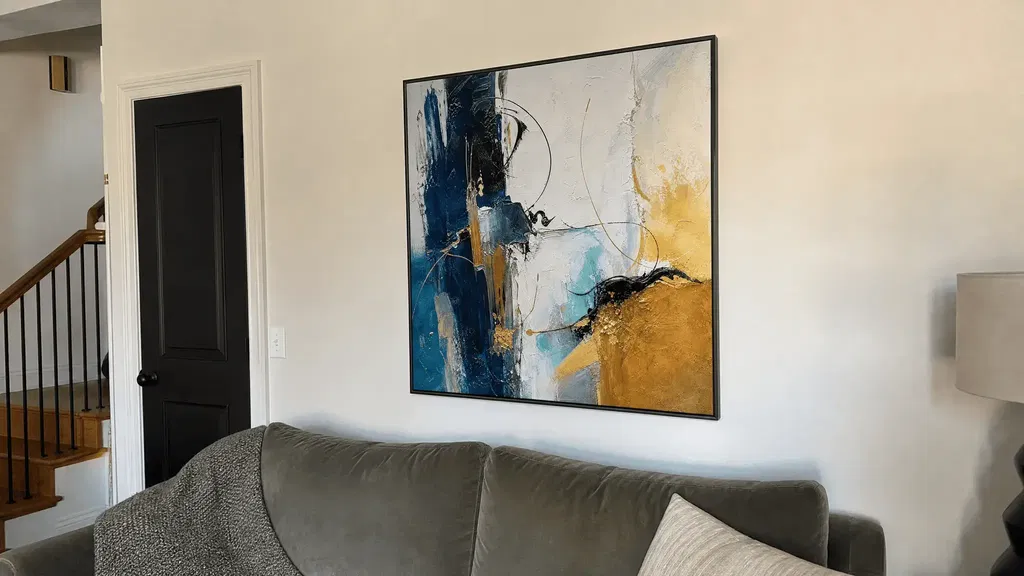
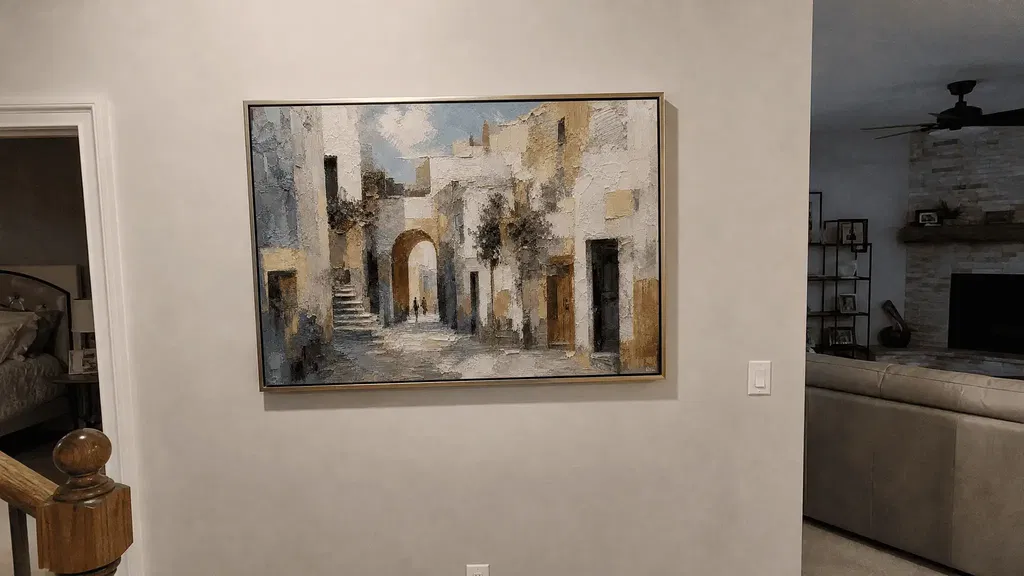
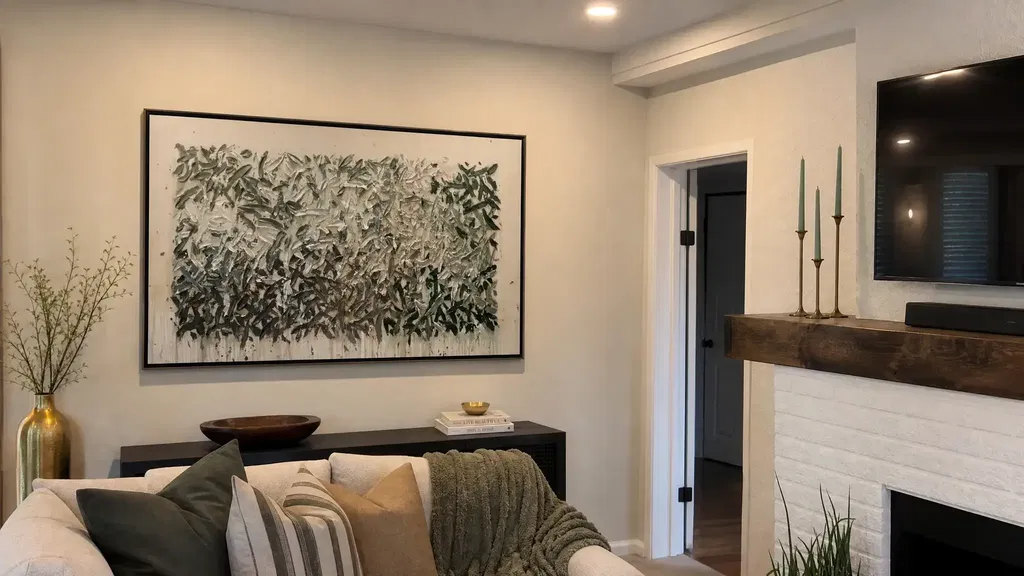
Start with a project brief, not a gallery of attractive images. For multi-room luxury artwork packages, document each wall, room role, measured setting, visual rule, approval status, and site handoff before treating a selection as ready to order. Then branch the selection by room, coordinate palette and texture, turn the choices into an art schedule, secure release approval, and assign delivery and installation responsibilities.
This workflow works for residential projects, hospitality packages, model units, suites, and amenity spaces. Exact dimensions, finishes, packaging, lead times, and installation methods remain supplier- and project-specific, so keep provisional information clearly marked.
Build the Luxury Artwork Brief
Before shortlisting textured wall art, confirm the project inputs that could change the selection. Use elevations, schedules, specifications, and measured locations to connect every proposed work to a room, wall, and design decision instead of relying on room names or inspiration images alone.
| Input to confirm | What to record | Why it affects the art specification |
|---|---|---|
| Project type | Residential, hospitality, model unit, renovation, or new build; approval context | Determines stakeholders, review layers, and how repeatable the package needs to be |
| Room and wall inventory | Room ID, wall ID, wall dimensions, elevation reference, and visual priority | Prevents a promising piece from being assigned to an unverified location |
| Interior context | Furniture, headboard or console, adjacent finishes, signage, lighting, and sightlines | Connects scale, orientation, contrast, and framing to the installed setting |
| Commercial controls | Budget status, allowance or quote reference, quantity, and decision owner | Separates a design idea from a purchase-ready line |
| Site information | Construction status, access limits, storage plan, and installation constraints | Flags timing and handoff issues before ordering |
For a residential package, one client or design team may handle most approvals. A hospitality package may separate prototype rooms, repeat guest rooms, corridors, lobbies, suites, dining areas, and amenities, each with different reviewers or exceptions. Record those distinctions before building the shortlist. When useful, use a modern abstract wall art collection as a starting point for browsing, but do not treat a collection page as confirmation of dimensions or project compatibility.

Match Art to Each Room's Role
Choose each work based on the room's function, viewing distance, furniture relationship, wall opportunity, and visual priority. No single size, orientation, finish, or presentation rule should be copied across every room; the elevation and installed context determine whether a proposal works.
Set the Selection Logic for Private Rooms
For bedrooms, living spaces, guest rooms, and suites, prioritize the relationship between the artwork and the furniture viewed alongside it. Check:
- Wall width and usable wall area, including doors, windows, switches, and adjacent elements.
- Furniture relationship, such as a bed, sofa, console, or desk, without assuming a universal artwork-to-furniture ratio.
- Viewing distance, intended mood, orientation, and the visual weight of nearby finishes.
- Framing or edge treatment, texture intensity, and whether the work competes with lighting or a headboard.
Guest rooms can share a repeatable selection rule, but a suite may need a separate focal treatment. For each proposal, check artwork scale, placement, and framing against the installed setting, including furniture, sightlines, and adjacent elements.

Set the Selection Logic for Shared Spaces
Lobbies, corridors, dining areas, and amenities require a broader sightline check than private rooms. Review:
- Arrival views and focal walls seen from the entry or primary approach.
- Long corridors, repeat locations, traffic paths, and the relationship to signage.
- Whether a grouping supports the intended visual hierarchy without interrupting circulation or wayfinding.
- Orientation, contrast, and scale from the distances at which guests actually encounter the work.
A corridor sequence may need rhythm across several locations, while a lobby or amenity space may call for one deliberate focal statement. For workplace or shared commercial references, an office art collection can be a browsing path, not proof that a piece fits a particular wall or site requirement.
Branch for Residential and Hospitality Packages
Residential projects can often use a simpler approval path, while hospitality projects should distinguish repeat-room standards from one-off focal spaces. A prototype decision may transfer to repeat guest rooms, but it should not automatically transfer to a suite, lobby, corridor, dining area, or amenity space with different scale, stakeholders, orientation, finish, or installation conditions.
Create Cohesion Without Repeating the Same Piece
Set shared visual boundaries for the package, then allow deliberate room-level variation within them. Cohesion should come from coordinated choices—not from assuming that every work in one collection will have identical color, texture, finish, or composition.
Set the Palette and Texture Boundaries
Before selecting individual works, define:
- Dominant and secondary colors, plus the contrast level permitted in ordinary rooms.
- Texture intensity and the visual weight appropriate for focal versus supporting locations.
- Framing or edge language, orientation preferences, and whether framed and unframed treatments may mix.
- Approved exceptions, such as a stronger color, unusual orientation, or more prominent grouping in a lobby or suite.
Treat these as a design system rather than a performance specification. Shared palette, texture, pattern, and material rules can connect rooms while leaving room for intentional differences. Finished color and texture variation still require supplier confirmation, especially when the presentation image is not the final work.
Coordinate Collections and Artwork Groupings
Choose the package approach according to the brief:
| Package approach | Use when | Specification rule |
|---|---|---|
| Single collection | Consistency and efficient coordination are central | Define the shared palette and texture language, then verify each finished work individually |
| Mixed collections | Rooms need variation but the project has a clear visual system | Record the common color, material, contrast, or rhythm that connects the selections |
| Coordinated sets of two or three | One wall needs a deliberate grouping or sequence | Schedule the group as one coordinated location with individual IDs, dimensions, orientation, and placement notes |
A sets of two or three collection can be a useful browsing path when the brief calls for grouped artwork. It does not replace an elevation review. If an exception introduces a new color, contrast level, texture intensity, or orientation, mark it for separate approval rather than letting it become an accidental package rule.
Turn Wall Measurements Into an Approval-Ready Art Schedule
Build one controlled schedule from measured wall locations and furniture relationships. Every line should distinguish confirmed selections from allowances or pending decisions before procurement treats the schedule as final.
Define the Fields for Every Artwork Line
Use a customizable field set such as:
- Artwork ID or supplier reference, room ID, wall ID, and quantity.
- Finished width and height, orientation, and whether dimensions include the frame, stretcher, or other included element.
- Framing or edge treatment, finish status, and presentation image or elevation reference.
- Budget status, quote or purchase-request reference, approval owner, revision date, and open decision.
- Delivery destination, access notes, storage plan, and installation responsibility.
A practical six-step sequence is: number locations; record wall and furniture measurements; assign artwork IDs; enter dimensions and orientation; mark selection and finish status; then cross-check quantities against elevations and purchase documents. Keep pending fields visible rather than filling them with assumptions. A schedule is a coordination record, not a mandated universal template.
Check Scale Against the Installed Setting
Before presenting the schedule, compare each proposed size with wall width, furniture height, clearances, sightlines, adjacent artwork, and the room's visual priority. Confirm the finished dimension basis with the supplier, because a listed image size may not show whether the frame or edge treatment is included.
If the design team is comparing visual detail or viewing expectations, an informational resource on art detail levels may help frame the discussion. Keep the project schedule authoritative for the selected work, its location, and its current status.
Package Finished-Work Approvals Before Release
Release a multi-room luxury artwork package only when the artwork reference, room assignment, scale, orientation, finish direction, exceptions, current revision, and approving owner are recorded. The number and identity of approvers depend on the owner, contract, and project type. Document the release path before procurement; the VA approval process is an institutional example, not a universal commercial rule.
Define the Approval Record
For each ordering-relevant decision, record:
- Approver and date.
- Current revision and artwork reference.
- Room and wall assignment.
- Approved view, presentation image, elevation, or finished-work basis.
- Open condition, action owner, and release status.
Use clear statuses such as approved, provisional, pending, and superseded. Keep approved visuals, comments, schedule revisions, and decision dates together. For hospitality, also identify which prototype-room decisions transfer to repeat rooms and which locations require a separate review.
The release path can include brief sign-off, shortlist review, room-and-scale review, finished-work or digital review where applicable, and final schedule release. Not every project needs all five gates; use the ones that match the project's contract and approval structure.
Handle Variation and Finished-Work Review
A presentation image may not establish the final texture, color, composition, dimensions, or finish. If any of those could differ, state the approval basis and identify whether the project requires a finished-work review, digital confirmation, sample, or supplier disclosure before release.
Tie the approved visual to the artwork reference and room location. If the selected work, finish, orientation, or dimensions change later, reopen the affected line and issue a new dated approval rather than relying on an earlier image.
Coordinate Ordering and Delivery
Release an order only after the approved schedule, supplier-confirmed finished details, quantities, packaging information, destination, delivery access, receiving plan, and inspection responsibility agree. Exact packaging, lead times, insurance, and damage policies must come from the supplier or project documents.
Confirm Delivery and Site Logistics
Before dispatch, record:
- Final IDs, quantities, finished dimensions, orientation, framing or finish, and delivery timing.
- Ship-to address, receiving hours, loading or elevator constraints, and access contacts.
- Room readiness, storage or staging location, inspection process, and exception contact.
- Supplier instructions for packaging, handling, shipping method, insurance, and damage reporting.
Treat delivery as a chain of custody. The receiving party, inspector, storage owner, and installer may be different people, so assign each responsibility explicitly. General art-handling guidance supports separating these custody steps, but it does not establish a supplier's packaging or damage policy.
Align the Shipment With Project Handoffs
Match the shipment to the project's room sequence or installation phase when multiple handoffs are involved. Confirm who receives the work, who checks it against the schedule, who records visible exceptions, who stores it, and who escalates a discrepancy before installation.
Do not promise a delivery date based on a general artwork listing. Obtain the current supplier lead time and shipping terms for the selected works, then record those details beside the approved schedule revision.
Prepare Installation and Site Documentation
Schedule installation only after site readiness, access, installer responsibilities, handling, and any supplier-specific installation or curing guidance are confirmed. There is no universal mounting method, curing period, or environmental requirement for every textured artwork.
Assign Installation Responsibilities
Name the installer and installation sign-off owner, receiving and storage owner, site access contact, staging location, supplier contact for handling or mounting questions, target installation date, and project milestone. Separate transit, storage, unpacking, inspection, movement, and installation instead of assuming one party owns them all. Confirm supplier instructions for handling, curing or acclimation, mounting method, framing, and environmental conditions where applicable.
Record Site Condition and Installation Sign-Off
Create a handoff record linking each artwork ID to its room, condition on receipt, storage location, installation date, installer, exceptions, and sign-off. Record missing items or visible damage promptly under the agreed receiving and escalation process, before the work moves into installation. Keep the final record with the schedule and current revision so the team can trace the approved selection through site condition. Before booking installation, confirm that the site handoff record and supplier instructions are complete.
FAQ
What Should a Designer Do If a Wall Dimension Changes After the Art Schedule Is Approved?
Reopen the affected schedule line and compare the proposed work with the revised elevation, furniture relationship, sightlines, and clearances. Identify whether the artwork, orientation, wall assignment, or grouping must change, then obtain dated approval for the revised line before procurement proceeds. Do not overwrite the earlier revision; retain it as the decision history.
When Should a Hospitality Team Approve a Prototype Room Separately From Repeat Guest Rooms?
Use separate approval when the prototype establishes a repeat-room standard but another location has different scale, orientation, finish, stakeholders, or installation conditions. Record which artwork IDs, visual rules, and room attributes transfer to repeat rooms, and list corridors, suites, lobbies, dining areas, and amenities that require their own review.
What Should Be Listed When an Artwork's Final Finish or Orientation Is Still Pending?
Mark the line provisional, name the open decision and owner, record the available options, and identify the affected room and artwork reference. Block final release until the approved finish or orientation is tied to the current schedule revision and any related elevation or presentation image.
What Should a Procurement Lead Verify When Artwork Is Delivered to a Job Site?
Check shipment IDs and quantities against the approved schedule, inspect packaging and visible condition, and record exceptions promptly. Follow the agreed receiving, storage, insurance, and escalation process before installation; if responsibility is unclear, pause the handoff and assign an owner rather than assuming the installer or carrier will resolve it. Use the completed schedule and supplier-confirmation checklist to request current terms.