You can throw art on any blank wall and call it a day. But if you actually want it to look good? That takes a bit of know-how.
Many people tell you that you should hang your art in the center of the wall. Sounds logical, but when you step back, that single lonely piece just sits there, looking... boring.
So what are the actual best ways to hang art? How high should you hang? And how to make sure the art matches your space?
Let's get into it.
Tools You'll Need
You need just the most basic tools to hang all the beautiful artworks.
- Pencil and eraser: mark first, drill later
- Tape measure: for finding the right spot
- Level: crooked art is all you'll see once it's up
- Painter's tape: tape out the frame size on your wall before drilling
- Stud finder: for hanging heavier pieces into wall studs
- Good hanging hardware: D-rings and hooks rated for your art's weight

How High and Where to Hang Your Art
Not somewhere random on the wall. Not as high as you can reach. Eye level.
The Typical Height: 57 Inches
57 inches is the average eye height for most adults standing. When art sits at this height, it feels natural. Your eyes land on it easily, and the room feels balanced.
For example, for a 24-inch tall piece, the top of the frame goes at 69 inches (57 + 12). The hanging hardware on the back sits a few inches below the top, so your nail goes around 65-67 inches up. Always measure from the hardware to the frame top before marking your wall.
But if you're decorating a child's room or your height isn't typical, use the person's eye level who spends the most time in that room, instead of sticking to 57 inches.
The rule stays the same: change the height to make it more comfortable to watch.
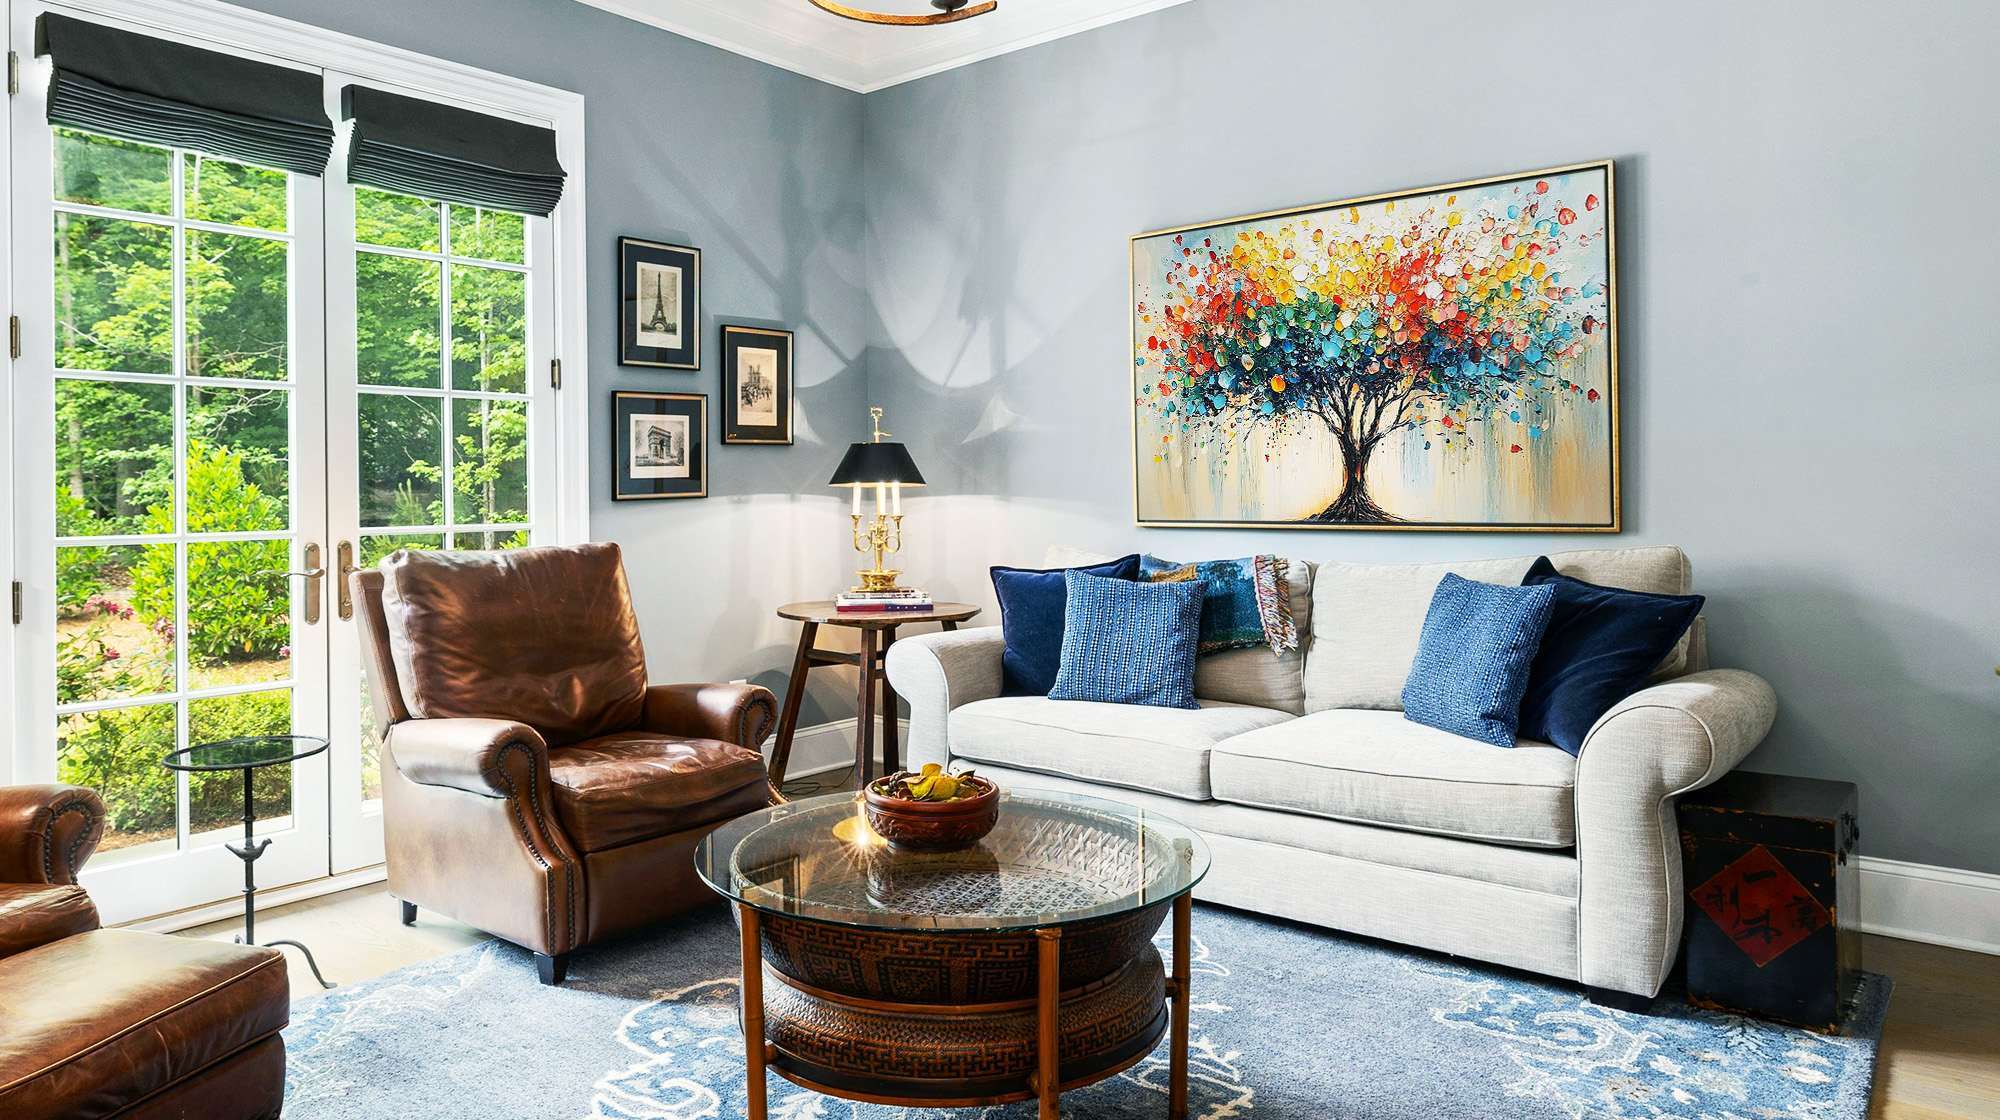
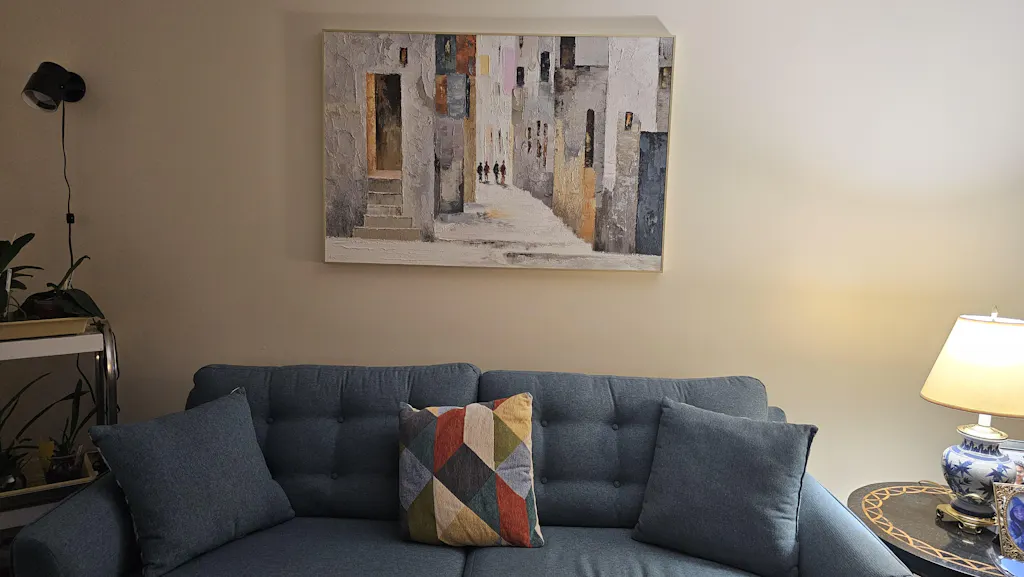
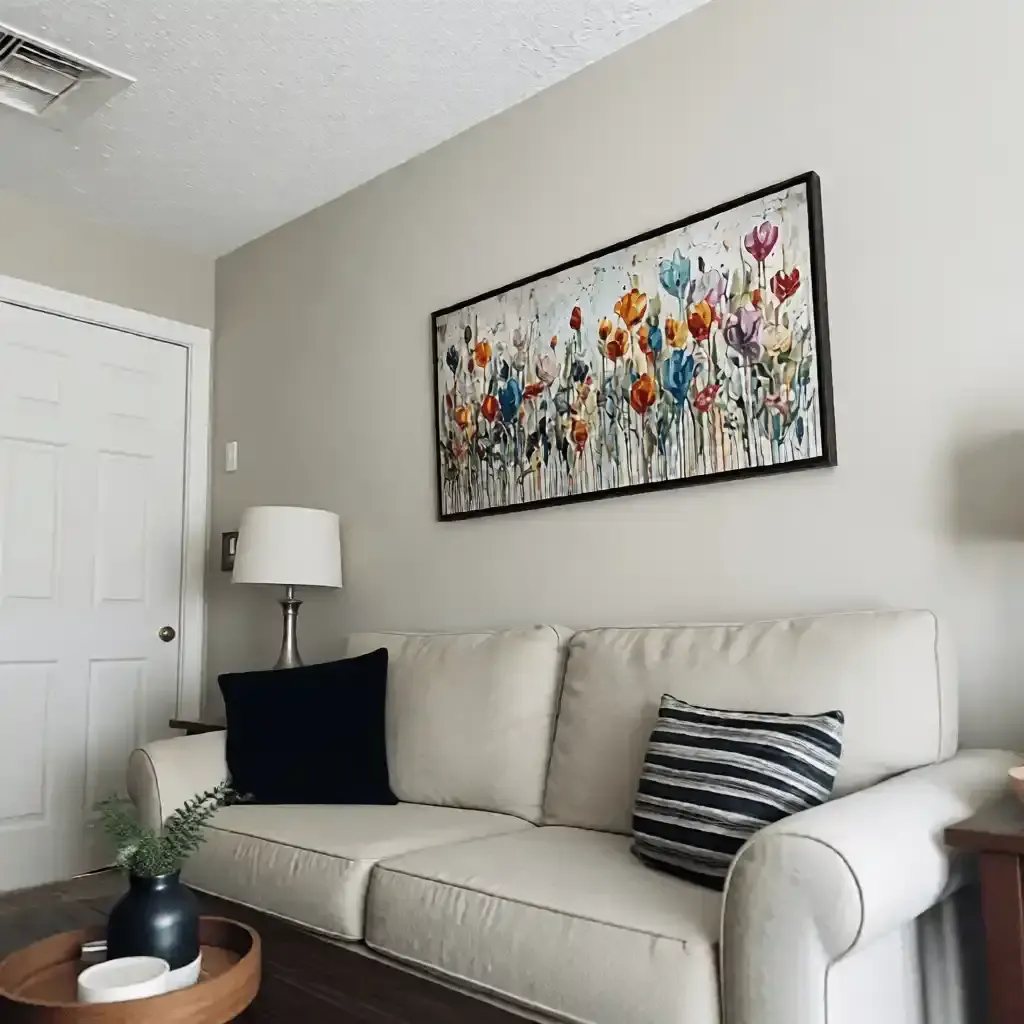
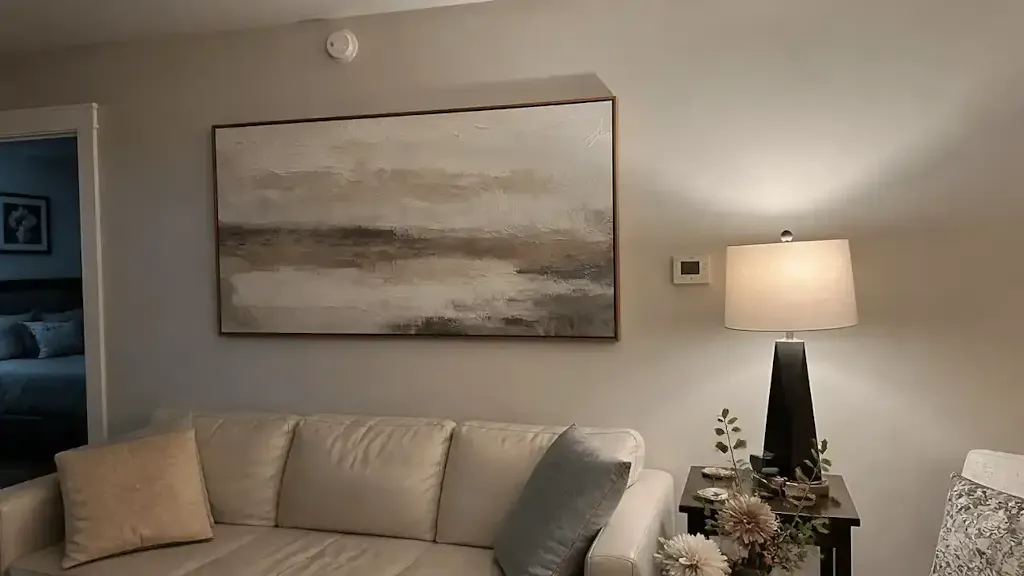
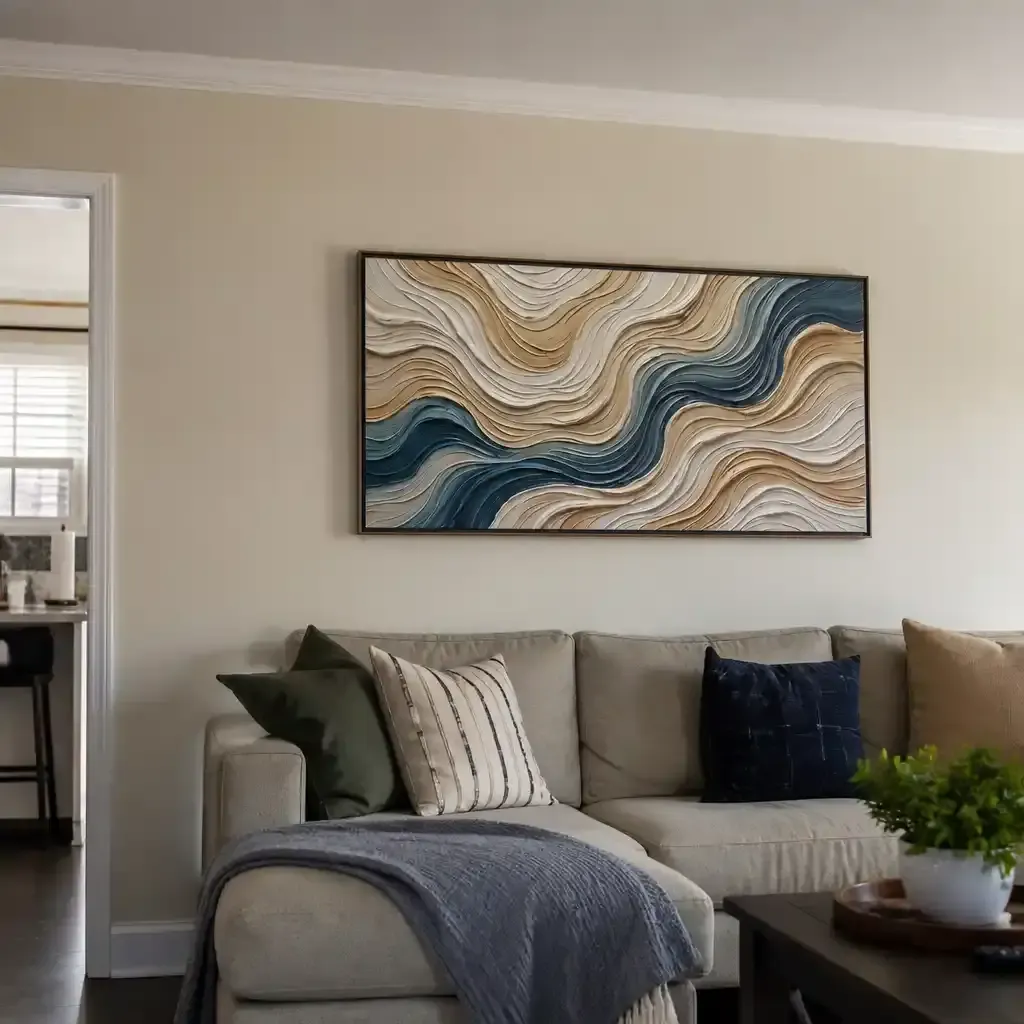
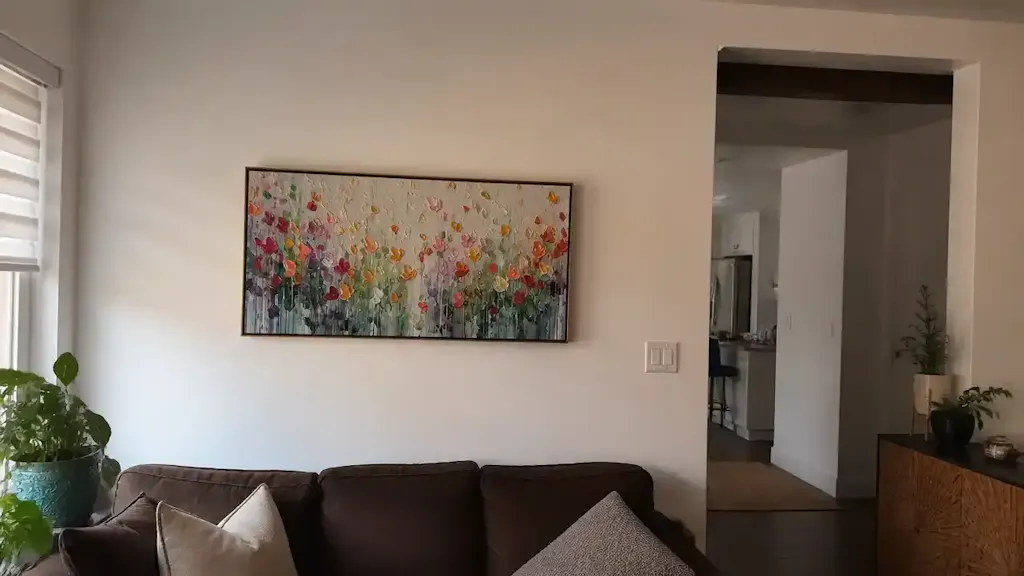
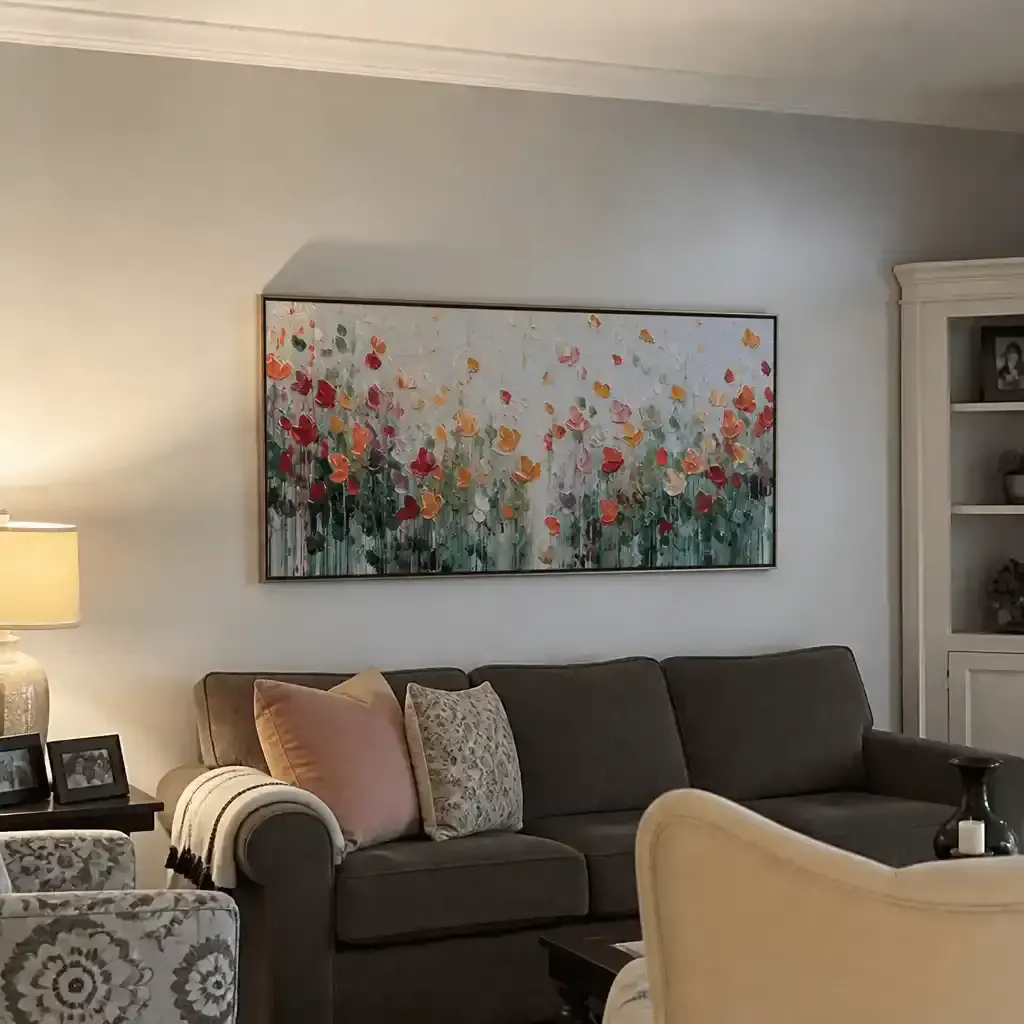
Above Furniture: Use the 6-to-10 Inch Rule
When hanging over a sofa, console, or bed, forget the 57-inch rule. Now it's all about the furniture.
The distance between the furniture and the frame should be 6 to 10 inches. They are connected without feeling cramped in this space. Most sofas fit eight inches.
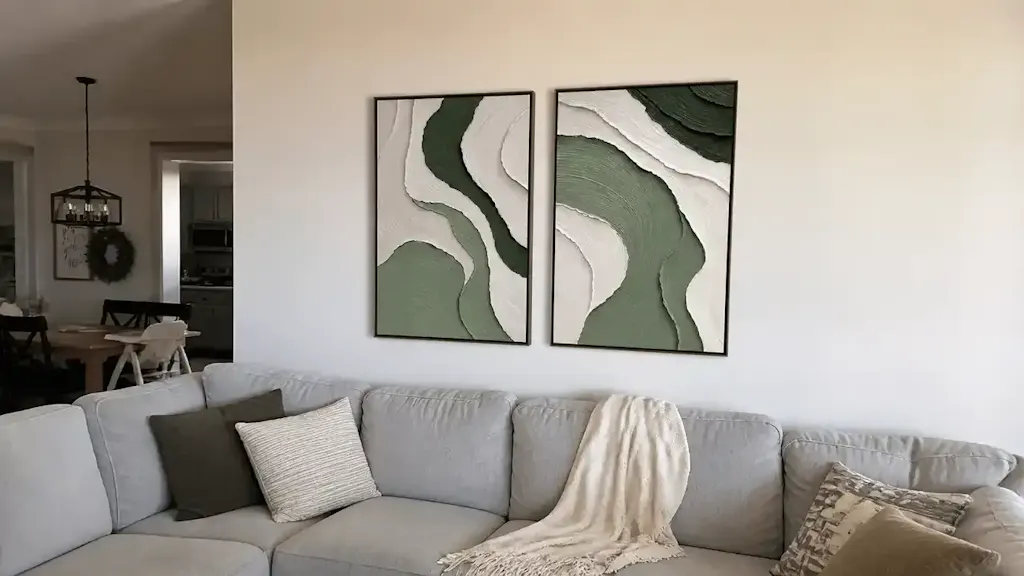
The width of your artwork should be two-thirds of the furniture. Do you own an 84-inch couch? A minimum of 56 inches of art is required. Too small? To get that width, group several pieces together.
Think about the height of the furniture. Compared to low modern sofas, tall, deep sofas require art to be hung a little higher. The artwork must correspond with the actual location of the sofa's back. Finding the right piece is crucial, which is why we offer art specifically curated for living rooms to perfectly complement your space.
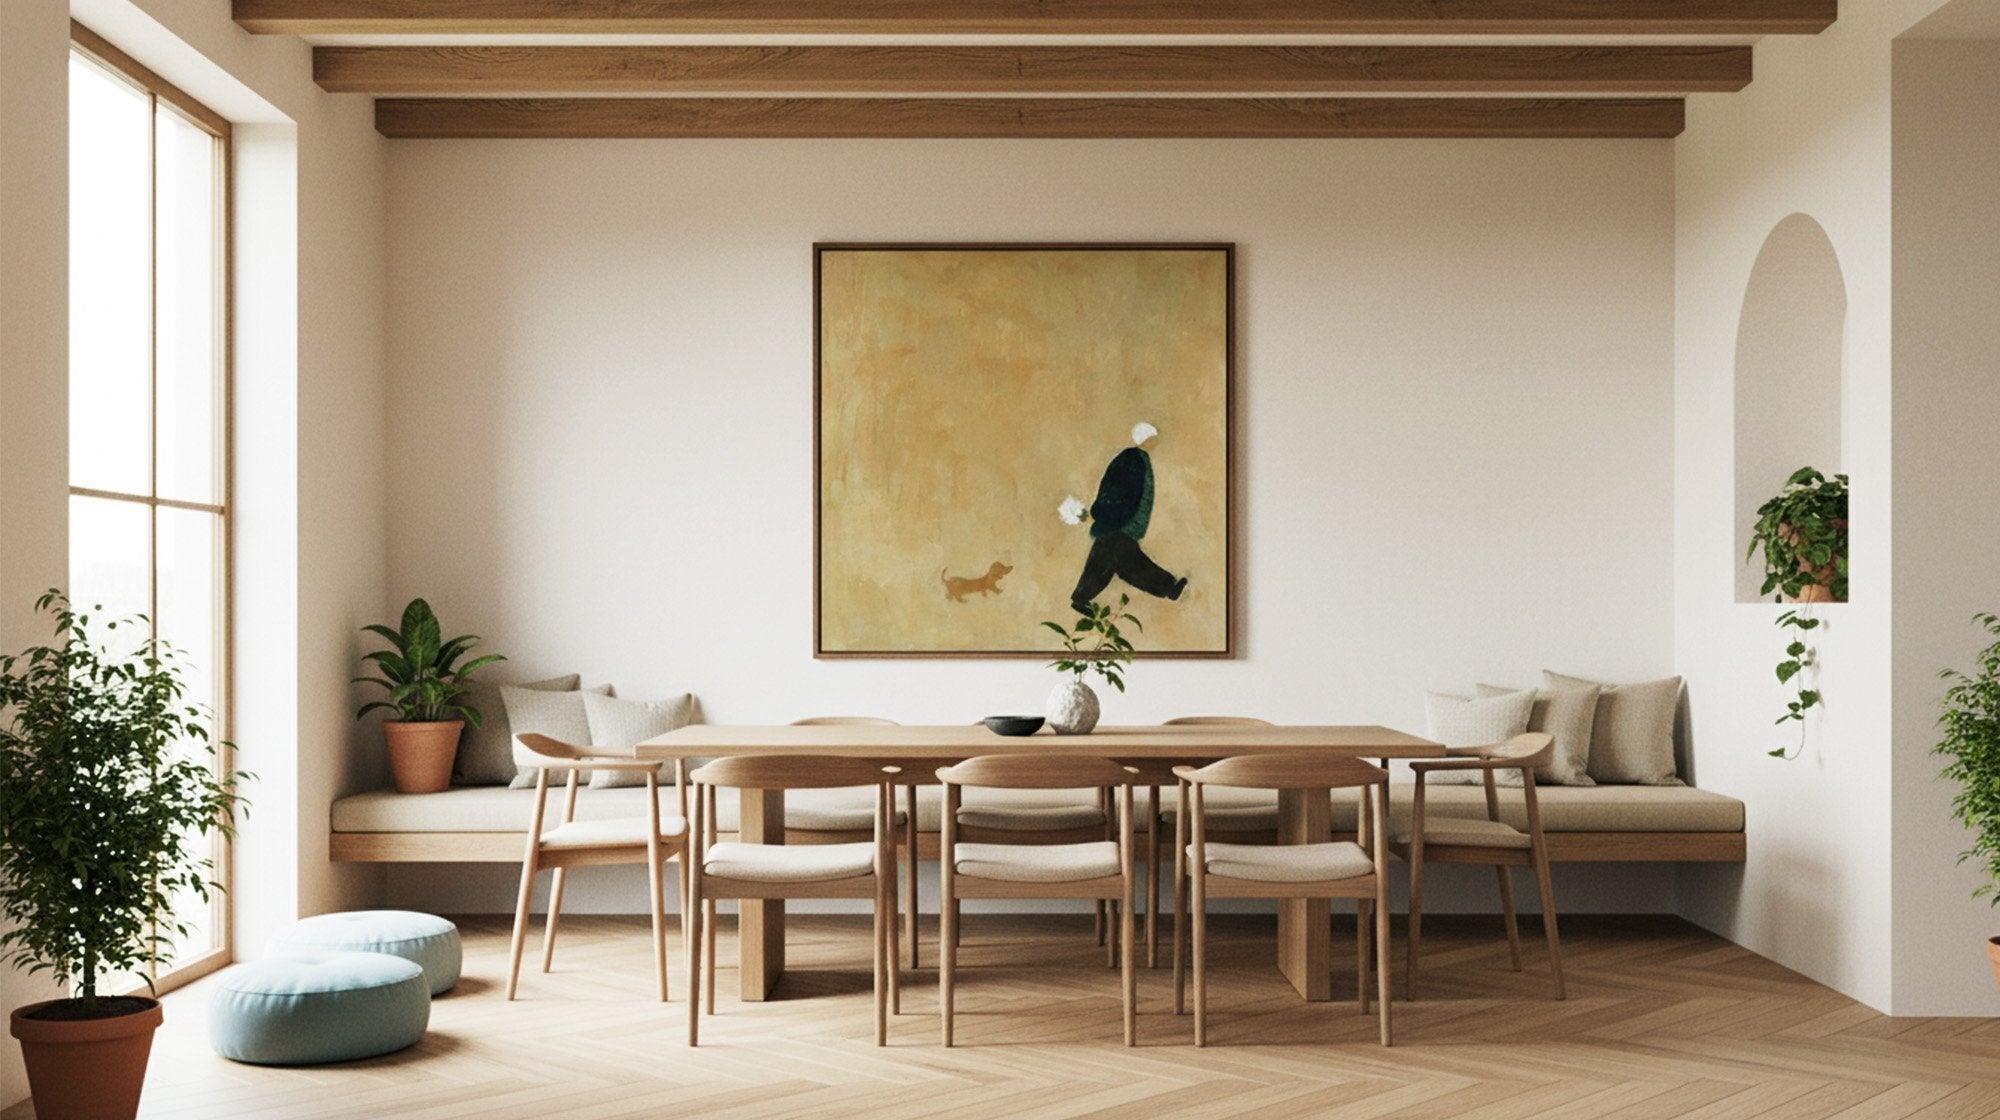
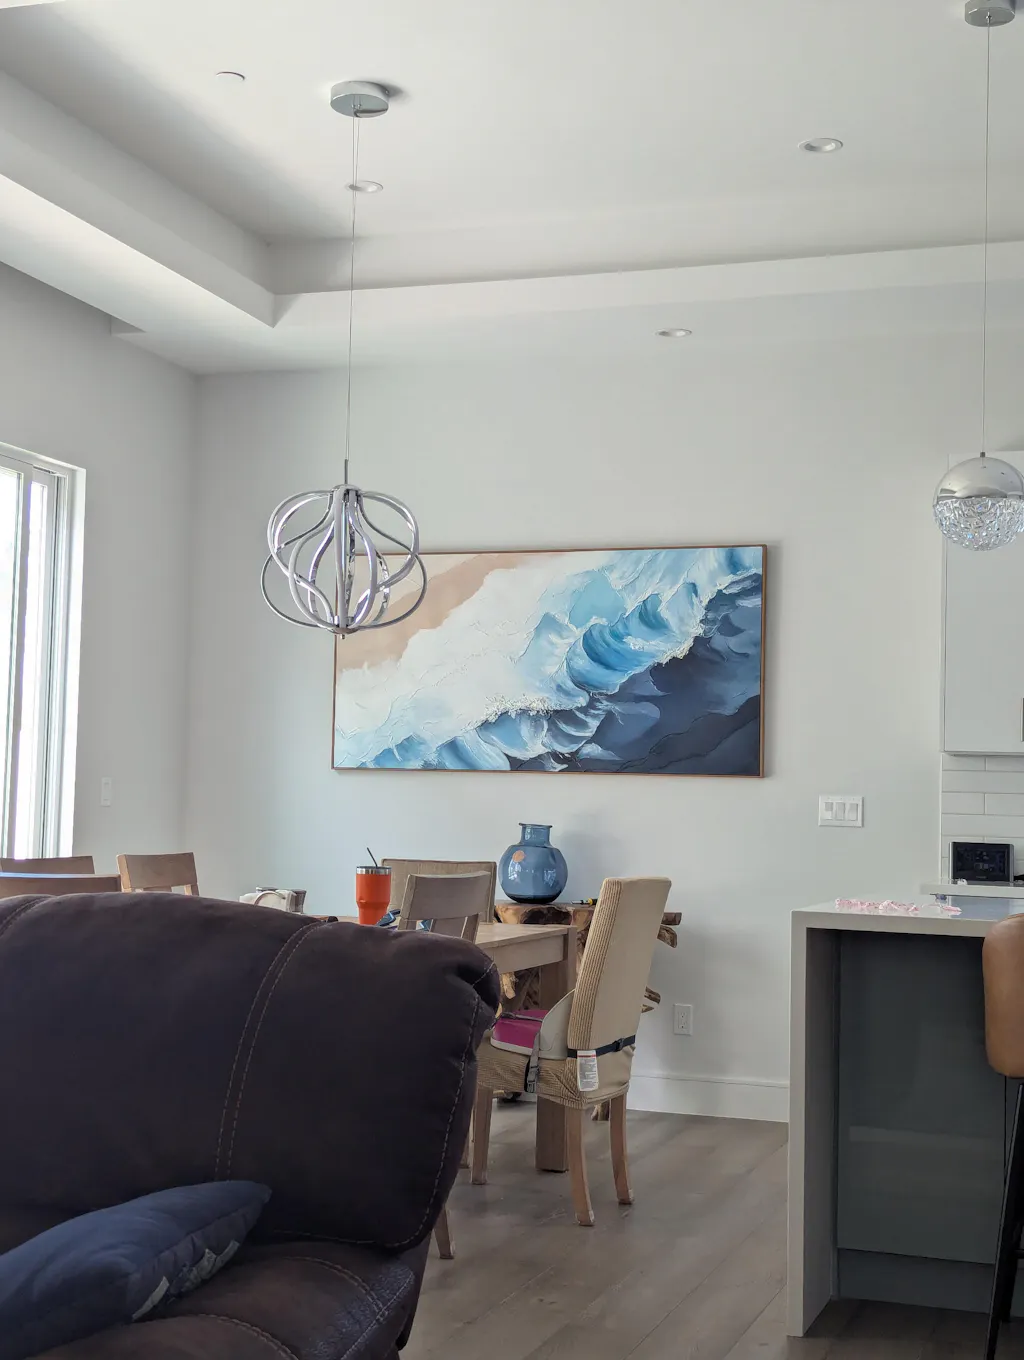
Dining Rooms: Drop It Lower
People sit in dining rooms. This changes where art should hang.
Drop your art to 52-54 inches at the center instead of 57, making it comfortable to see from chairs without looking up.
For breakfast nooks or booth seating, go even lower—around 48-50 inches at the center. The closer people sit to the wall, the lower the art goes.

How to Build a Perfect Gallery Wall?
Gallery walls look great or messy. The difference? Treat the whole thing as one piece of art, not separate frames.
Map It Out First
Put all your pieces on the floor. Move them around until it looks right. Take a photo from above—you'll need this when you start hanging.
Keep 2 to 3 inches between all frames. This spacing makes everything feel connected. Use painter's tape on the floor to mark these gaps, then copy them on the wall.
Hang Your Biggest Piece First
Pick your largest or most striking piece. Hang this first with its center at 57 inches. Build everything else around it. Most people start from a corner, which leads to unbalanced walls.
If you have an even number of pieces, create a center point between two medium works instead of centering on one piece.
Mix Frames, But Keep It Simple
All matching frames look flat. Mixing materials—black with wood, thin with thick—adds depth and makes your wall feel collected over time.
Limit yourself to three frame styles. Maybe matte black, light wood, and brass. More than three looks random instead of planned.
Find something to line up. Maybe bottom edges on one side, or top edges across certain pieces. It looks casual but there are invisible lines holding it together.
Use Paper Templates
Cut paper to match each frame size. Tape them on the wall in your planned layout. Live with it for a day. You'll spot problems before they're permanent.
Mark your nail spots on the templates, poke small holes through the paper into the wall, remove the templates, and you have perfect guides.

Don't Make These Mistakes
Hanging Too High
People hang art where it's easy to reach, not where it should go. If you're looking up at your art, it's too high. Take it down and rehang it.
Wire Versus Two Hooks
Picture wire looks neat but lets frames shift and tilt. Two D-rings with two separate hooks keep everything level forever. For pieces over 20 pounds, screw directly into wall studs.
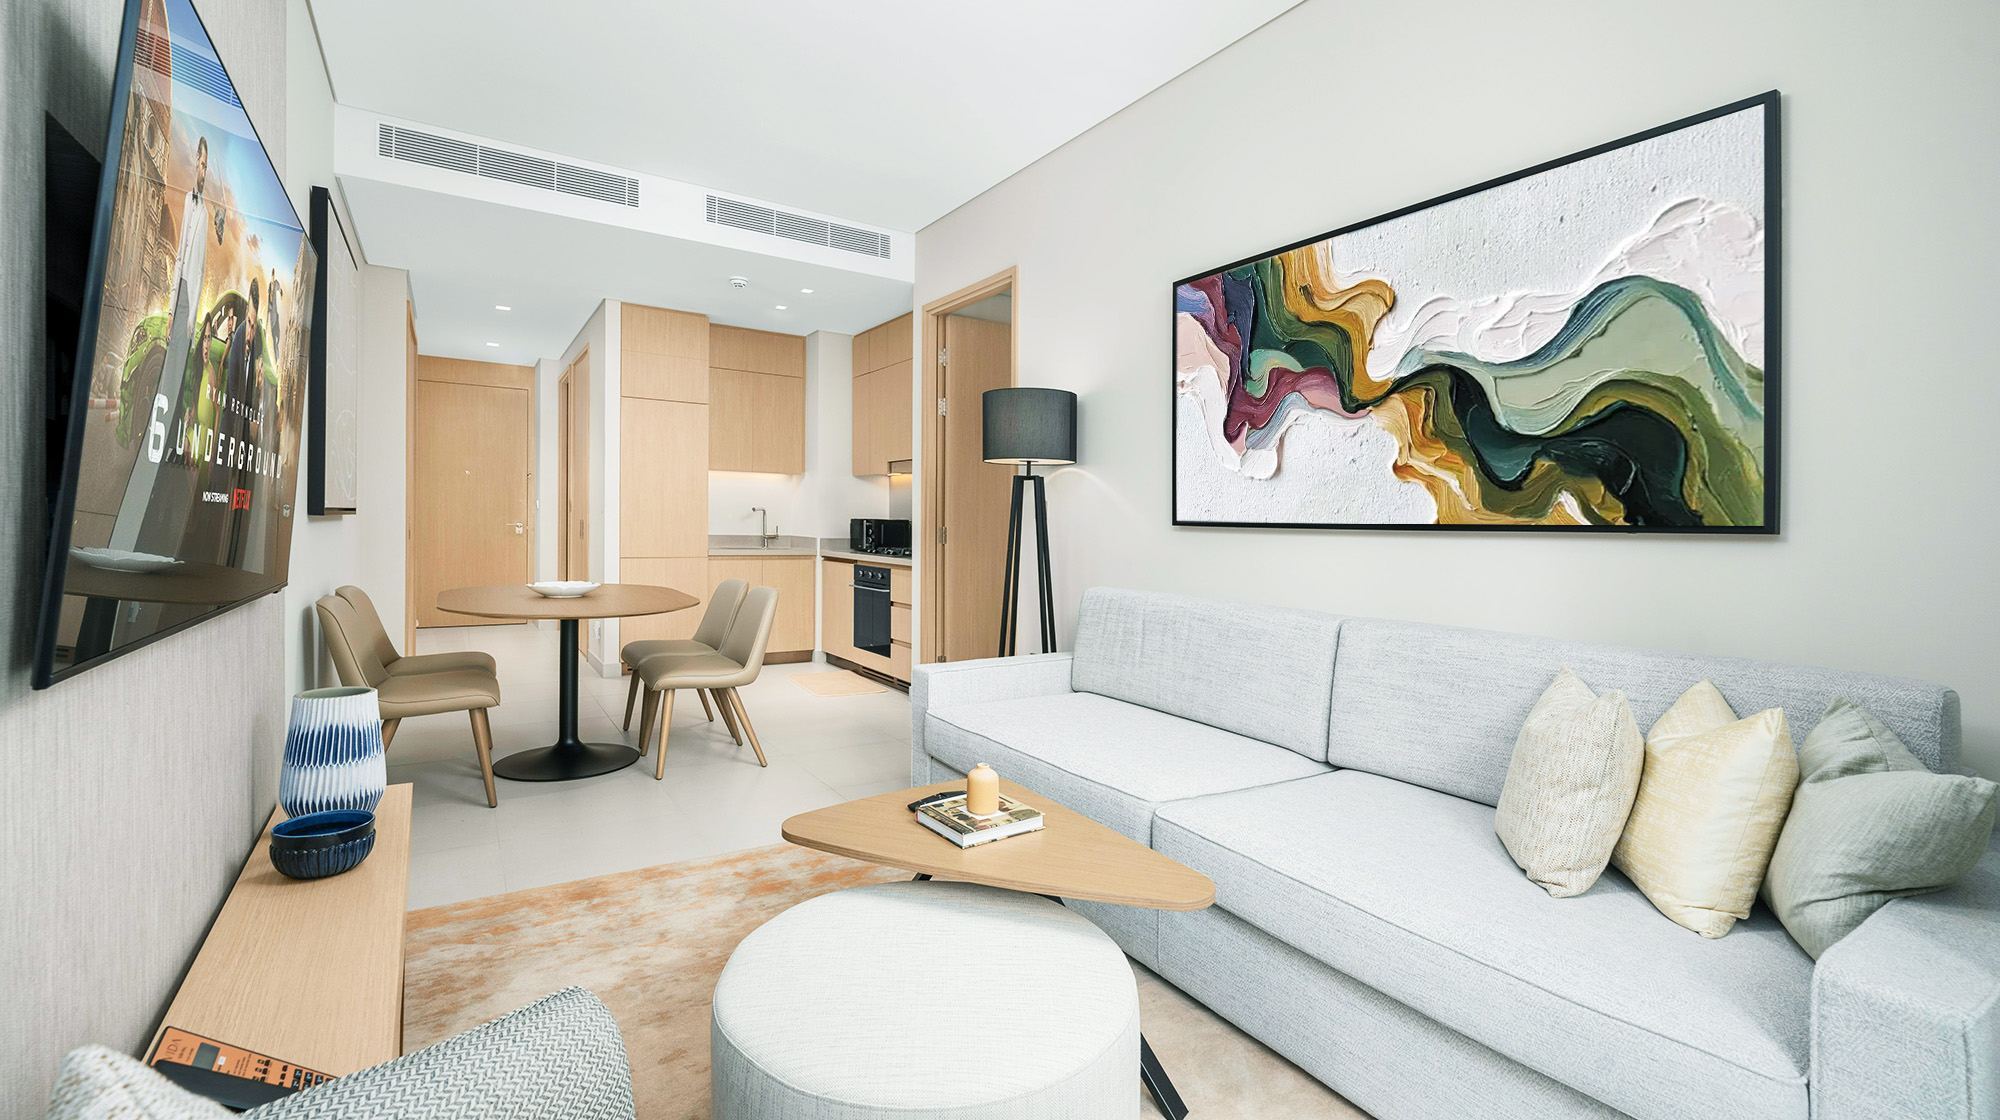
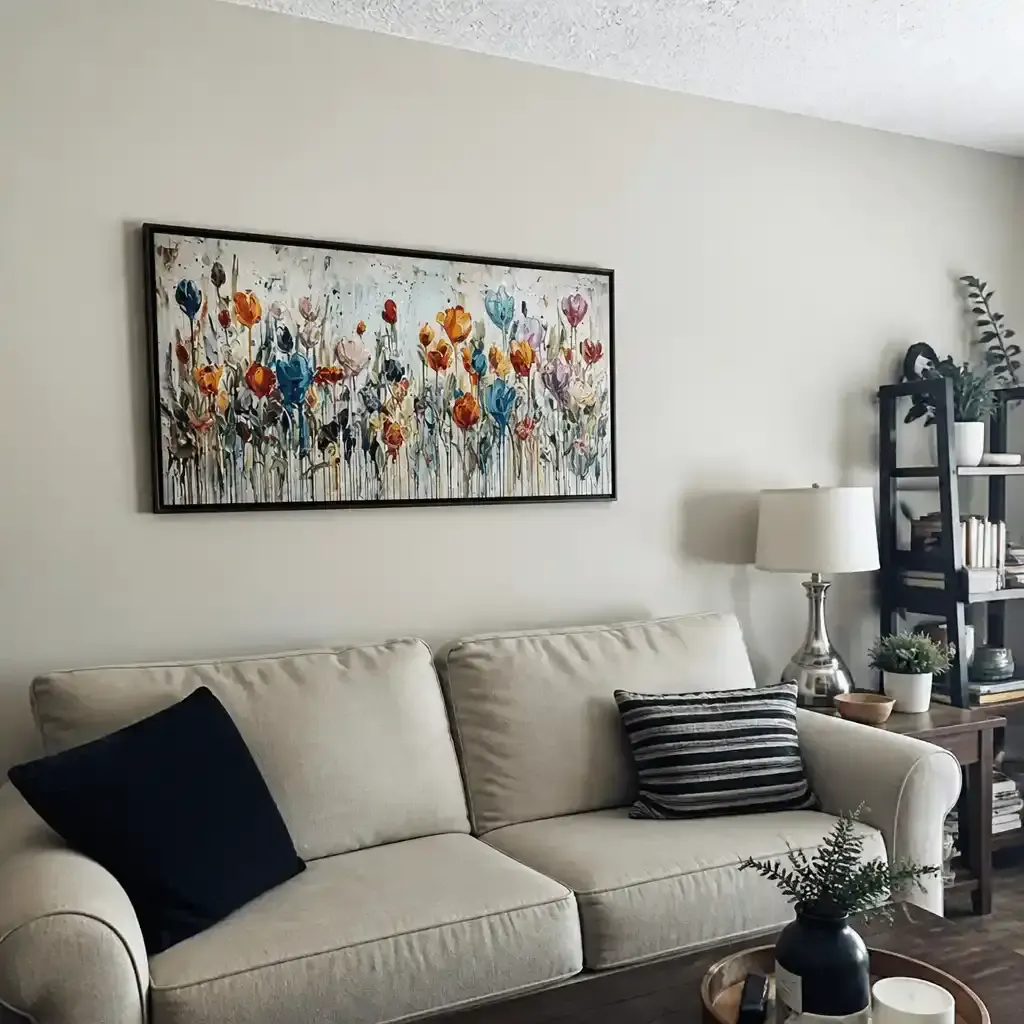
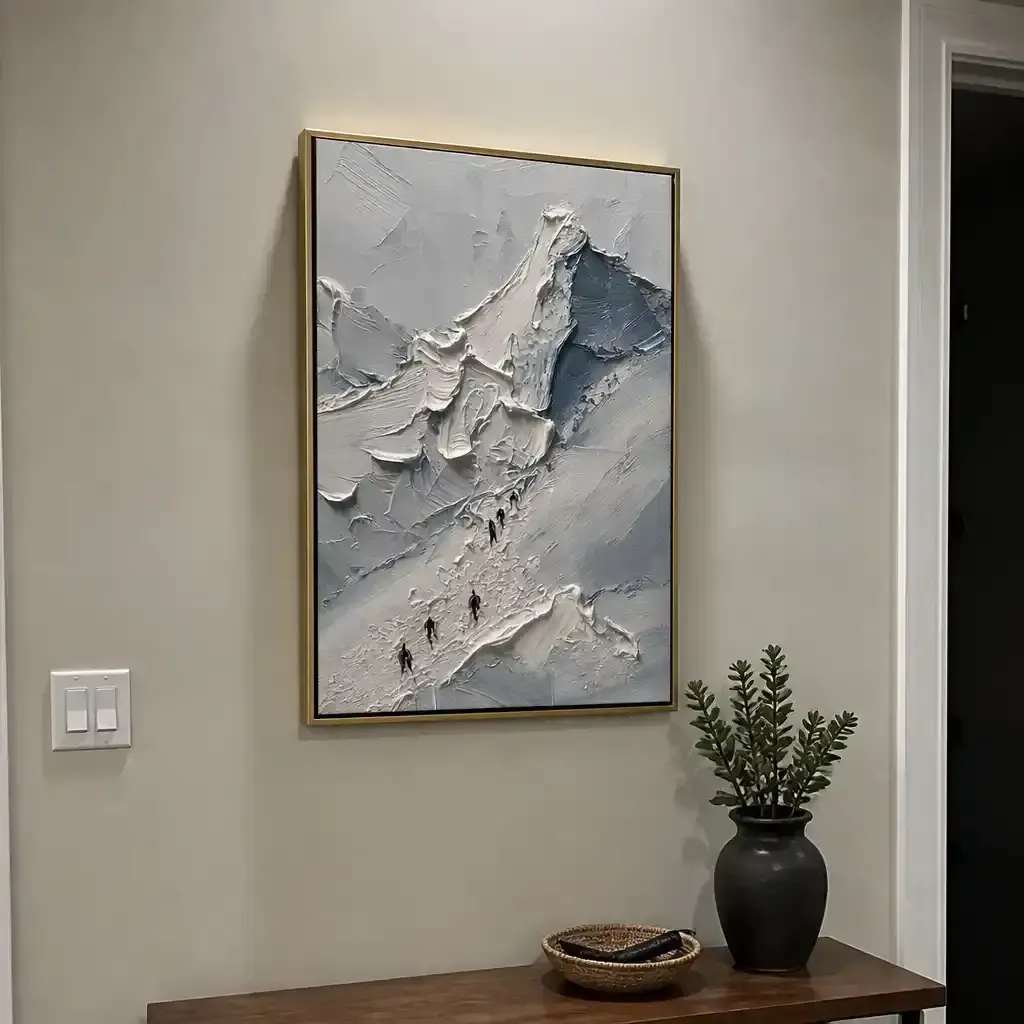
Small Art on Big Walls Looks Lost
Art should fill 60-75% of the wall space in its area. On a 60-inch wide wall section, use art around 40 inches wide. Small art on big walls disappears. Large art in small rooms feels heavy.
Glass and Windows Don't Mix
Natural light from windows creates glare on framed art at certain times. Hang glass-covered pieces on walls next to windows, not across from them. Or use non-reflective glass.
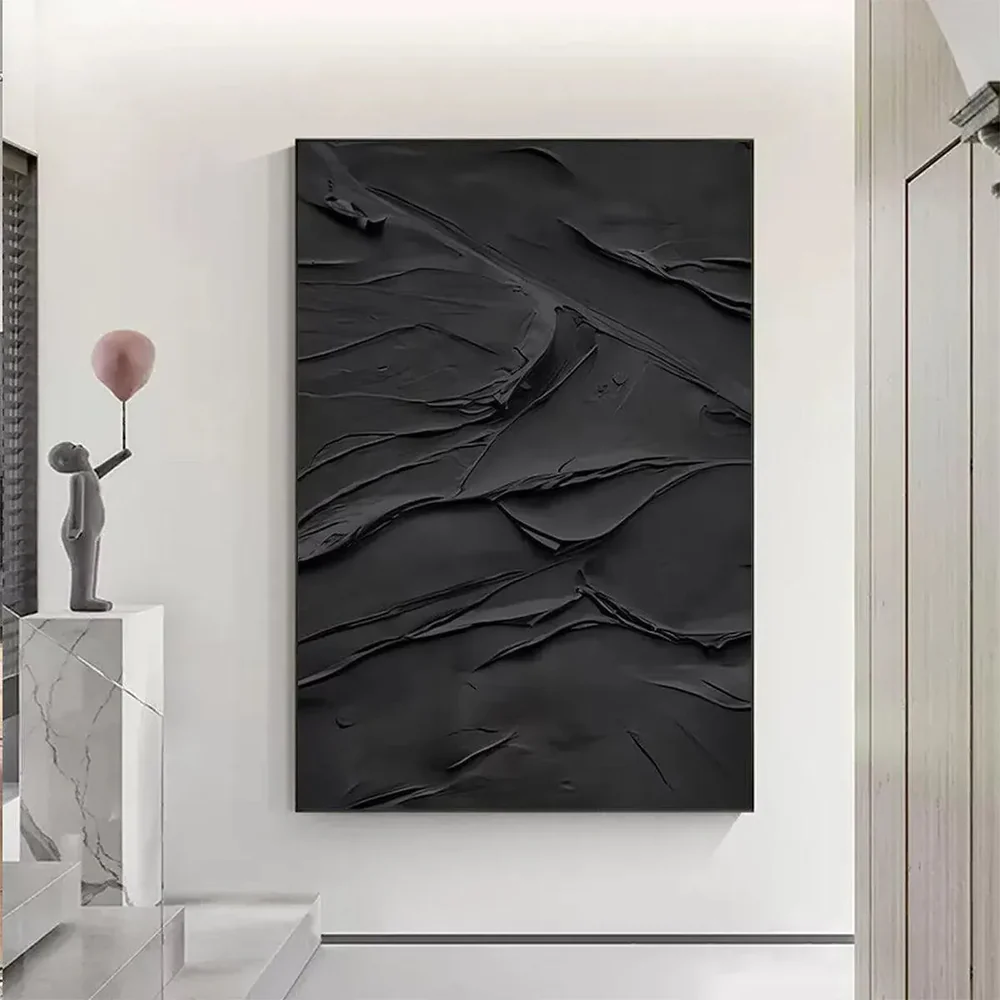
How to Handle Tricky Spaces?
Stairways: Follow the Angle
Art should move with your stairs, not fight them. Put each piece so its center sits 57 to 60 inches from the stair step below it.
Hang each piece parallel to the stair angle—not level with the floor. This feels wrong but looks right. For multiple pieces, keep 4 to 6 inches between them measured along the diagonal.
Bathrooms: Avoid Paper, Use Acrylic
Moisture damages art. Paper buckles, canvas weakens, wood warps.
Don't hang paper prints near showers. Use canvas or sealed wood panels. Choose acrylic glazing over glass—it doesn't trap moisture behind it.
In basements, don't hang on exterior walls where moisture collects. Use spacers behind frames to let air move.
Kitchens: Keep Distance from Heat
Grease, steam, and heat ruin unprotected art.
Near cooking areas, use sealed frames with glass or acrylic. Better yet, use metal prints or varnished canvas you can wipe with a damp cloth.
Keep art at least 3 feet from stovetops. Heat alone damages most art over time, even without grease.
Sunny Walls: Use UV Protection
Direct sun fades art fast. Prints can fade noticeably in six months with daily sun.
Avoid walls that get afternoon sun. If you can't, use UV-protective glazing—it blocks up to 99% of UV rays. Some options also reduce glare.
For valuable pieces, rotate them with other art every season to reduce sun damage.
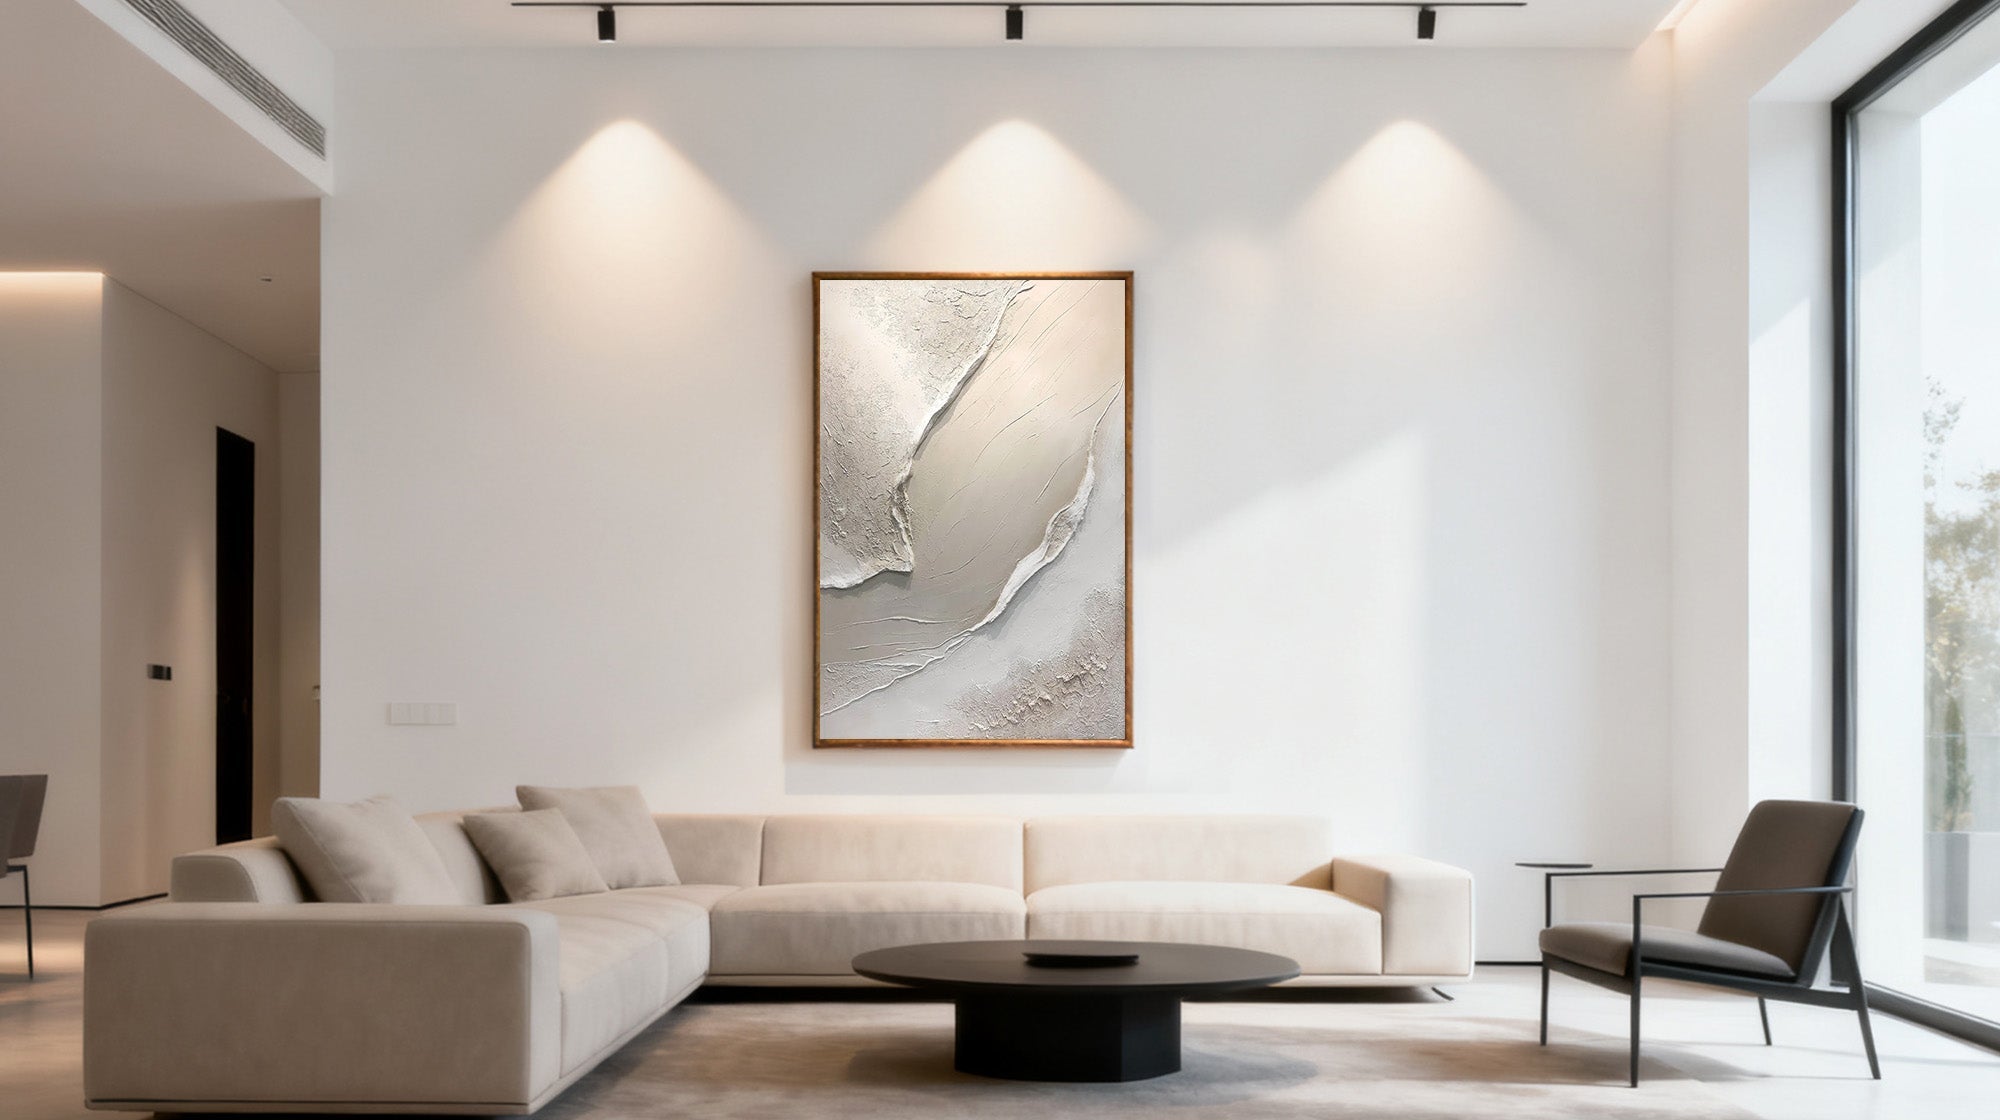
Lighting Makes Good Art Look Even Better
Gallery lighting makes average art look important and great art look museum-quality. The goal is focused light without glare.
- Picture lights work best: LED lights mounted above the frame are ideal. Position them so light hits the art center at a 30-degree angle. This shows texture and color without glare.
- Track lights need narrow beams: Use 25-degree beam bulbs and put them about 3 feet from the wall. This lights the whole piece evenly.
- Use warm bulbs: Choose 2700-3000K bulbs for most art. This matches gallery lighting and makes colors look rich. Cooler temperatures wash out colors.
- Don't put art between two light sources, like between two windows. The conflicting light creates weird shadows.
Final Touches for a Professional Look
Check Level Multiple Times
Hang your art, then step back 10 feet. Crooked art shows more from far away. Adjust it, then check again tomorrow with your level. Frames shift slightly as hardware settles.
For gallery walls, check individual pieces and the whole arrangement. Sometimes pieces are level but the whole thing tilts.
Think About Where People Actually Stand
Where people naturally are in the room? Your favorite chair, the doorway, the hall entrance? Make sure art looks good from these real viewing spots, not just straight-on.
In narrow halls, hang art slightly higher (around 60 inches at the center). As people often see it from an angle while walking, not head-on.
Use Two Anchors for Heavy Art
For heavy pieces, use two anchors even in a stud. This spreads weight and stops the frame from tilting if someone bumps it.
Use Command Strips for Light Art
For pieces under 5 pounds, heavy-duty Command strips work on most walls. Use enough strips for the weight and apply them right to avoid paint damage when removed.
Use Dental Floss for Quick Adjustments
If you need to move a piece that's already up with wire, slide dental floss behind the wire and use it to shift the frame without taking it down. Saves lots of trial and error.
Why Montcarta Makes This Easier
Montcarta creates hand-painted art customized to elevate your space, making it easier for you to get proportions and placement right for your home:
- Custom dimensions: Need exactly 48 inches wide to cover two-thirds of your sofa? Order it.
- Custom colors: They allow you to adjust tones to match your room, before painting begins.
- Pre-shipping approval: You get photos from their team to review before it ships.
If something feels off, just request changes. And by the time you hang it, you already know it works.
You're Ready
Stick to that one rule of art hanging: center most pieces at 57 inches (which is the eye level). And also, choose a beautiful hand-painted art from Montcarta, scale it right above furniture, use a level, and check your hardware ratings. These basics help you cover most situations.
FAQs about Art Hanging Height
Q1: Should I use two hooks or wire?
Two hooks. Over time, wire allows frames to tilt and shift. But two separate hooks will keep everything stable and level.
Q2: Does the 57-inch rule work with high ceilings?
Indeed. Many people believe that art should hang higher when there are high ceilings, but the purpose of hanging art is to make people feel comfortable, not to fill vertical space. Stick with 57 inches.
Q3: Should my art match my furniture colors?
Not every time. Although precise color matching seems forced, art should blend in with the overall vibe of your space. Focus on mood instead.
Q4: Can I hang heavy art with just nails?
No. For items weighing less than ten pounds, nails work. But anything heavier requires screws into studs or wall anchors. If you skip this step, your artwork will eventually collapse—usually at 3am.