Does your oil painting look dull or dusty? And you just want to grab a cloth and wipe it? But hold on, please don't! An oil painting is delicate, and treating it like furniture can ruin it forever.
And think about these: How do paintings get dull in the first place? Can you even clean it yourself? What tools should you use? And can paintings only be cleaned by professionals? Read on to find all these out!
What Can Ruin an Oil Painting?
Oil paintings are generally resilient, but they are far from invincible. Over time, these environmental factors can cause serious damage, dulling the vibrant colors and compromising the canvas:
- Dust and Grime: This is the most common culprit. A simple layer of household dust can build up, and in areas like a kitchen, this dust can combine with airborne grease to create a sticky, dulling film.
- Smoke: Nicotine and smoke from cigarettes, cigars, or even a frequently used fireplace can leave a yellow or brown-ish stain on the surface that is very difficult to remove.
- Sunlight: Direct UV light is an enemy of art. It can fade the pigments in "oil paintings" and weaken the canvas fibers over time.
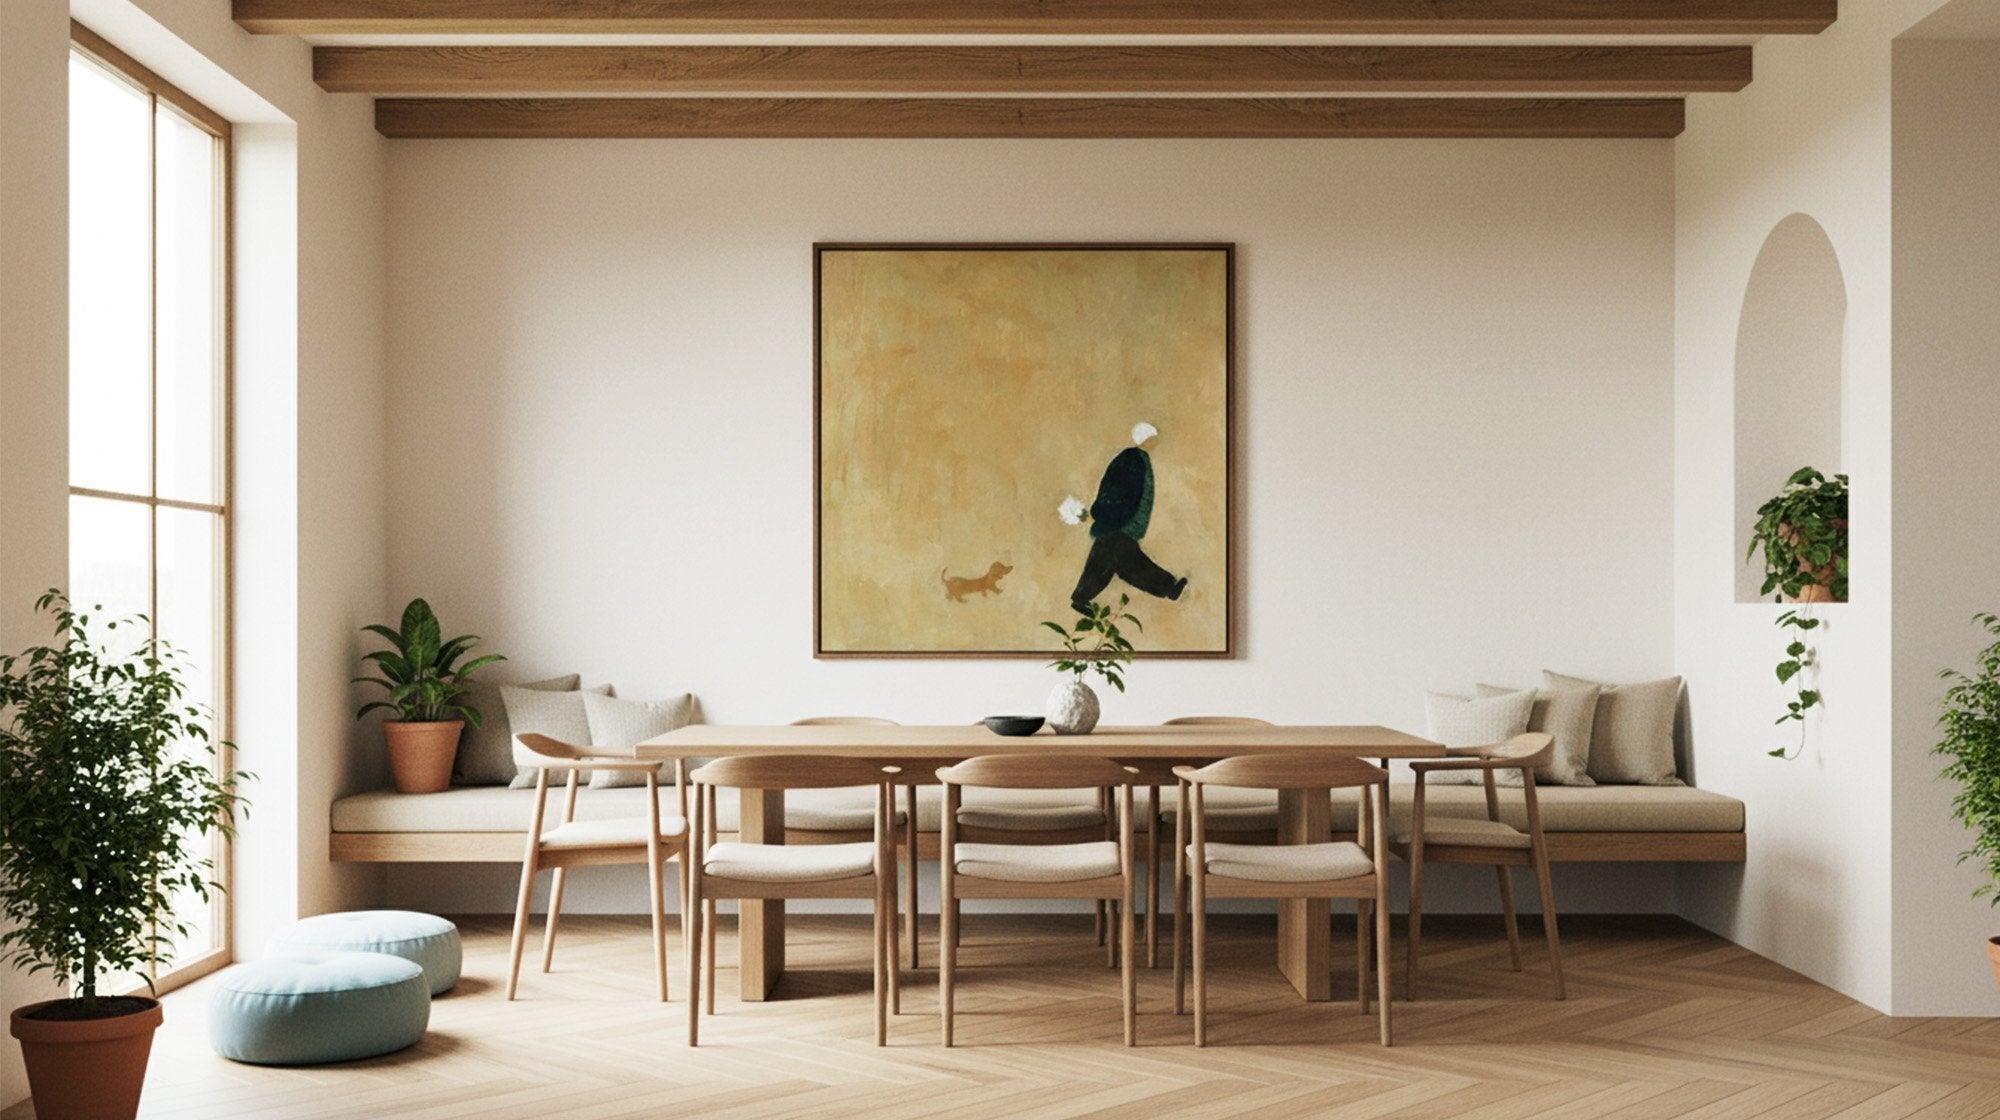
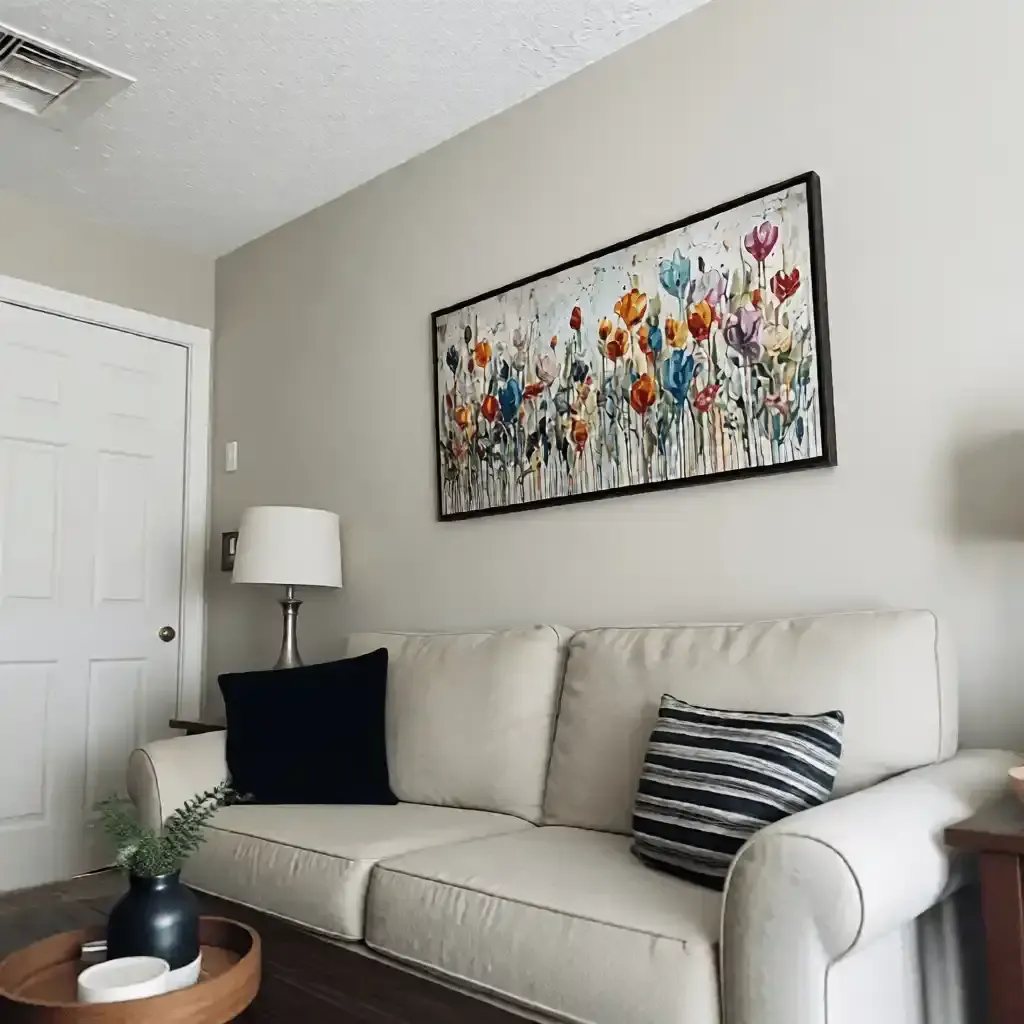
- Extreme Humidity/Temperature: Constant changes in humidity and temperature cause the canvas and wood stretcher bars to expand and contract. This movement can lead to cracking, flaking, and paint loss. This is why "wall oil paintings" should never be hung in a bathroom.
- Improper Cleaning: This is the most heartbreaking cause of damage. Using harsh chemicals (like household cleaners), abrasive cloths, or even tap water can strip paint, dissolve protective varnish, or leave behind damaging residue.

Is It Safe to Clean an Oil Painting Myself?
Seeing that list, especially the part about "improper cleaning," you’re likely asking the most important question of all: is it worth the risk?
The answer is a very cautious "yes, but only to a certain point."
There is a significant difference between dusting and cleaning.
It is generally safe for a non-professional to perform a very light, dry dusting to remove loose surface debris. This is what we will cover in "Level 1 Cleaning."
It is NOT safe for an untrained person to attempt a "deep clean." Trying to remove grime, smoke, or yellowing with any kind of liquid or cleaning solution is extremely risky. Hand made oil painting surfaces are complex. You risk removing not just the dirt, but also the top layer of varnish or even the paint itself.
For anything beyond light dust, you should consult a professional.
Take a Careful Look at Your Painting Before You Start
Before you touch your painting, put on your detective hat. What you see will determine if you can proceed.
1. Is It Just Dirt, or Is Your Varnish Yellowed?
Look closely at the surface. Is the dullness a uniform, gray-ish layer of dust? Or does the painting have an overall yellow or brownish tint, as if you're looking at it through a sepia-toned filter? Dust and grime sit on top of the final layer. A yellowed varnish is the layer itself (a protective coating applied over the paint) breaking down from age and UV exposure. Dust can be lightly cleaned; yellowed varnish must be professionally removed and replaced by a conservator.
2. Check for Damage
Use a bright, angled light to inspect the "oil paintings on canvas." Look for:
- Flaking or Peeling: Are there any small chips of paint lifting off the surface? If you see this, stop immediately.
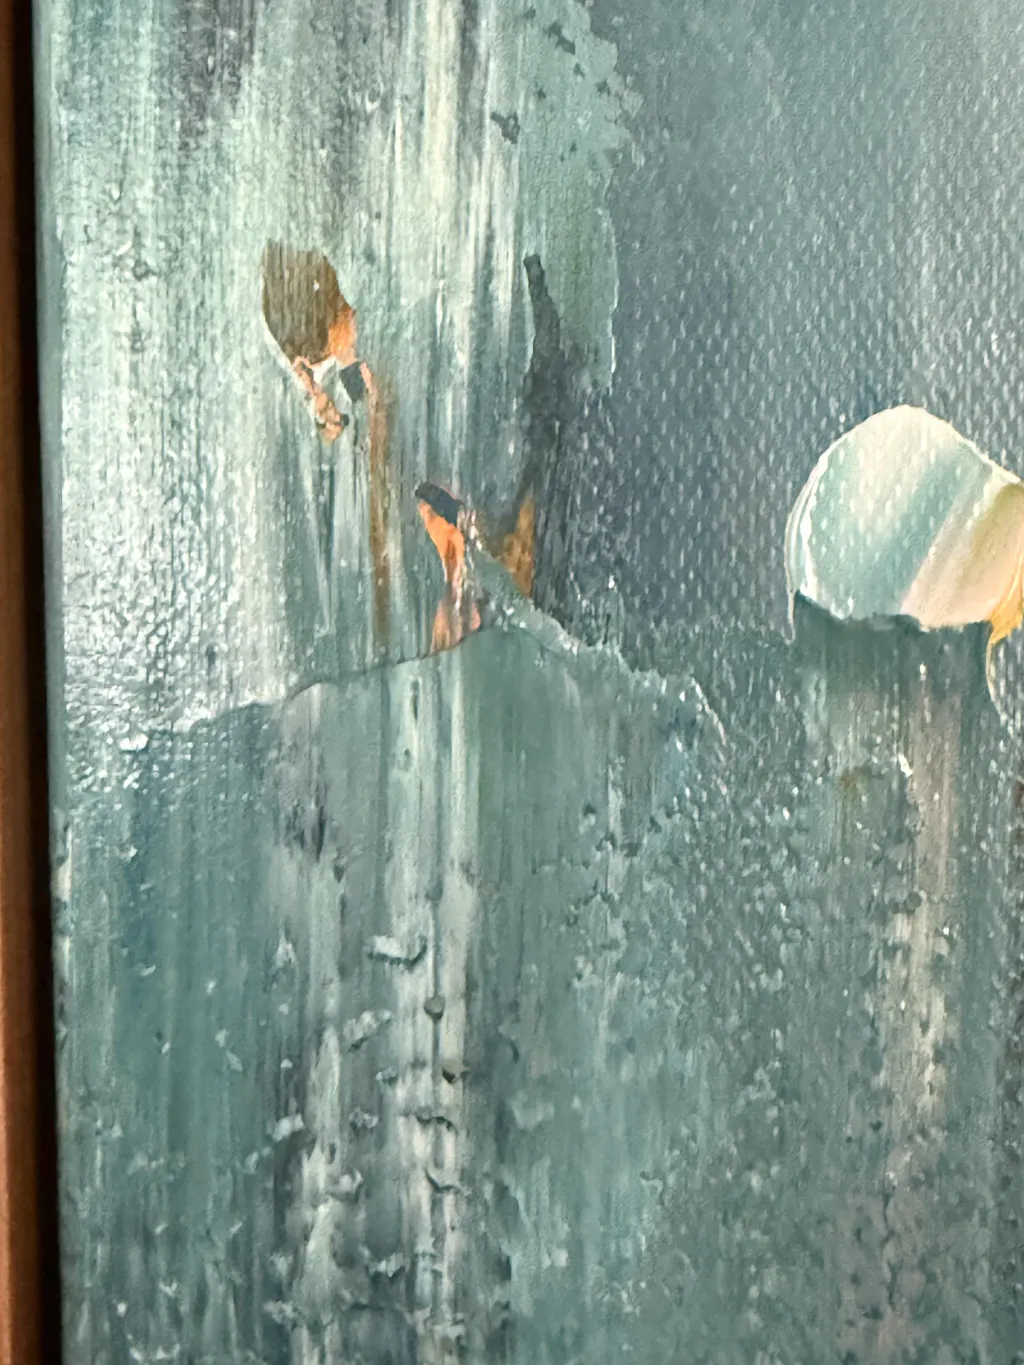
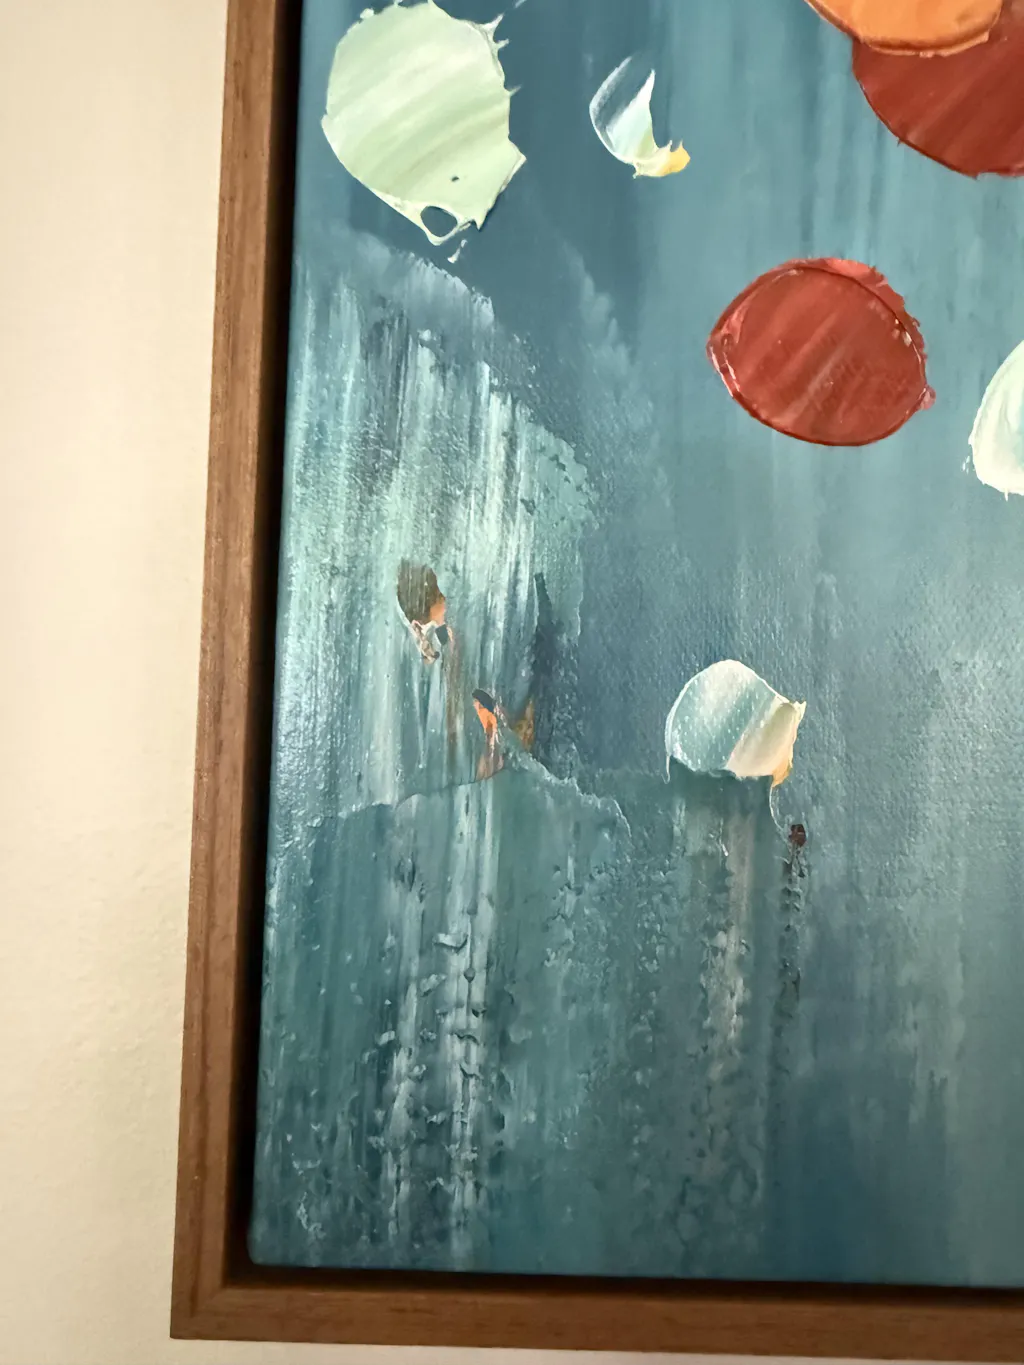
- Cracking (Craquelure): This can look like a fine web of tiny cracks. While some craquelure is a normal part of the aging process for "vintage oil paintings," it creates fragile areas where cleaning can cause paint to flake off.
- Texture: Is the painting smooth, or is it heavily textured with thick paint (a style called impasto)? Textured paintings are much harder to clean, as dust gets trapped in the crevices.
If you see any flaking, peeling, or significant cracking, do not proceed. You need a professional.
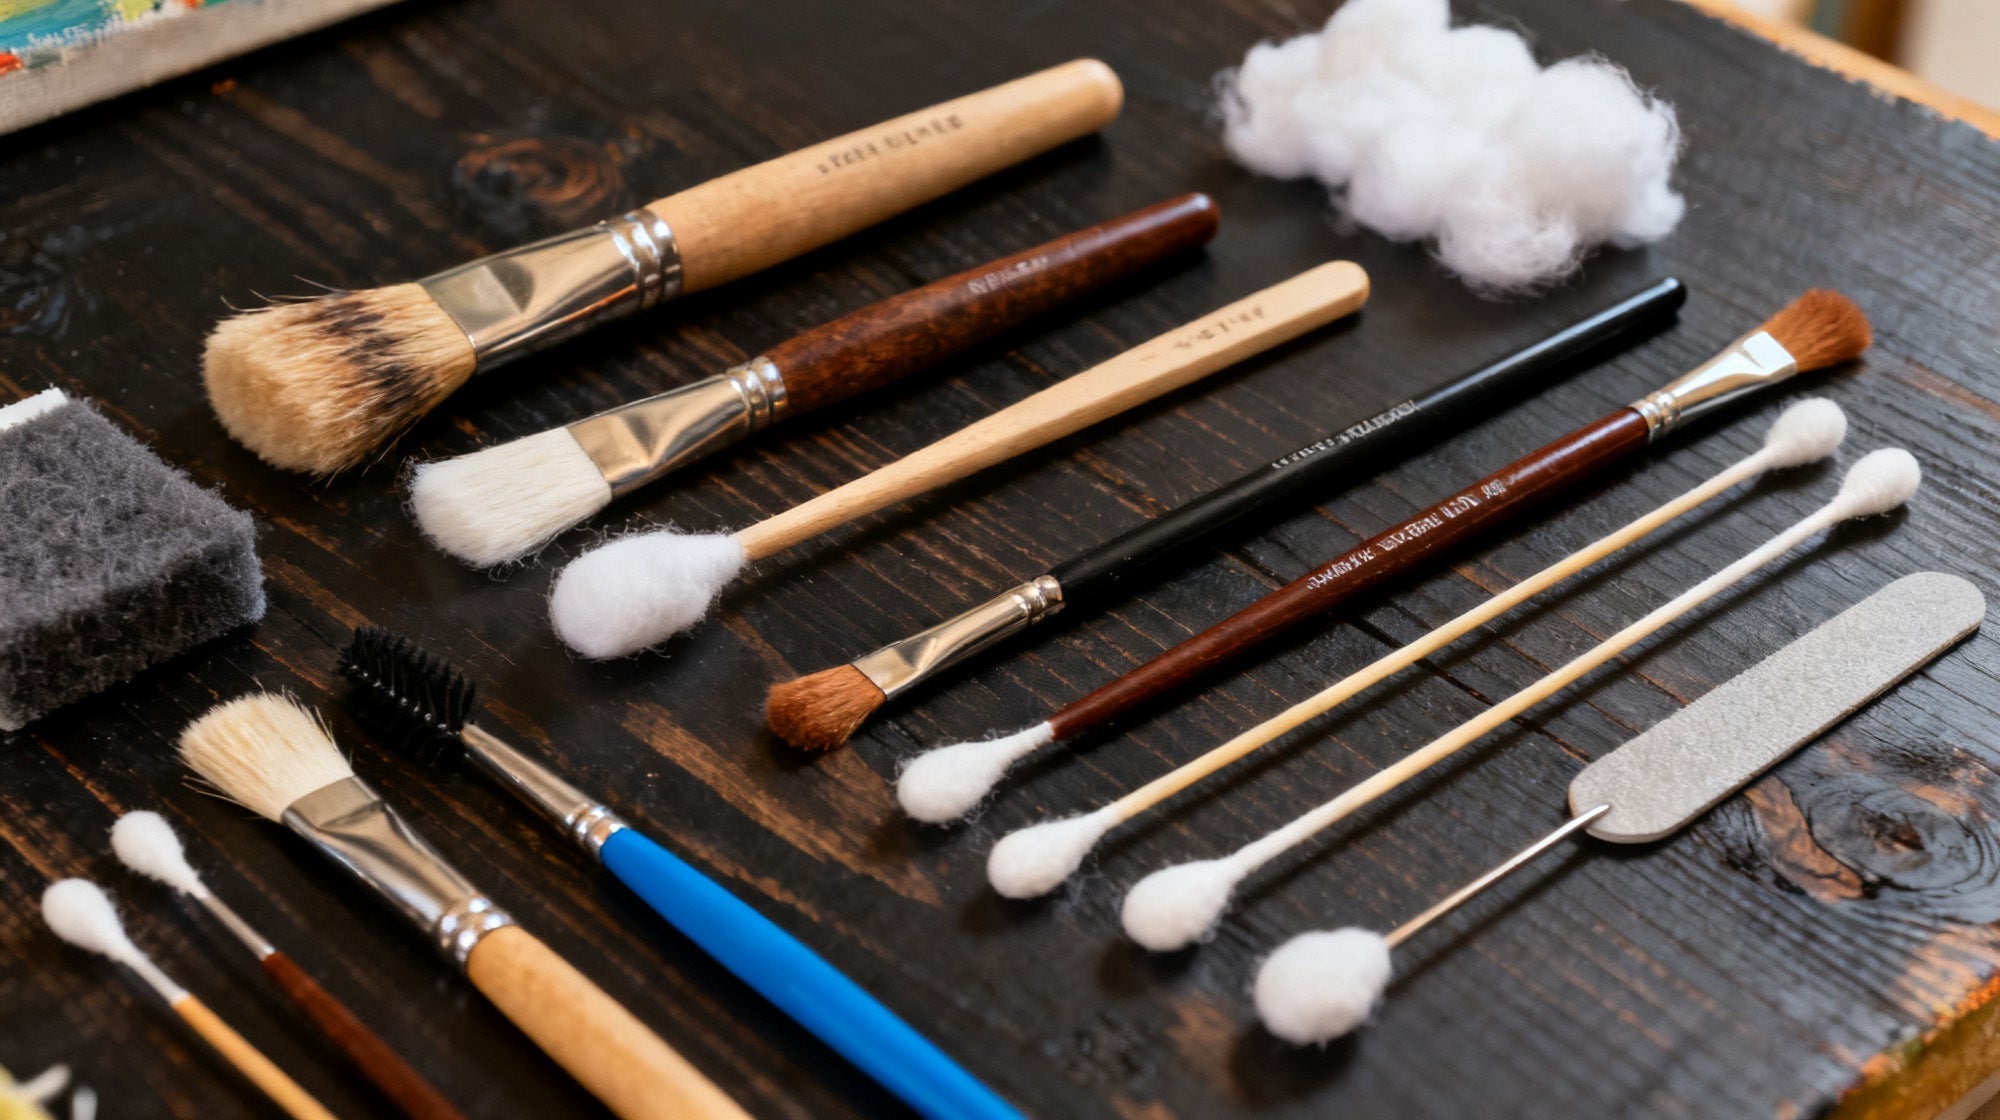
Tools You'll Need
Now, if you've inspected your painting and found no signs of active flaking, peeling, or cracking, you can proceed with gathering the right, gentle tools. Do not be tempted to grab household items; the wrong tools are just as damaging as the wrong chemicals.
For any level of DIY cleaning, your toolkit should be simple and gentle.
- A very soft, dry, natural-bristle brush (a sable artist's brush, a hake brush, or a high-quality, soft makeup brush will work).
- Clean, lint-free cotton cloths or white cotton rags.
- Cotton swabs (like Q-tips).
- Distilled water (at room temperature). Never use tap water, which contains minerals and chemicals that can damage the paint.

Level 1 Cleaning: Safely Remove Surface Dust
With your soft brush in hand, you are ready to perform the first, safest, and most essential cleaning method. This step is perfect for removing the loose, dry dust that accumulates on all "wall oil paintings."
- Position the Painting: You can either leave the painting hanging securely on the wall or, for a more thorough job, take it down and lay it flat on a clean, stable surface.
- Use a Dry Brush: Take your soft, completely dry bristle brush.
- Dust Gently: Starting at the top corner, gently whisk the dust off the surface with light, flicking motions. Work your way across and down the painting.
- For Textured Art: If your painting has heavy texture, be extra gentle. Use the brush to lightly flick dust out of the crevices. Never scrub or push the dust further in.
- Check Your Brush: Periodically tap the brush on a clean white cloth to release the dust you’ve collected.
- Wipe the Frame: You can use a slightly damp, lint-free cloth to wipe the frame, but be careful not to touch the canvas.
Important: Never use a feather duster (which can snag on paint), a vacuum cleaner (the suction is far too strong), or canned air (which can blast cold propellants onto the paint).
Level 2 Cleaning: Tackling Grime and Dirt
But what if the dust is gone, and your painting still looks dull? If you are certain you're dealing with surface grime (not yellowed varnish!) and the painting is sturdy, you can consider this more advanced, "at-your-own-risk" step.
This method enters riskier territory.
Warning: This should NOT be attempted on valuable antiques, "vintage oil paintings," or any painting with flaking or cracking. This is only for sturdy, modern "oil paintings on canvas" that have surface grime beyond simple dust.
This method uses a tiny amount of moisture and must be done with extreme patience.
- The Solution: Use only distilled water. Some guides mention using saliva (which contains enzymes), but this is unhygienic and uncontrolled. A professional conservator may use custom-formulated solutions, but for home use, distilled water is the safest liquid.
- Prepare Your Swabs: Dip a single cotton swab into the room-temperature distilled water.
- Make it Damp, Not Wet: Immediately roll the damp swab on a clean, dry cotton cloth until it is only slightly damp. You should never see a drop of water.
- Test Spot: Find a tiny, inconspicuous spot on the painting, ideally along the very edge that would be covered by the frame.
- Gently Roll (Don't Scrub): Gently roll the damp swab over a one-inch square. Do not scrub or apply pressure.
- Examine the Swab: Look at the cotton swab. You should see brown or gray dirt. If you see any of the painting’s colors (e.g., blue from a sky, red from a flower), STOP IMMEDIATELY. Your paint layer is not secure or has no varnish, and you are lifting the pigment.
- Work in Sections: If the test spot is successful (only dirt is removed), you can proceed. Work in tiny, one-inch-square sections.
- Clean, Rinse, Dry: The process for each tiny square is:
- Roll one damp (distilled water) swab to lift the grime.
- (Optional but recommended) Roll a new swab, damp with only distilled water, to "rinse" any residue.
- Gently blot the tiny spot with a dry swab.
- Change Swabs Constantly: As soon as a swab looks dirty, discard it and get a new one. Using a dirty swab will only smear the grime back onto the painting.
This process is slow and meticulous. It may take several hours to clean even a small painting.
When to Call a Professional Art Conservator
We’ve mentioned several red flags up to this point, from cracks and flakes to the color of the dirt on your test swab. If you encountered any of them, or if your Level 2 test failed, it is time to put the cotton swabs down.
You must call a professional if you encounter any of the following:
- The painting is flaking, peeling, or has deep cracks.
- It's a valuable family heirloom or an antique.
- You suspect the painting has smoke or nicotine damage.
- The varnish is visibly yellow, brown, or opaque.
- The "Level 2" test swab lifts any paint color.
- You are simply too nervous to proceed.
If your oil painting is especially valuable, investing in a professional conservator for cleaning and restoration is well worth it. They have the experience and professional tools to handle cleaning procedures that are simply not safe or possible to perform at home.
After the Clean: Preventing Future Damage
The best "cleaning" is not getting dirty in the first place.
Your new goal is to keep your artwork looking great so you don't have to clean it as often. This is true whether you just got it back from a conservator or just gently dust it yourself.
- Hang Smart: Keep your "oil paintings" away from direct sunlight, heat vents, fireplaces, and high-humidity areas like kitchens and bathrooms.
- Dust Regularly: Perform a "Level 1" dry-brush dusting every few months to prevent build-up.
- No Smoking: Avoid smoking indoors. The oily residue is terrible for paintings and all your furnishings.
Conclusion
It is truly rewarding to see your painting's colors come back to life. We hope this guide is a helpful one for you to maintain and cherish your art. With the same love and care, Montcarta's handmade oil paintings thrive with energy and elegance. Visit our collection for more artful enjoyment!
Oil Painting Cleaning FAQs
Q1: Can I use Dawn dish soap to clean an oil painting?
Absolutely not! Dish soap, Windex, rubbing alcohol, and other household cleaners are all far too harsh for oil paintings. They will strip away the paint, dissolve the protective varnish, and cause permanent damage to the canvas.
So remember never use these harsh products on your artwork. These products contain organic solvents that cause simultaneous swelling, diffusion, evaporation, and leaching processes harmful to oil paintings.
Q2: What is the best home remedy for cleaning oil paintings?
The only safe method you can do at home is gentle dry dusting with a soft-bristled brush. That's it. You might hear about old tricks like using bread or potatoes, but these actually leave behind crumbs, starch, and moisture that can encourage mold growth on your painting, and end up doing more harm than good.
Q3: How much does it cost to have an oil painting cleaned?
The price varies, depending on: the painting's size, its condition, how dirty it is, and the conservator's qualifications. A basic professional cleaning typically costs a few hundred dollars. And if your painting needs restoration work or is particularly valuable, the cost can be even higher.
But if you just want to do some basic, gentle cleaning at home, that'll cost you none.